We spent the morning dreaming about running down to Cabo for a couple of nights, spending the days on Medano beach eating fresh fish and sipping margaritas. Real life has us doing laundry, cleaning fish tanks and getting groceries, good times.
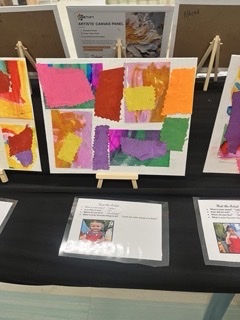
It’s been a busy summer so far. My classroom had an art show focusing on Henri Matisse’s Scissor art.
We went to the fair and luckily didn’t leave with fish this time. The two goldfish from last years fair are still living their best life, sigh.
The girls dragged us on the Zipper which I had horrible memories from childhood (thanks Jess) and I am happy to report that it’s not scary anymore. That evening Old Dominion was playing and we were lucky enough to sneak up on their rehearsal.
While the girls were riding rides, we took advantage of some wine tasting and a funnel cake hot dog.
The only thing that would’ve made it better was if it were beef and not chicken.
We did one last ride before calling it, it was a school night.
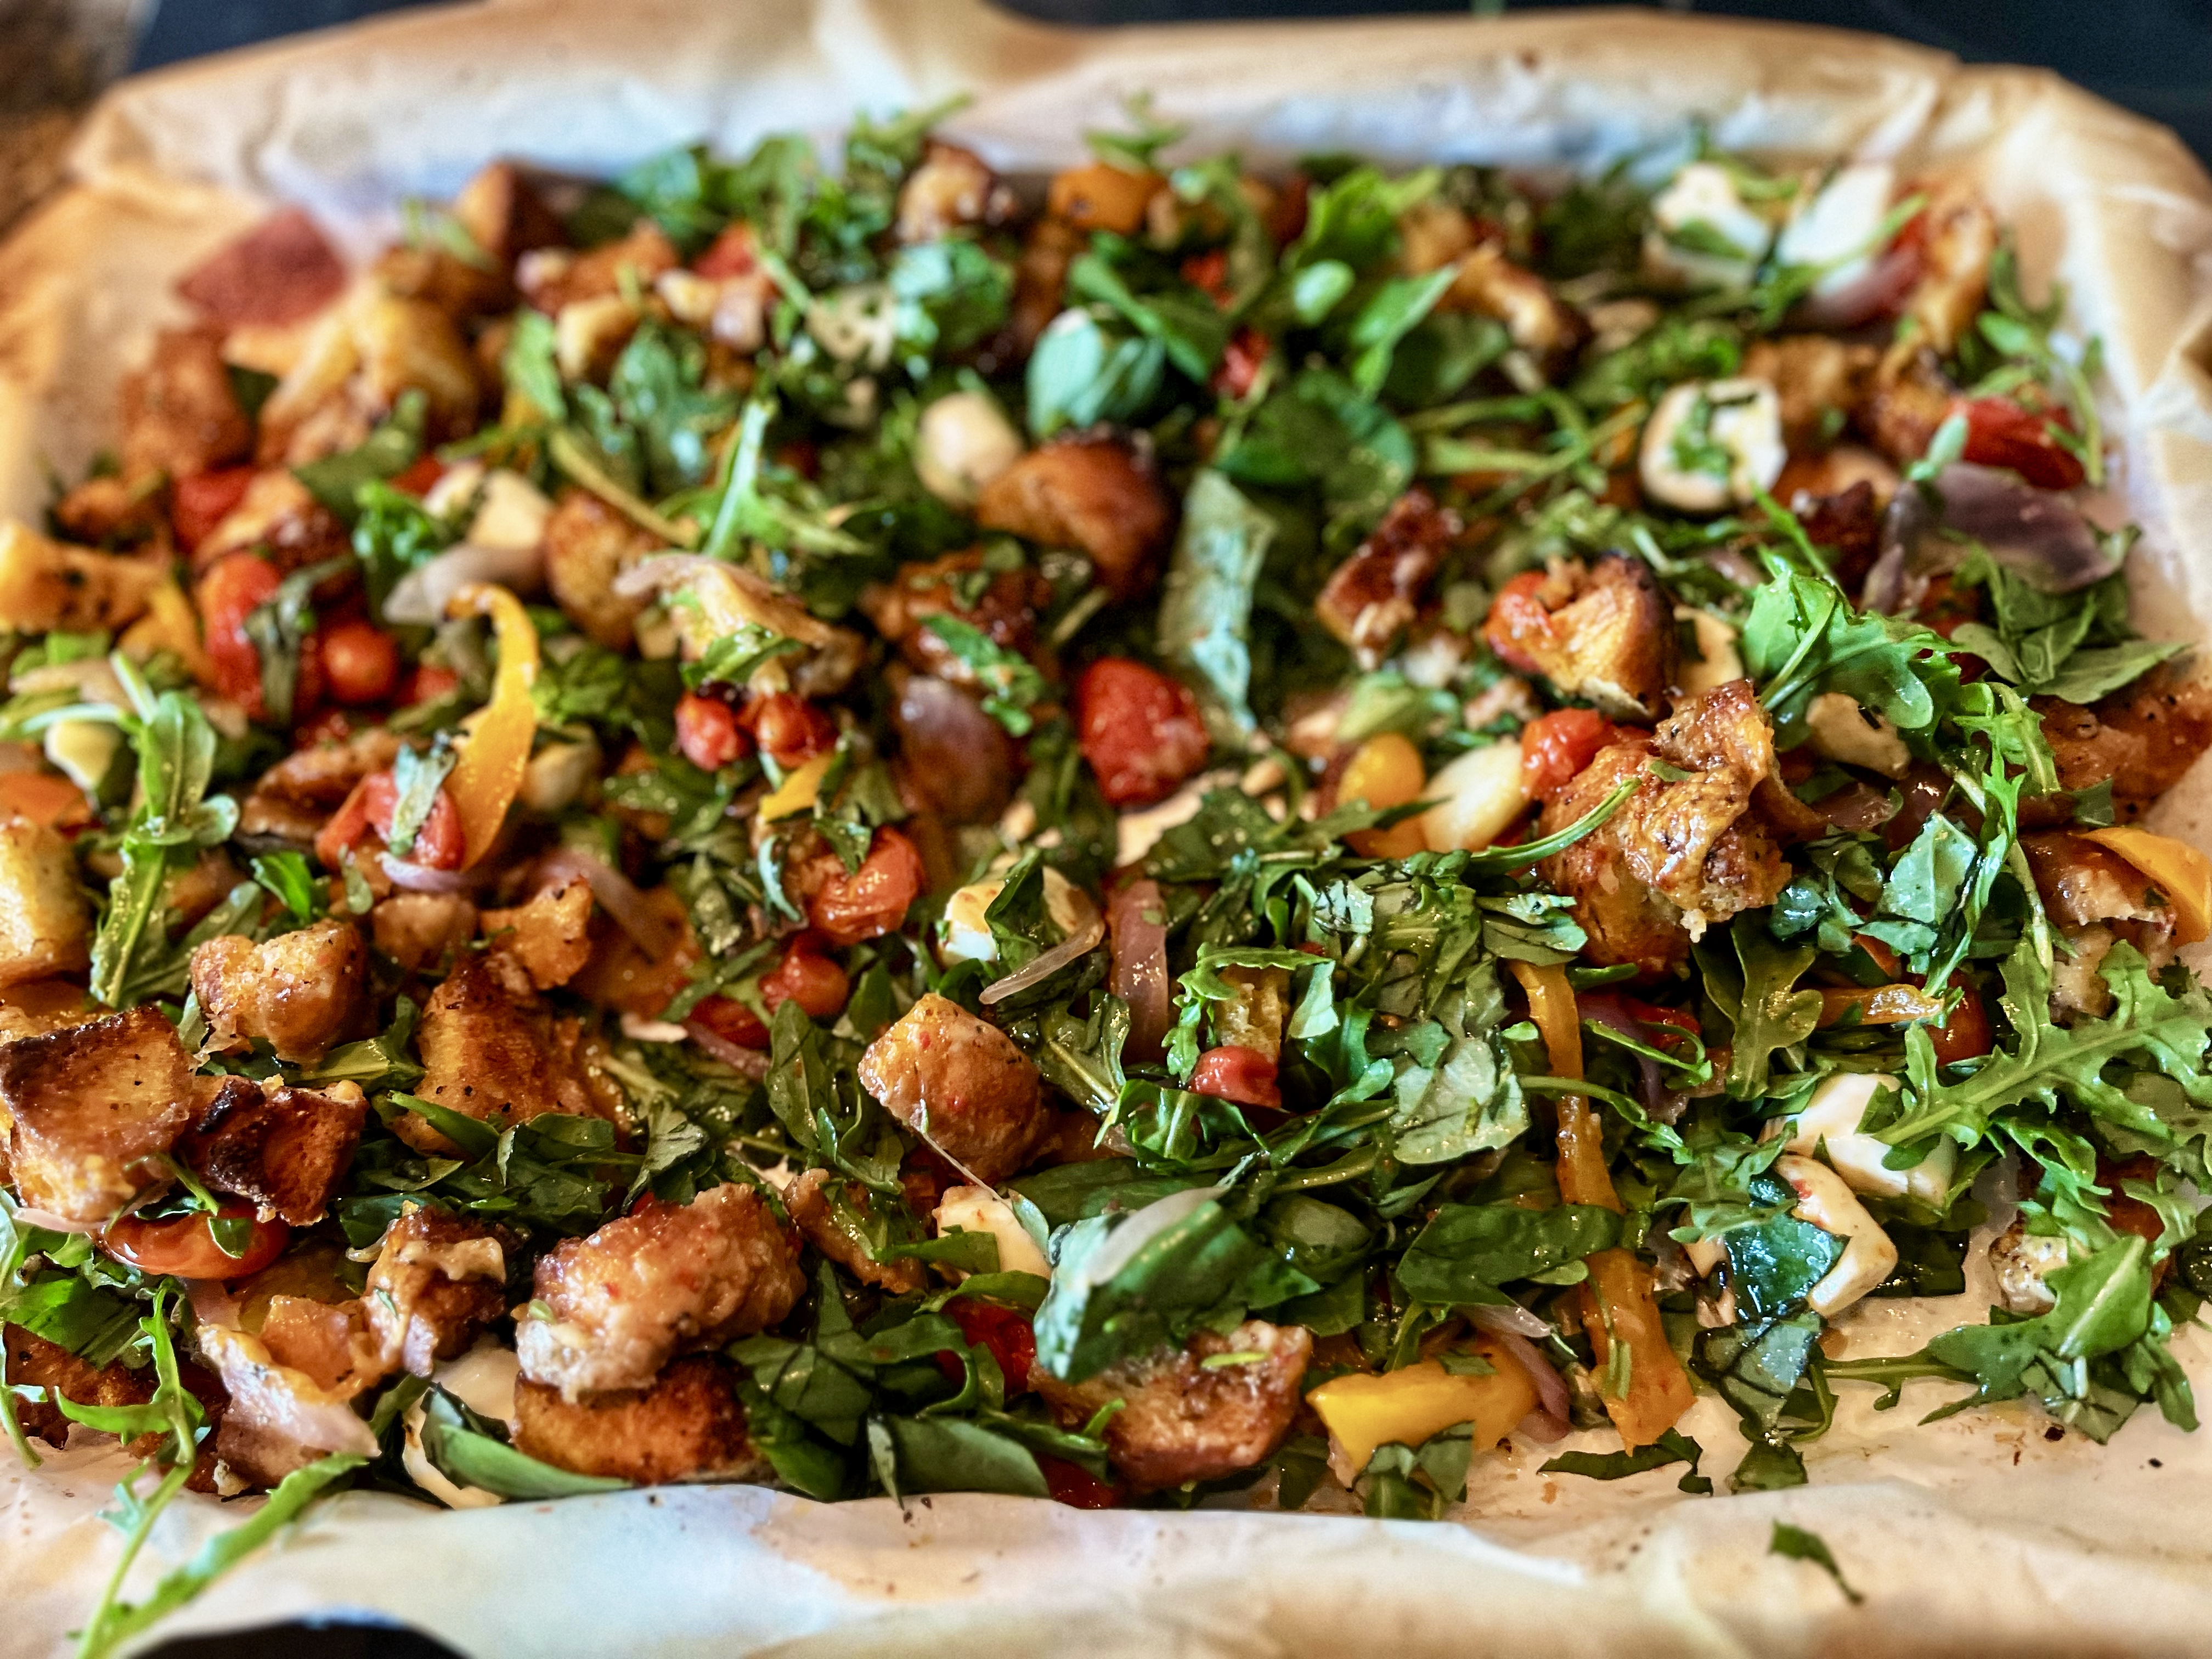
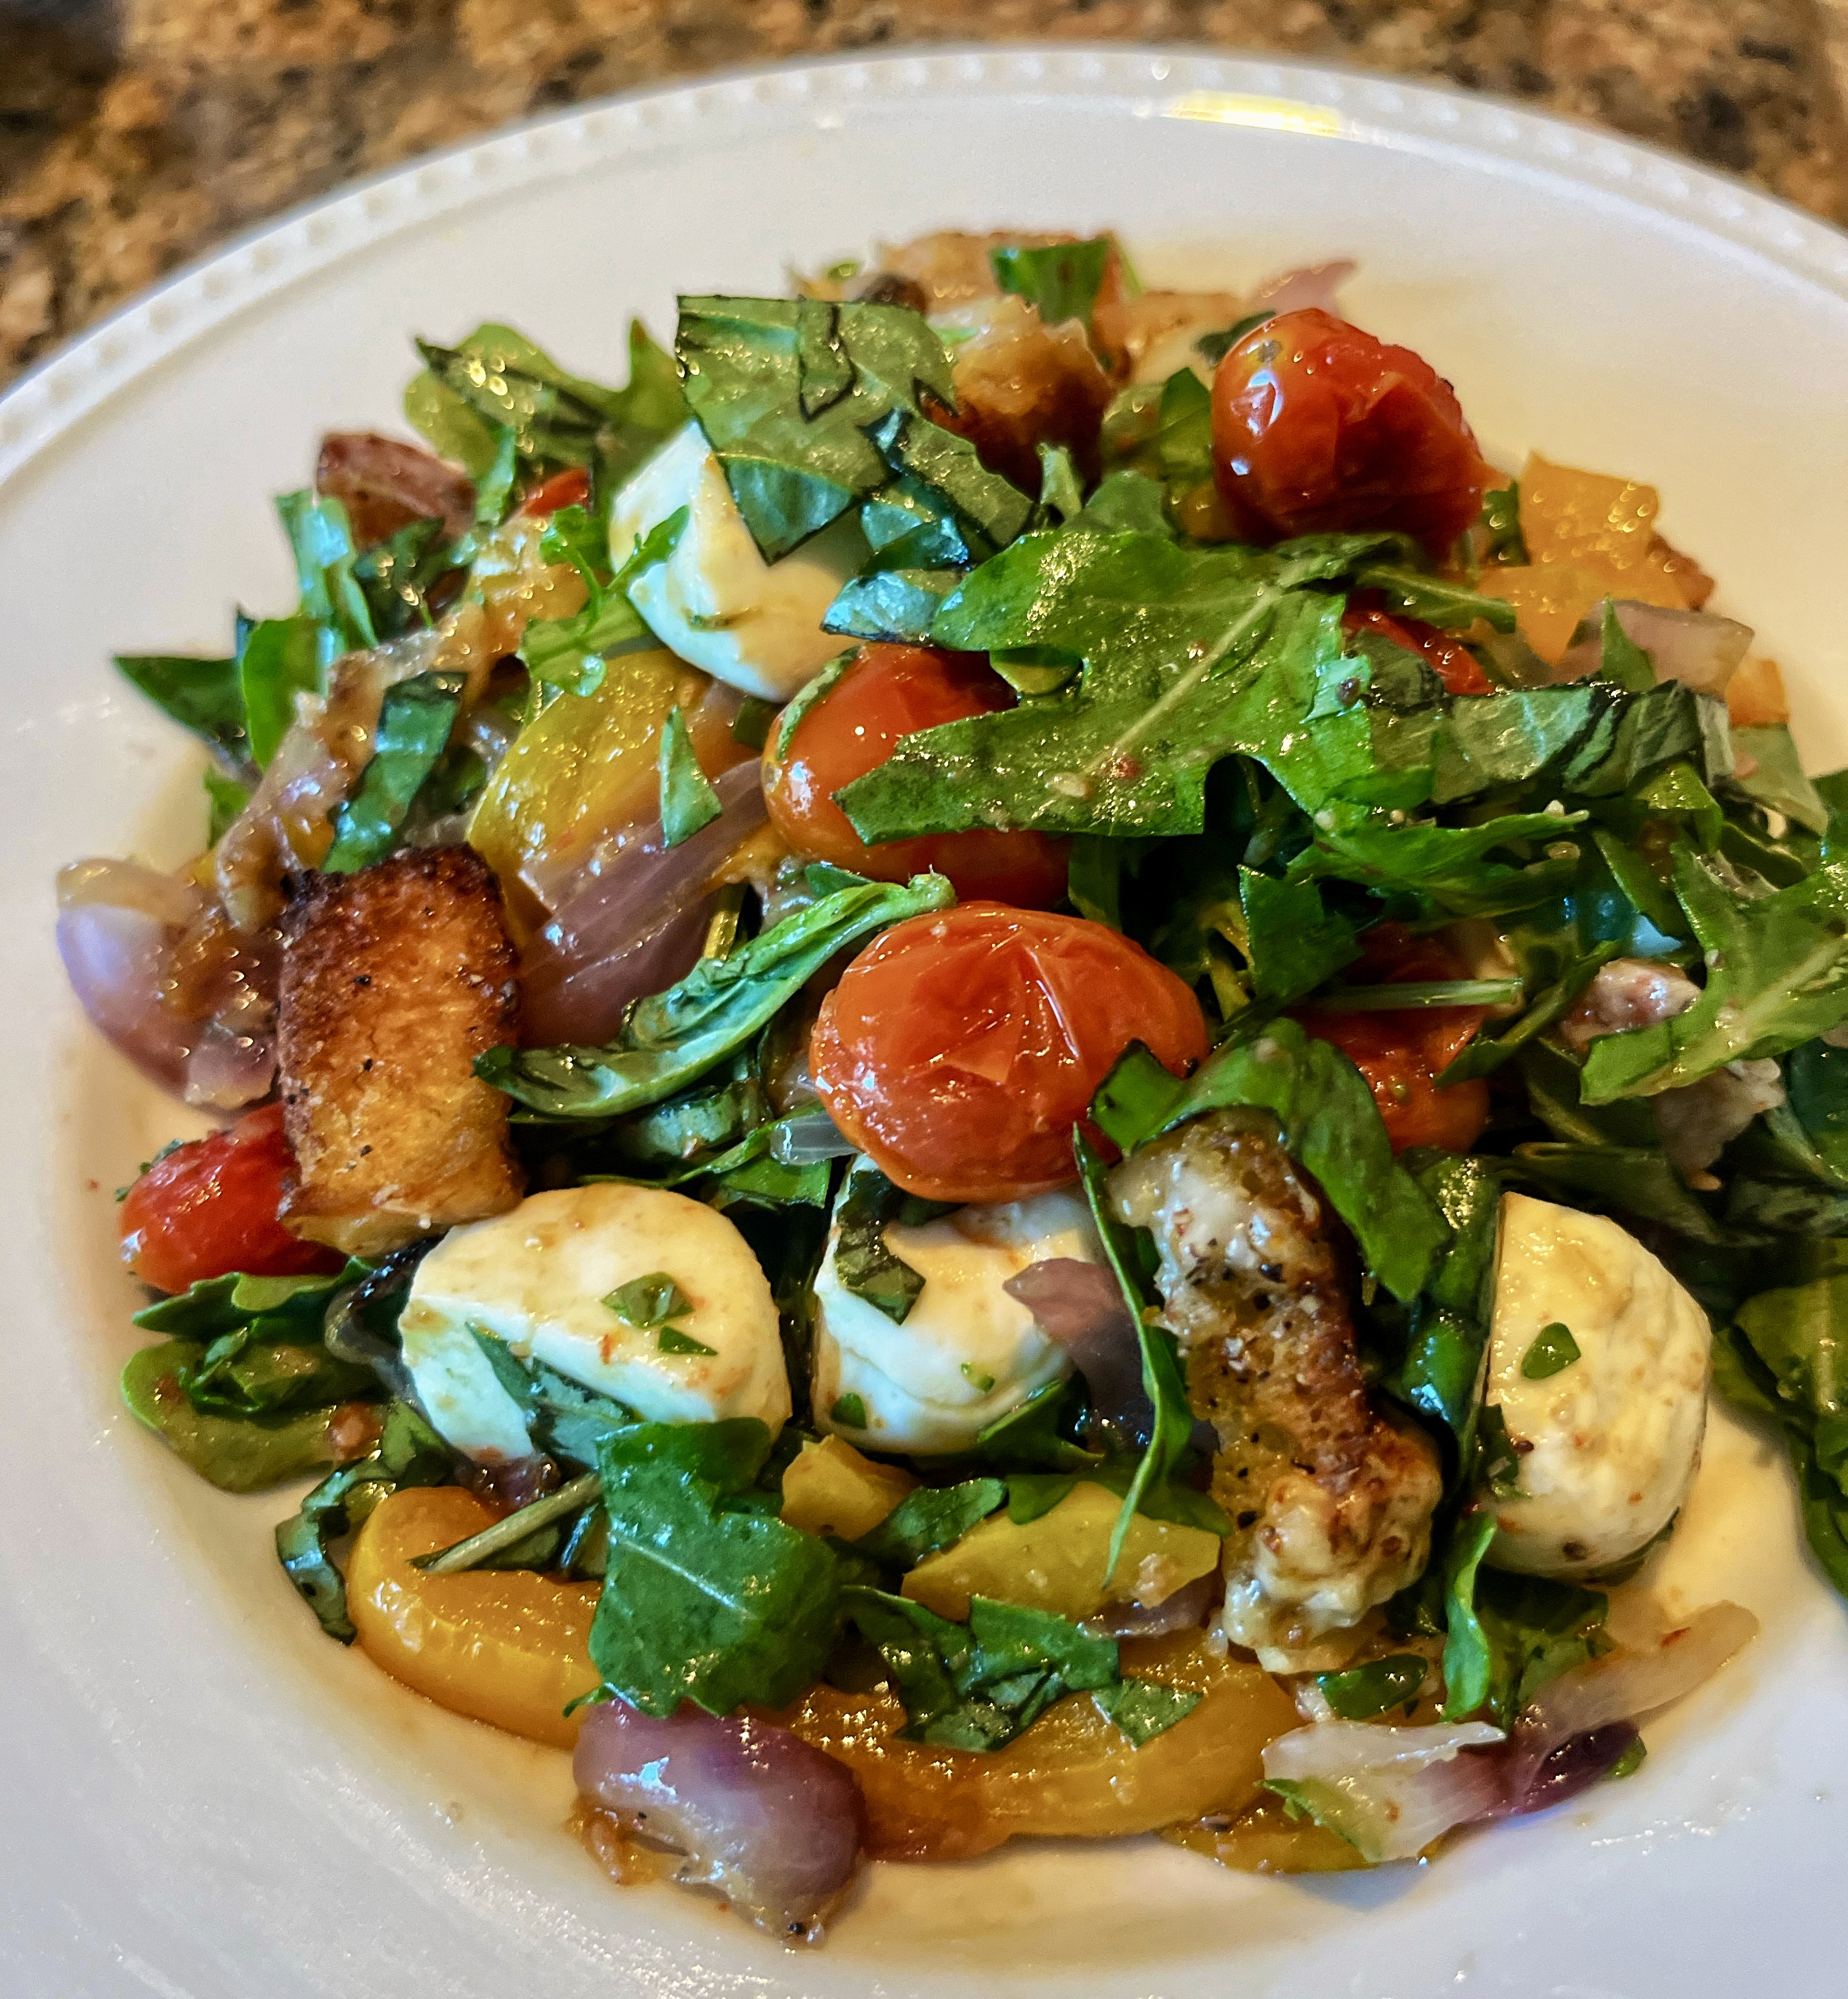
I had so much basil sitting on the counter. I always buy some not knowing if what I have at home is still good and then I get home to see that it is and now I have all this basil to deal with, first world problems. Not wanting to make pesto or have Caprese, again, I decided on a Panzanella salad. However this time I wanted to roast the veggies because, no Caprese again. This recipe is super easy and you’re left with very few dishes, always a win. But you guys, it’s soo good, I mean it’s basically a deconstructed pizza.
INGREDIENTS
8 oz. French or Italian bread, about 5 cups, cut into 1″ pieces
12 oz. cherry tomatoes
1 small red onion, halved and thinly sliced
1 small red, yellow or orange bell pepper thinly sliced.
10 cloves of garlic, peeled.
1/2 c. extra-virgin olive oil, divided
Kosher salt
Freshly ground black pepper
1/2 c. shaved parmesan
8 oz. small fresh mozzarella balls (ciliegine or bocconcini)
2 c. packed baby arugula
1 c. packed fresh basil leaves
2 Tbsp. red wine vinegar
DIRECTIONS
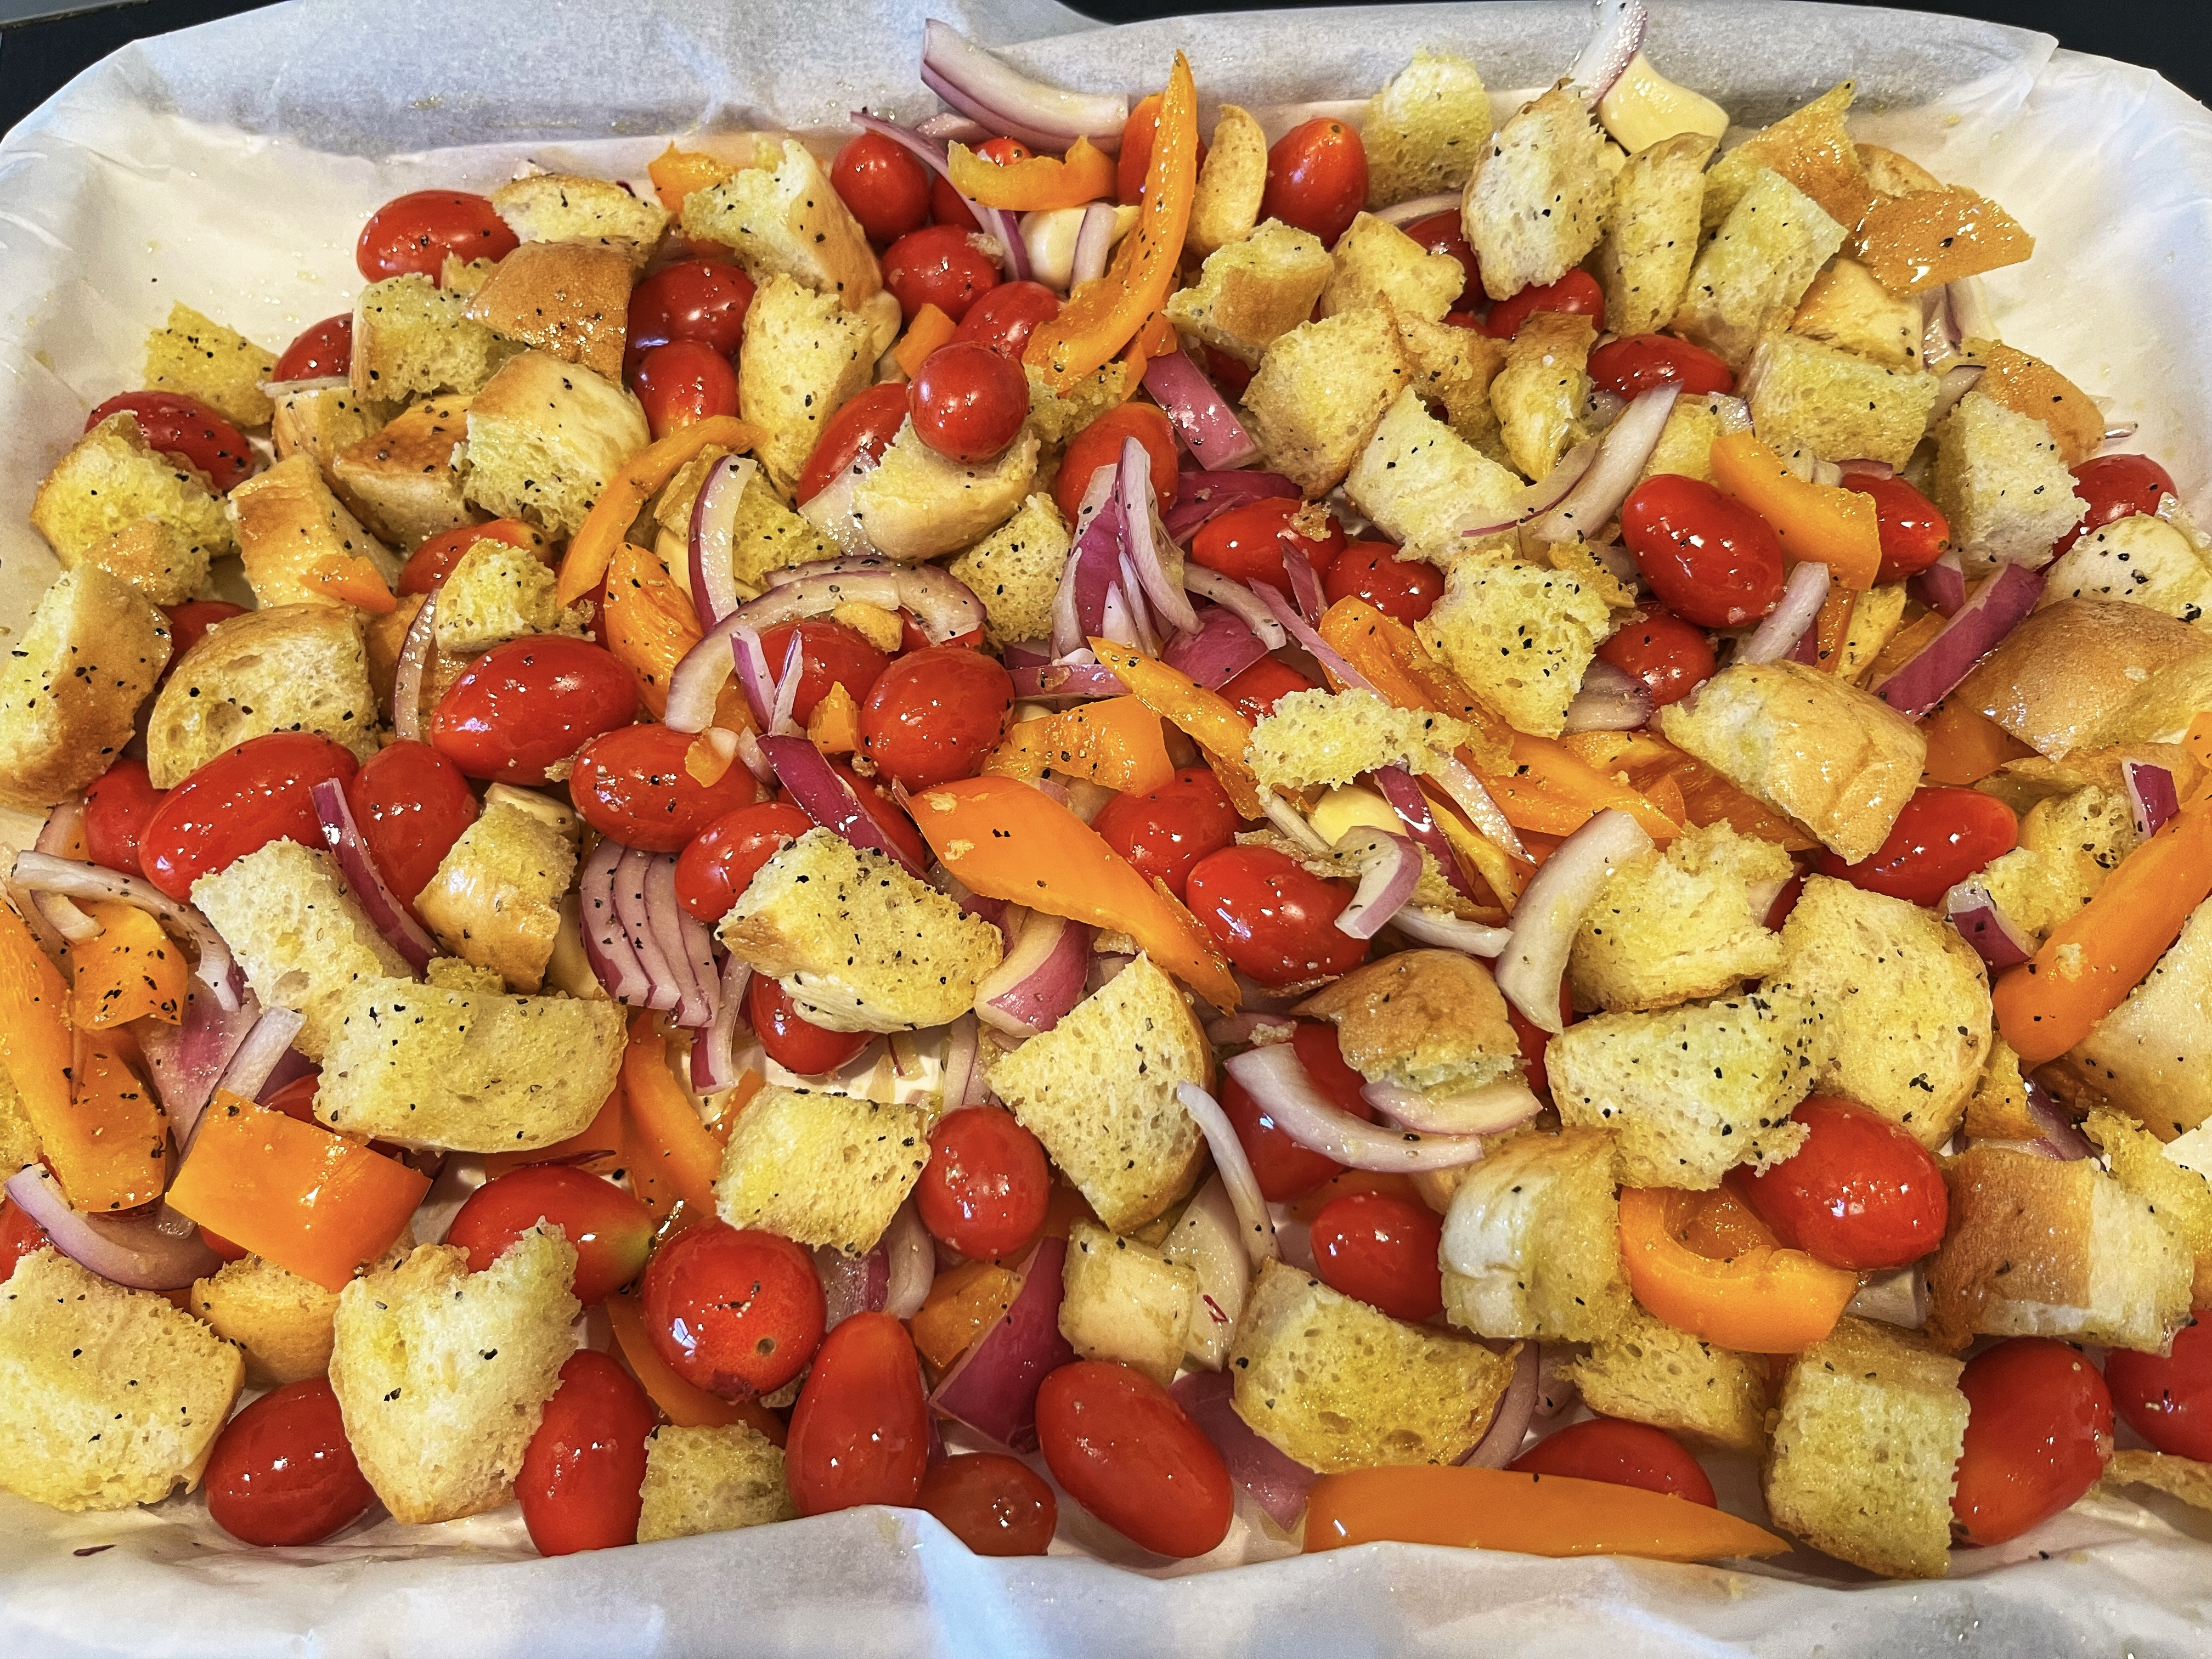
Preheat oven to 400°F. On a rimmed and lined baking sheet, toss bread, tomatoes, onion, bell pepper and garlic with 6 tablespoons oil, ½ teaspoon salt, and several grinds black pepper. Shake the sheet to arrange everything in an even layer.
Bake, shaking the sheet halfway through, until bread begins to turn golden, 10 to 15 minutes.
Scatter the Parmesan over everything and continue to bake until tomatoes burst and bread is golden brown, 8 to 10 minutes longer.
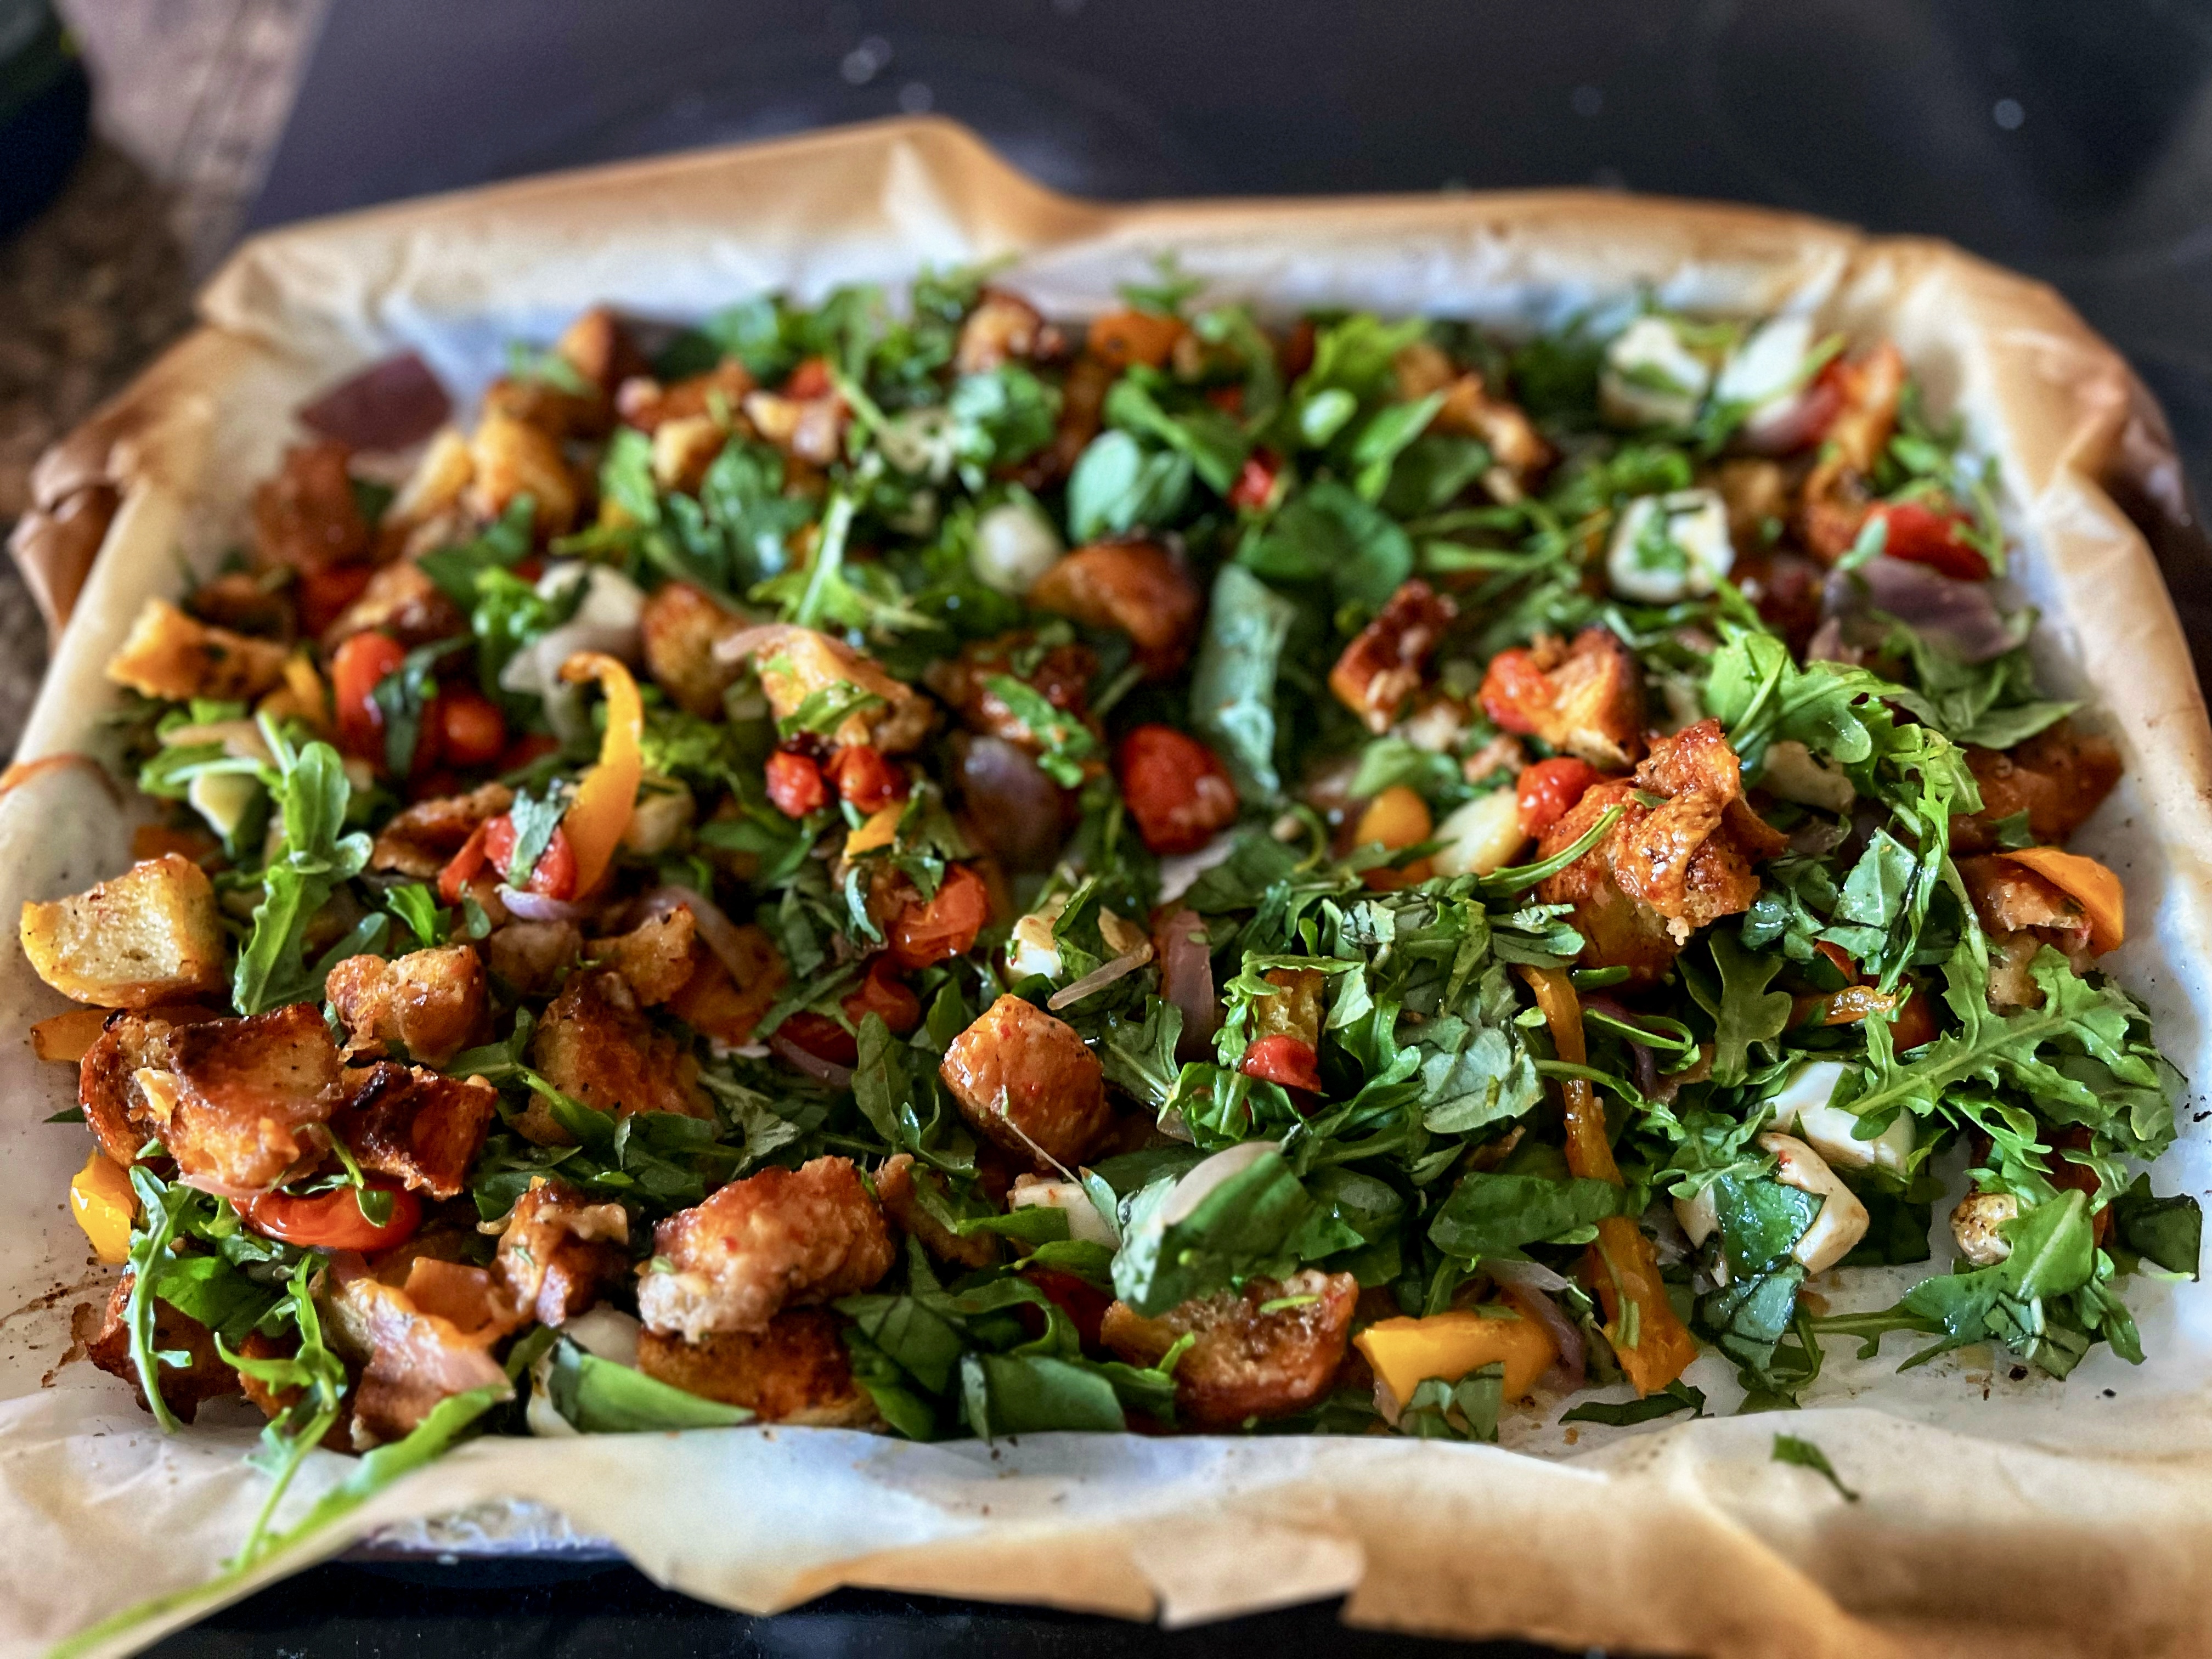
Remove sheet from oven and let cool slightly, about 10 minutes. Add mozzarella, arugula, and basil to sheet pan. Drizzle with vinegar and remaining 2 tablespoons oil, season with ½ teaspoon salt and toss to combine, scraping up any melted bits from the sheet. Serve hot.
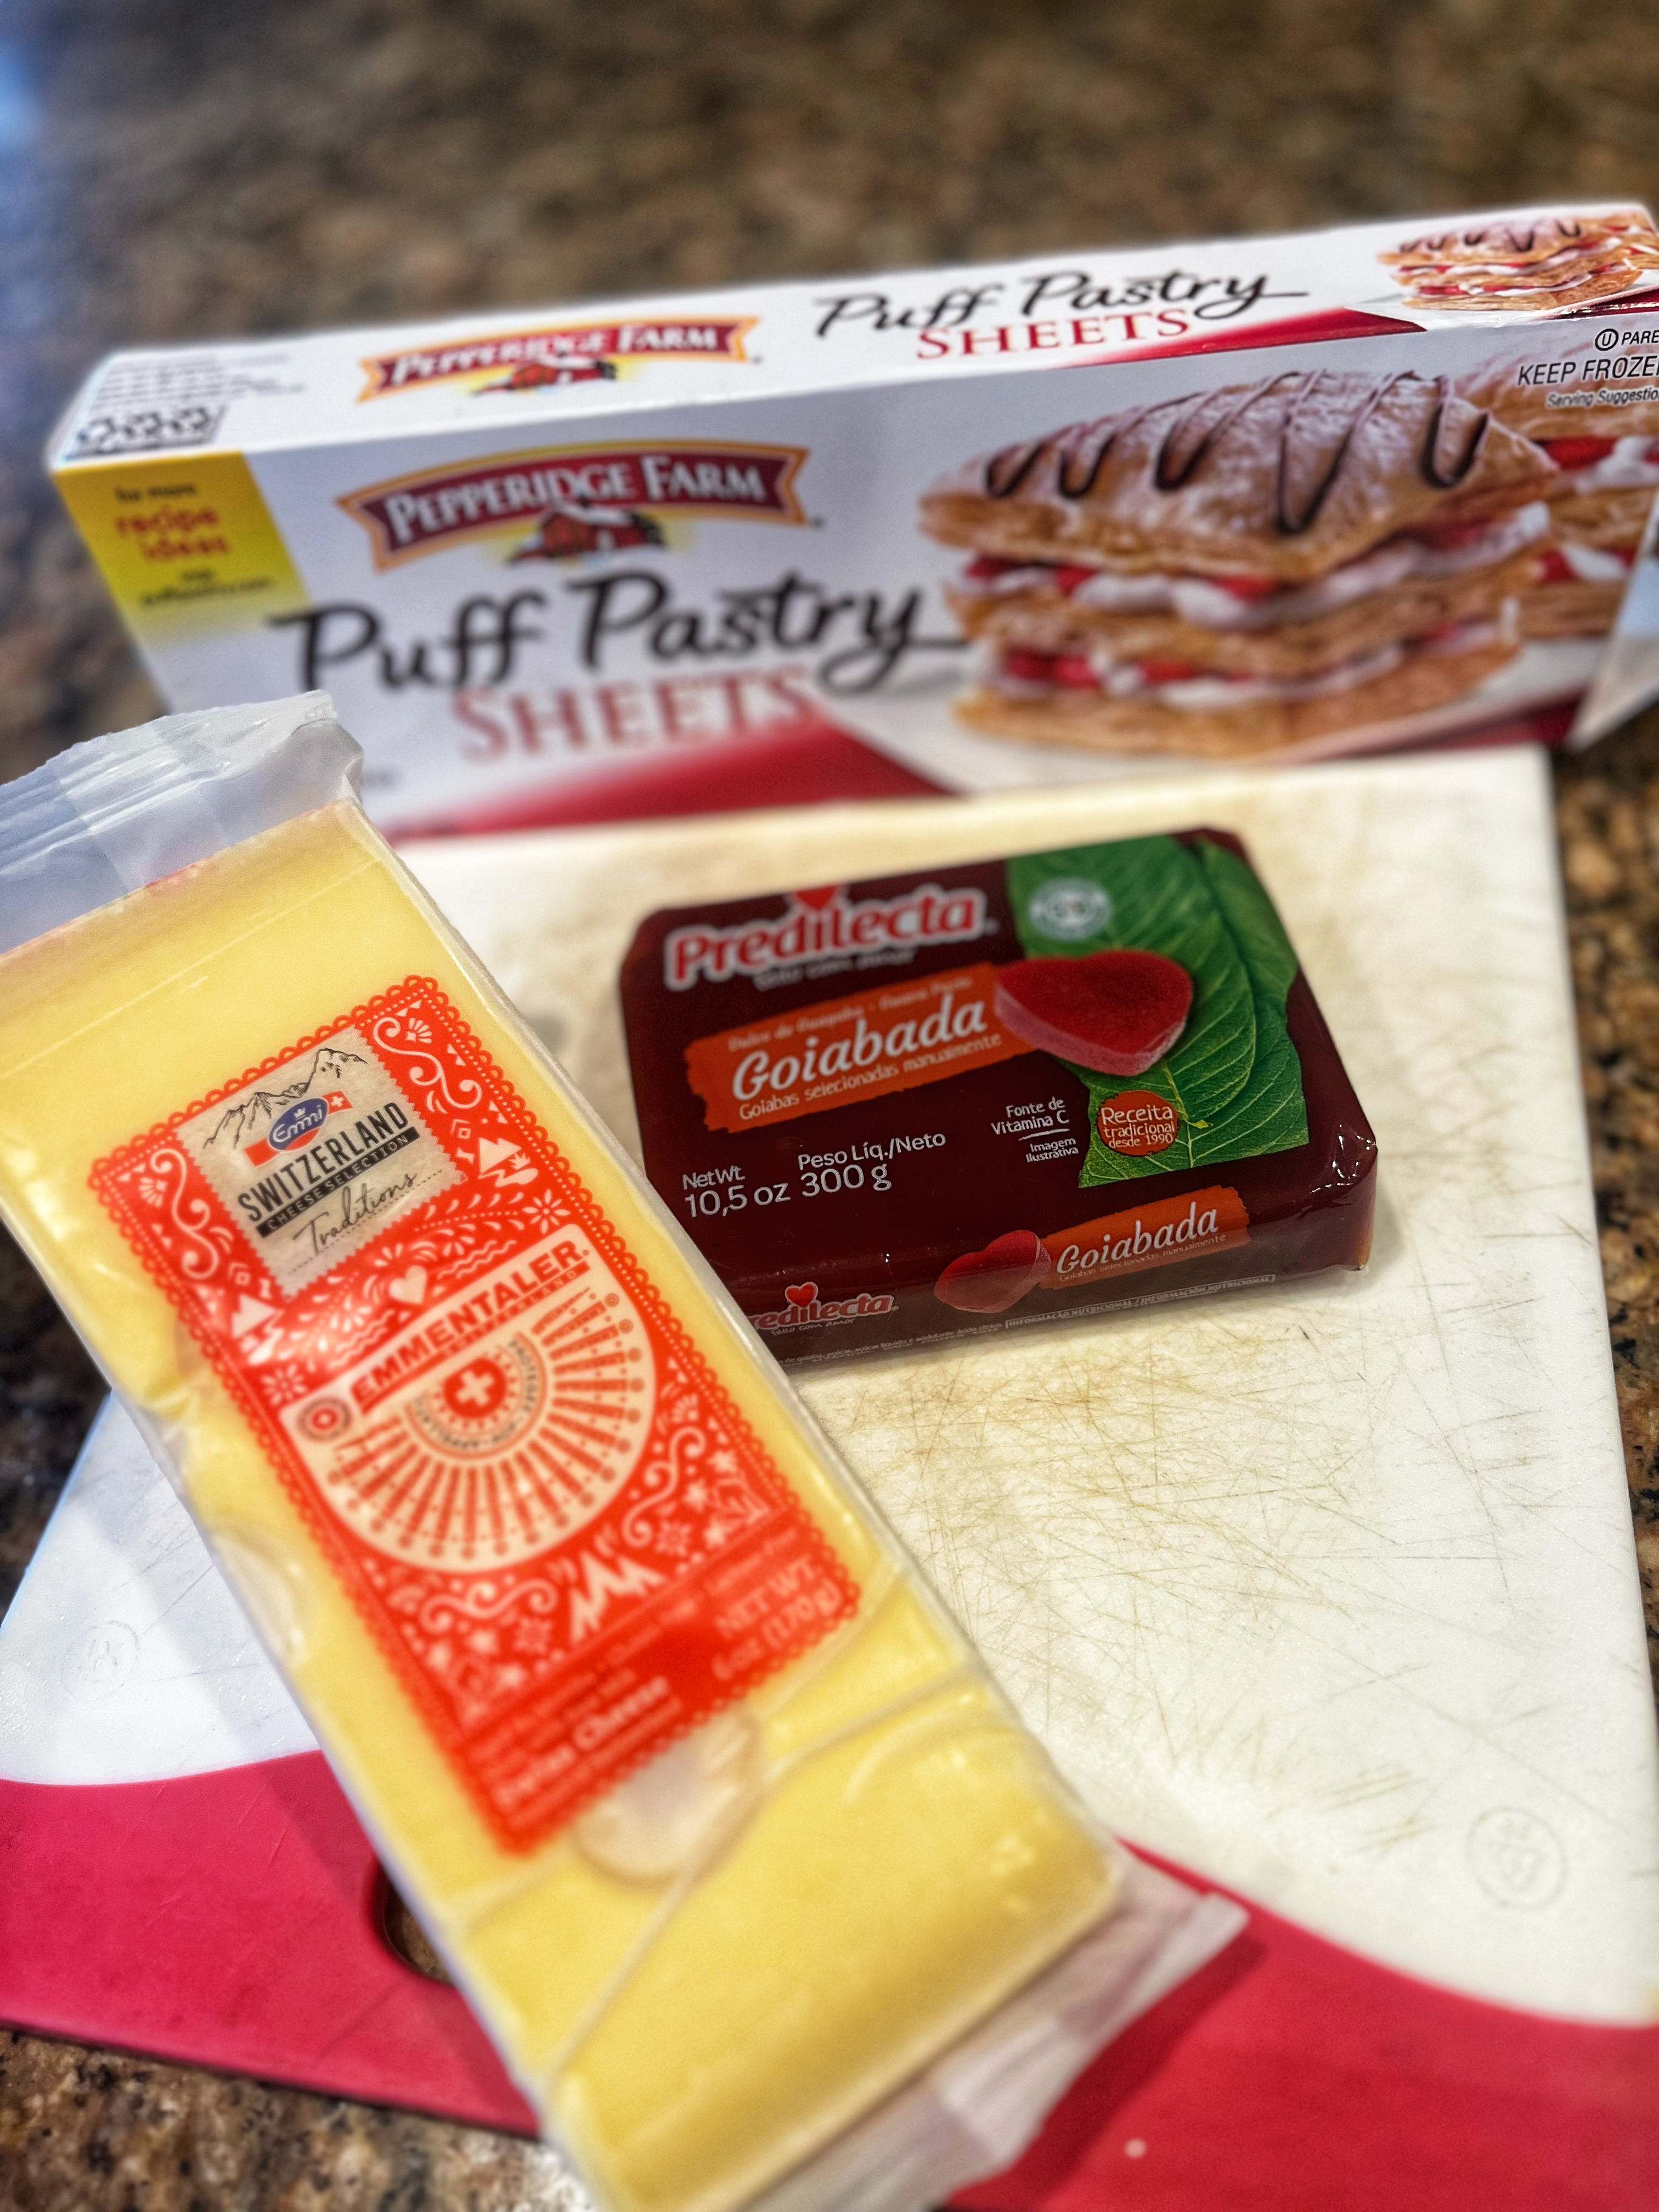
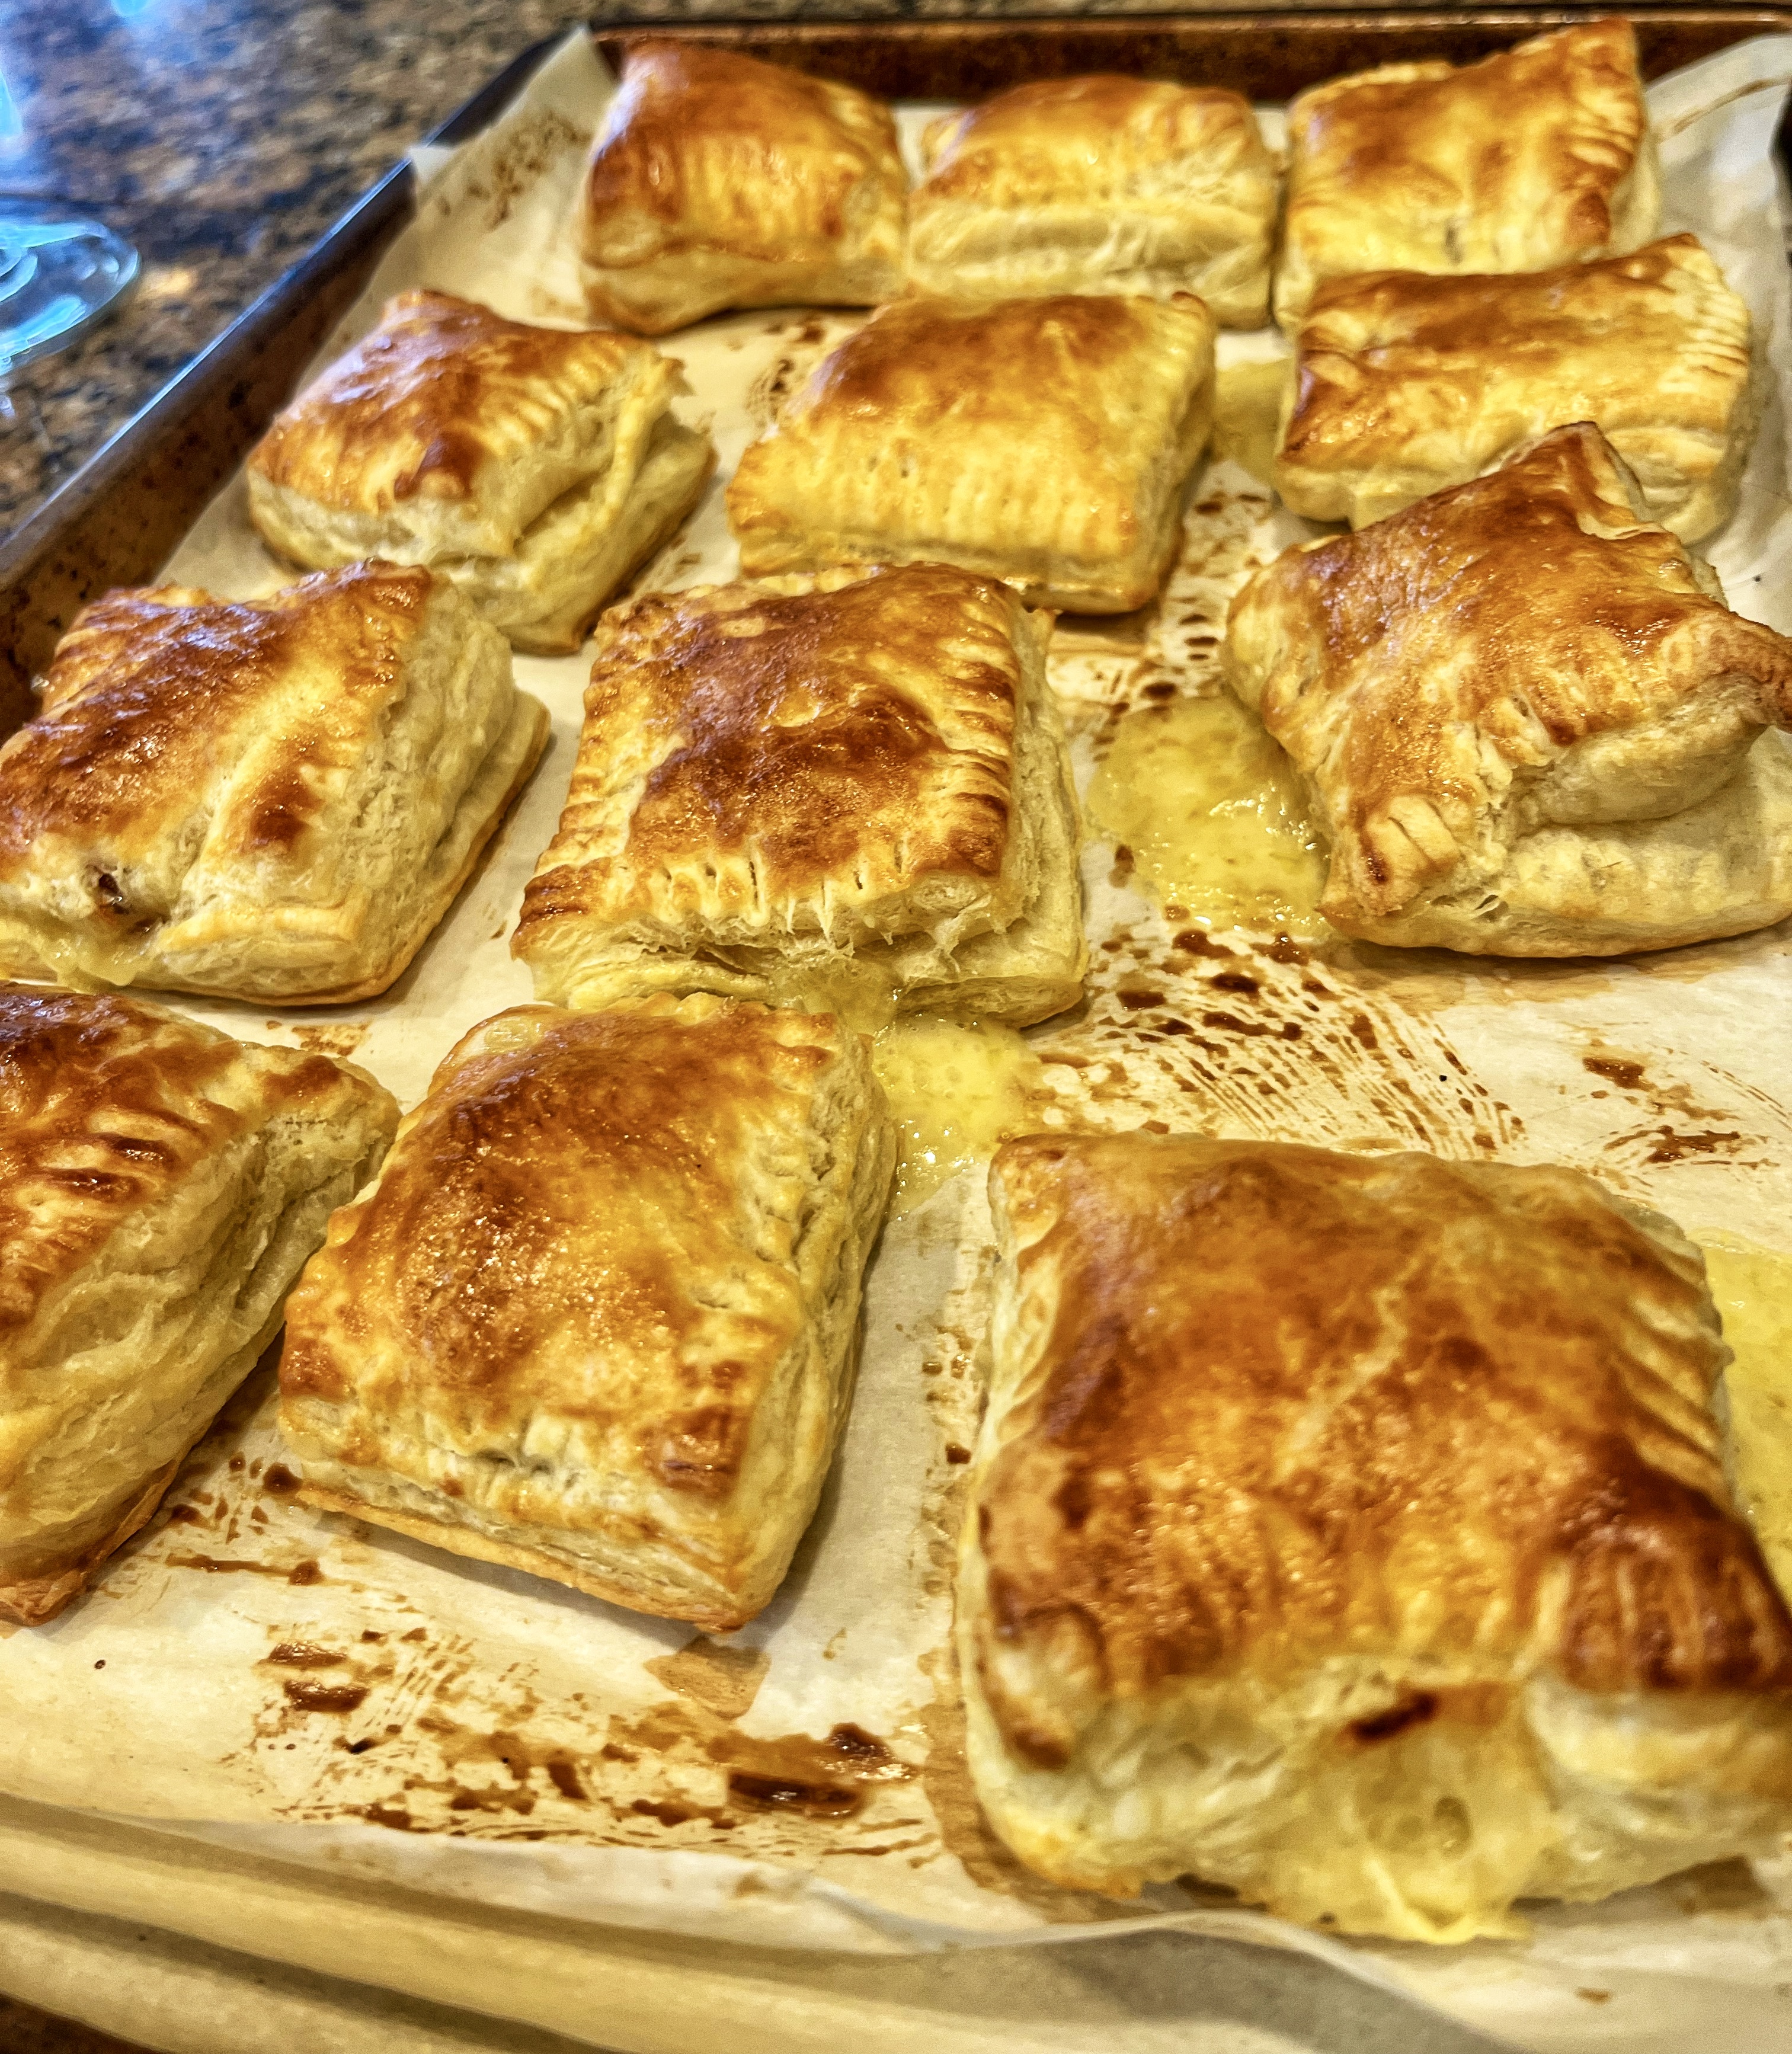
A couple of weeks ago we stumbled upon a farmers market where we stumbled upon ‘Crepe on a Stick.’ I thought “how clever” and ordered myself a guava and cheese on a stick. At that moment I forgot how good that combination of flavors is. Which brings me to this recipe. I recently made these for dinner, but they would be just as good in the morning with a cup of coffee.
Pastelillos de Guayaba
Ingredients
1 package puff pastry (2 sheets)
1 egg
7 oz. guava paste, cut into 16 ( 1/4 inch) slices
6 oz. sliced emmentaler cheese (Swiss or gruyere if you need a substitute) cut into 1/4 inch slices
Directions
Thaw your puff pastry.
Once your pastry has thawed, line a 12-by-17-inch baking sheet with 2 pieces of parchment paper. (The double layer helps to protect your pan when you’re cutting the puff pastry.)
Pre-heat oven to 400 degrees.
Prepare your egg wash by whisking your egg and a splash of water.
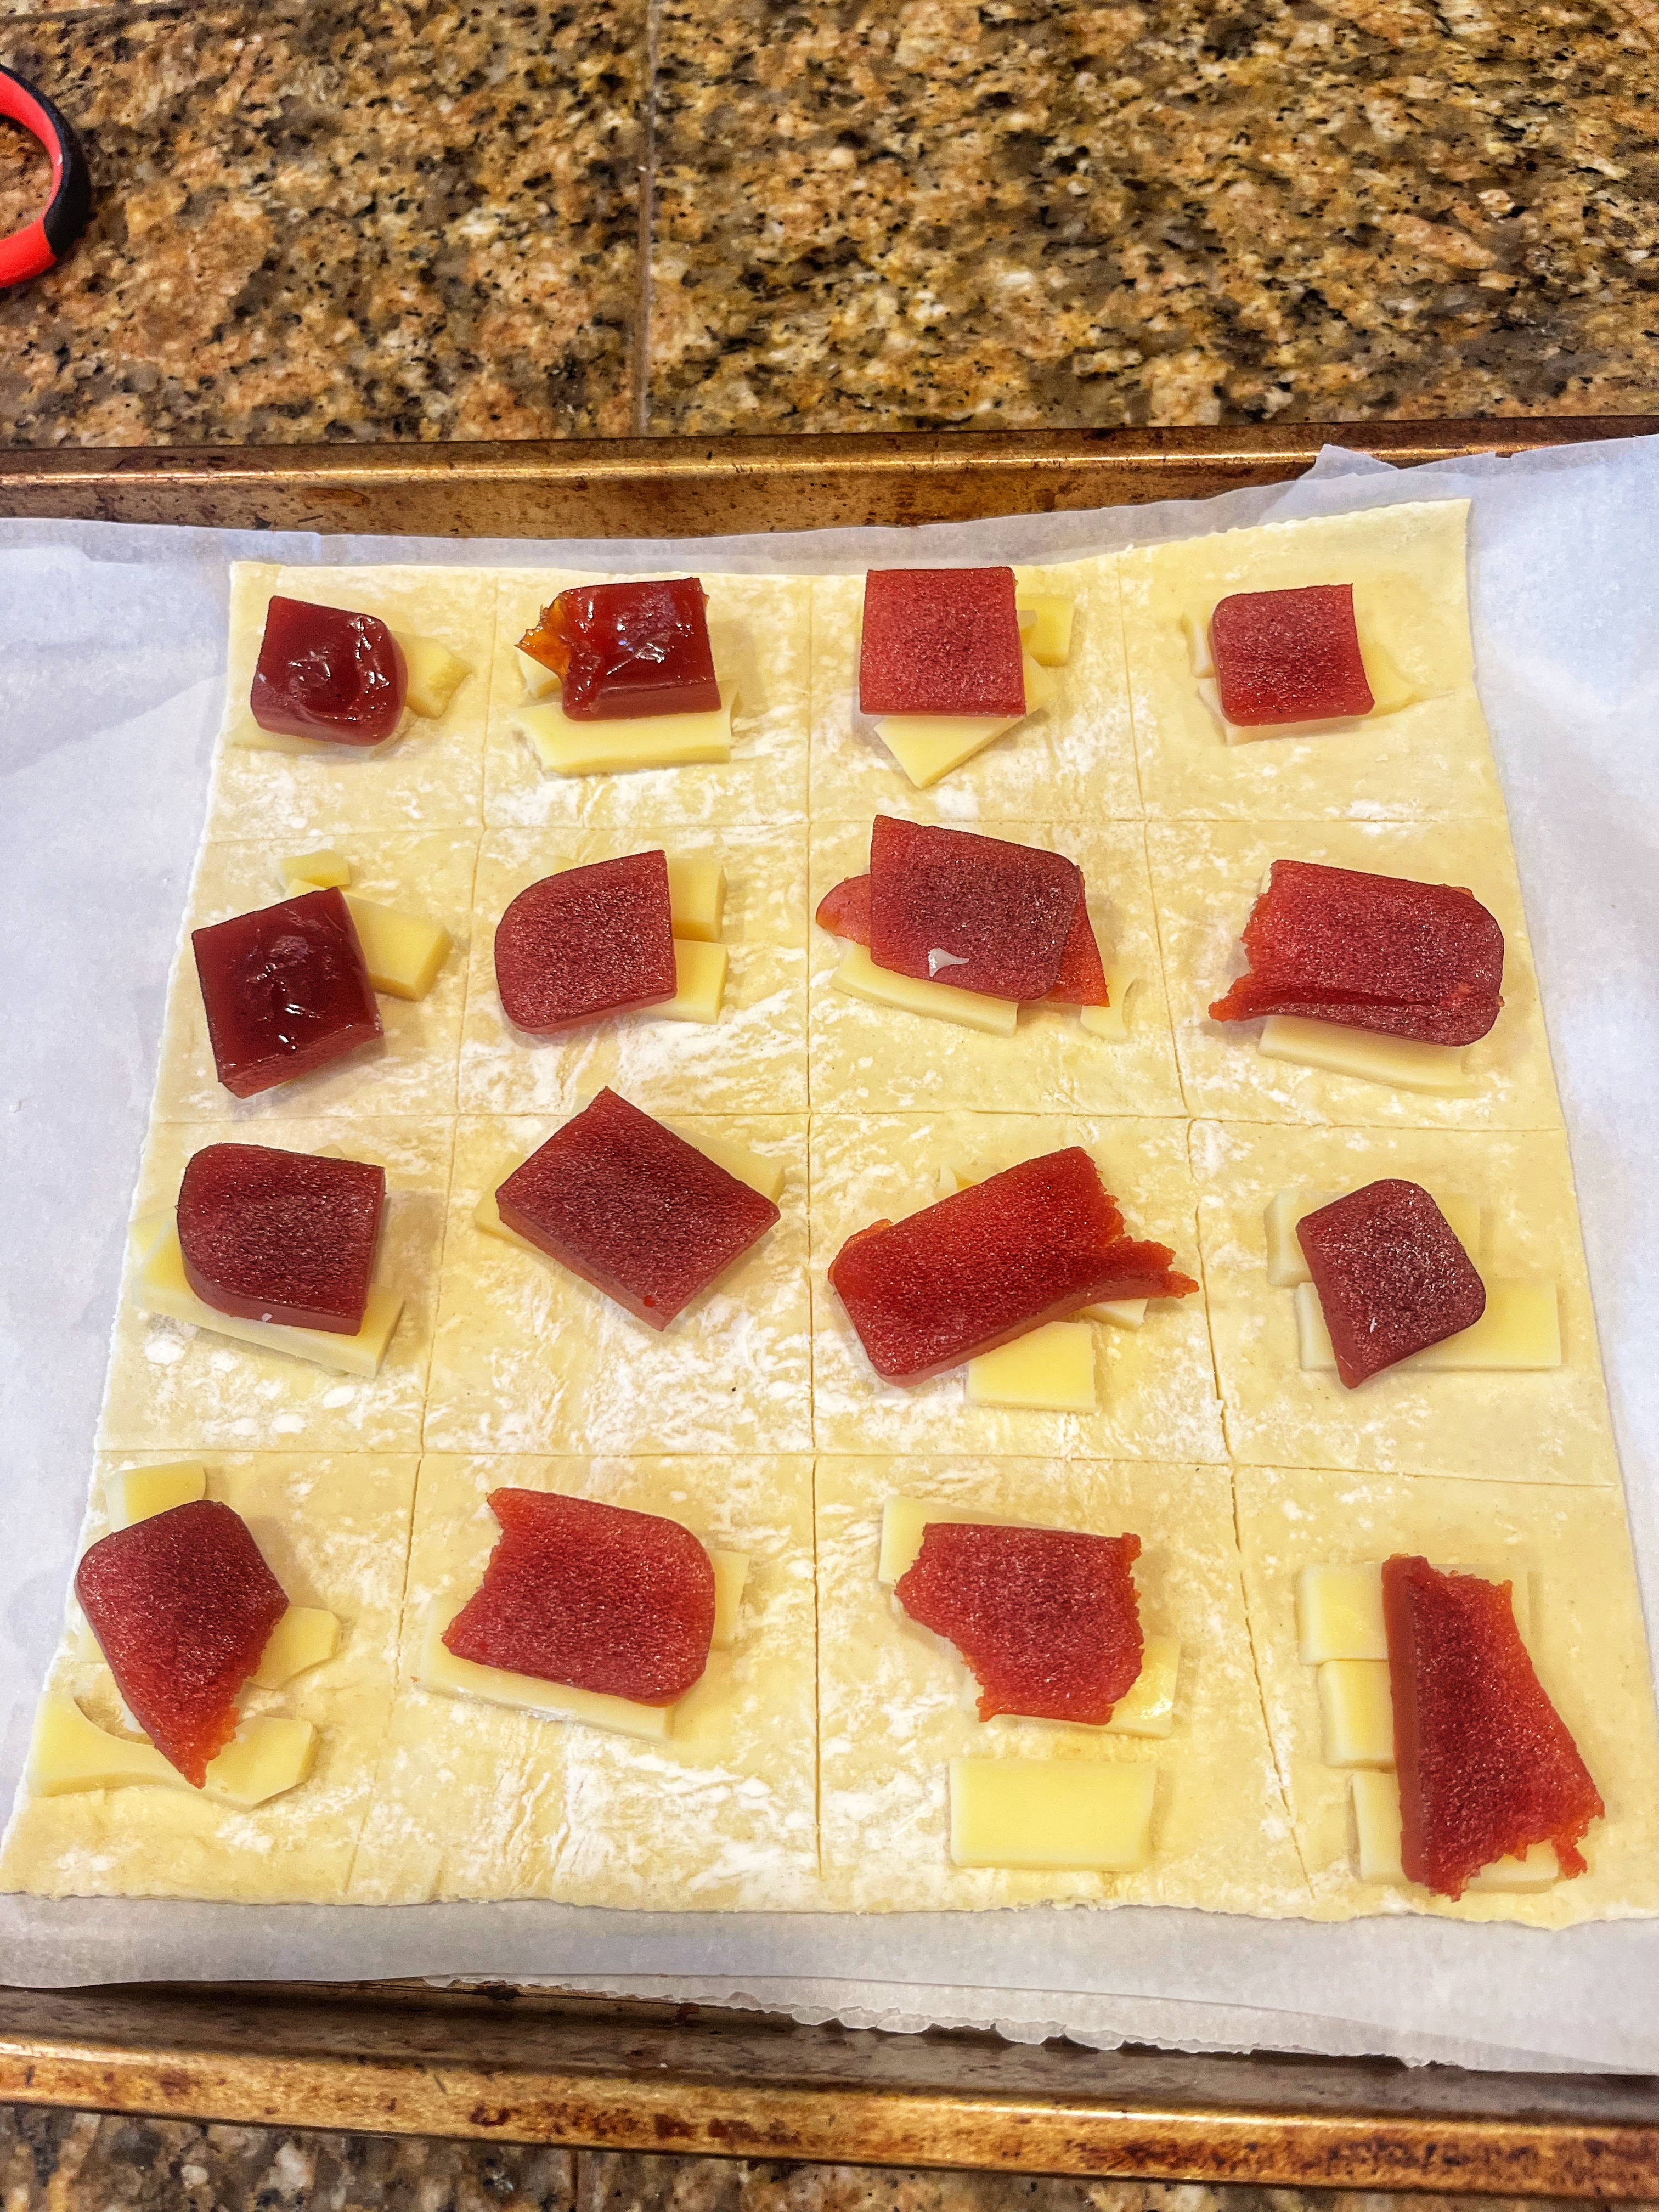
Lay one layer of puff pastry on top of your parchment paper lined baking sheet. Make a 4-by-4 grid (give or take, this isn’t math) and put a piece of guava stacked with cheese on each square…space evenly.
Leave about 1 inch of space in between and top with the second puff pastry sheet.
Using a pizza cutter, slice the puff pastry into pieces, touching the top lightly to determine where to slice.
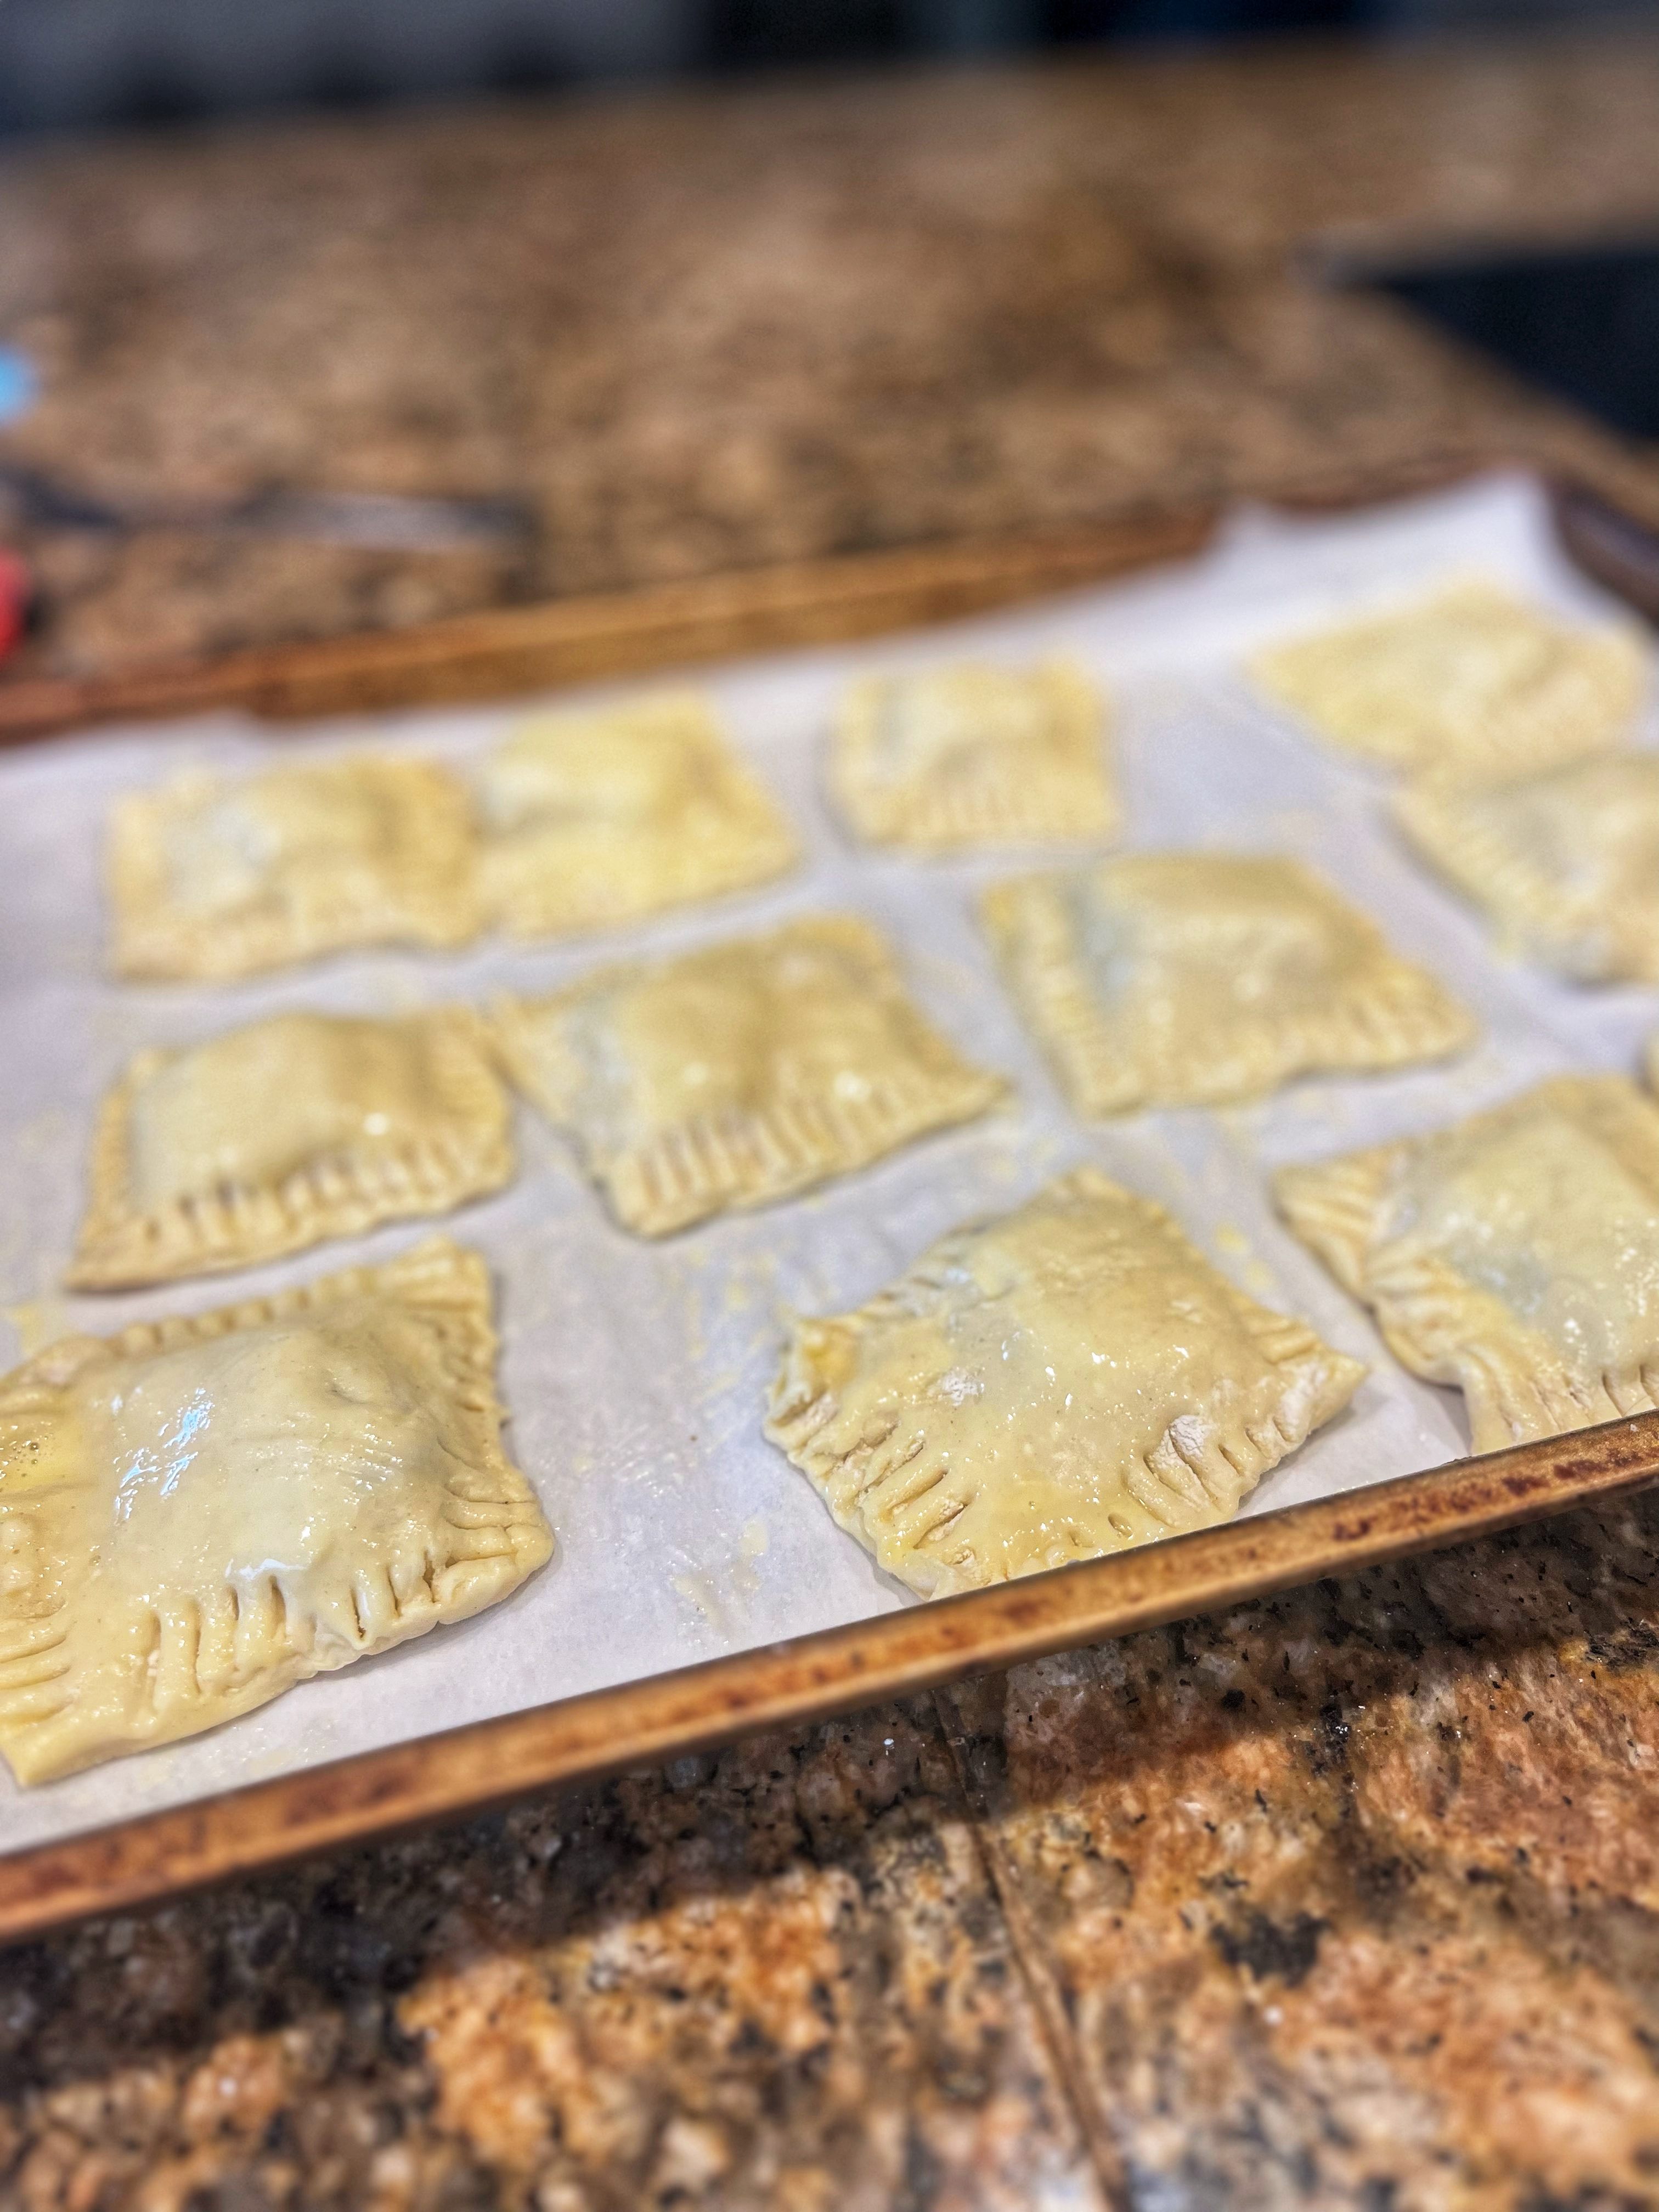
Use a fork to crimp all four edges twice on each side, then arrange them evenly on the baking sheet, leaving space between each. Brush the tops and edges lightly with the prepared egg wash and place baking sheet in the center of the oven.
Bake for 25 minutes or until pastelillos are beautifully golden brown, flaky and puffy.
Let rest for a few minutes or you will be biting into lava.
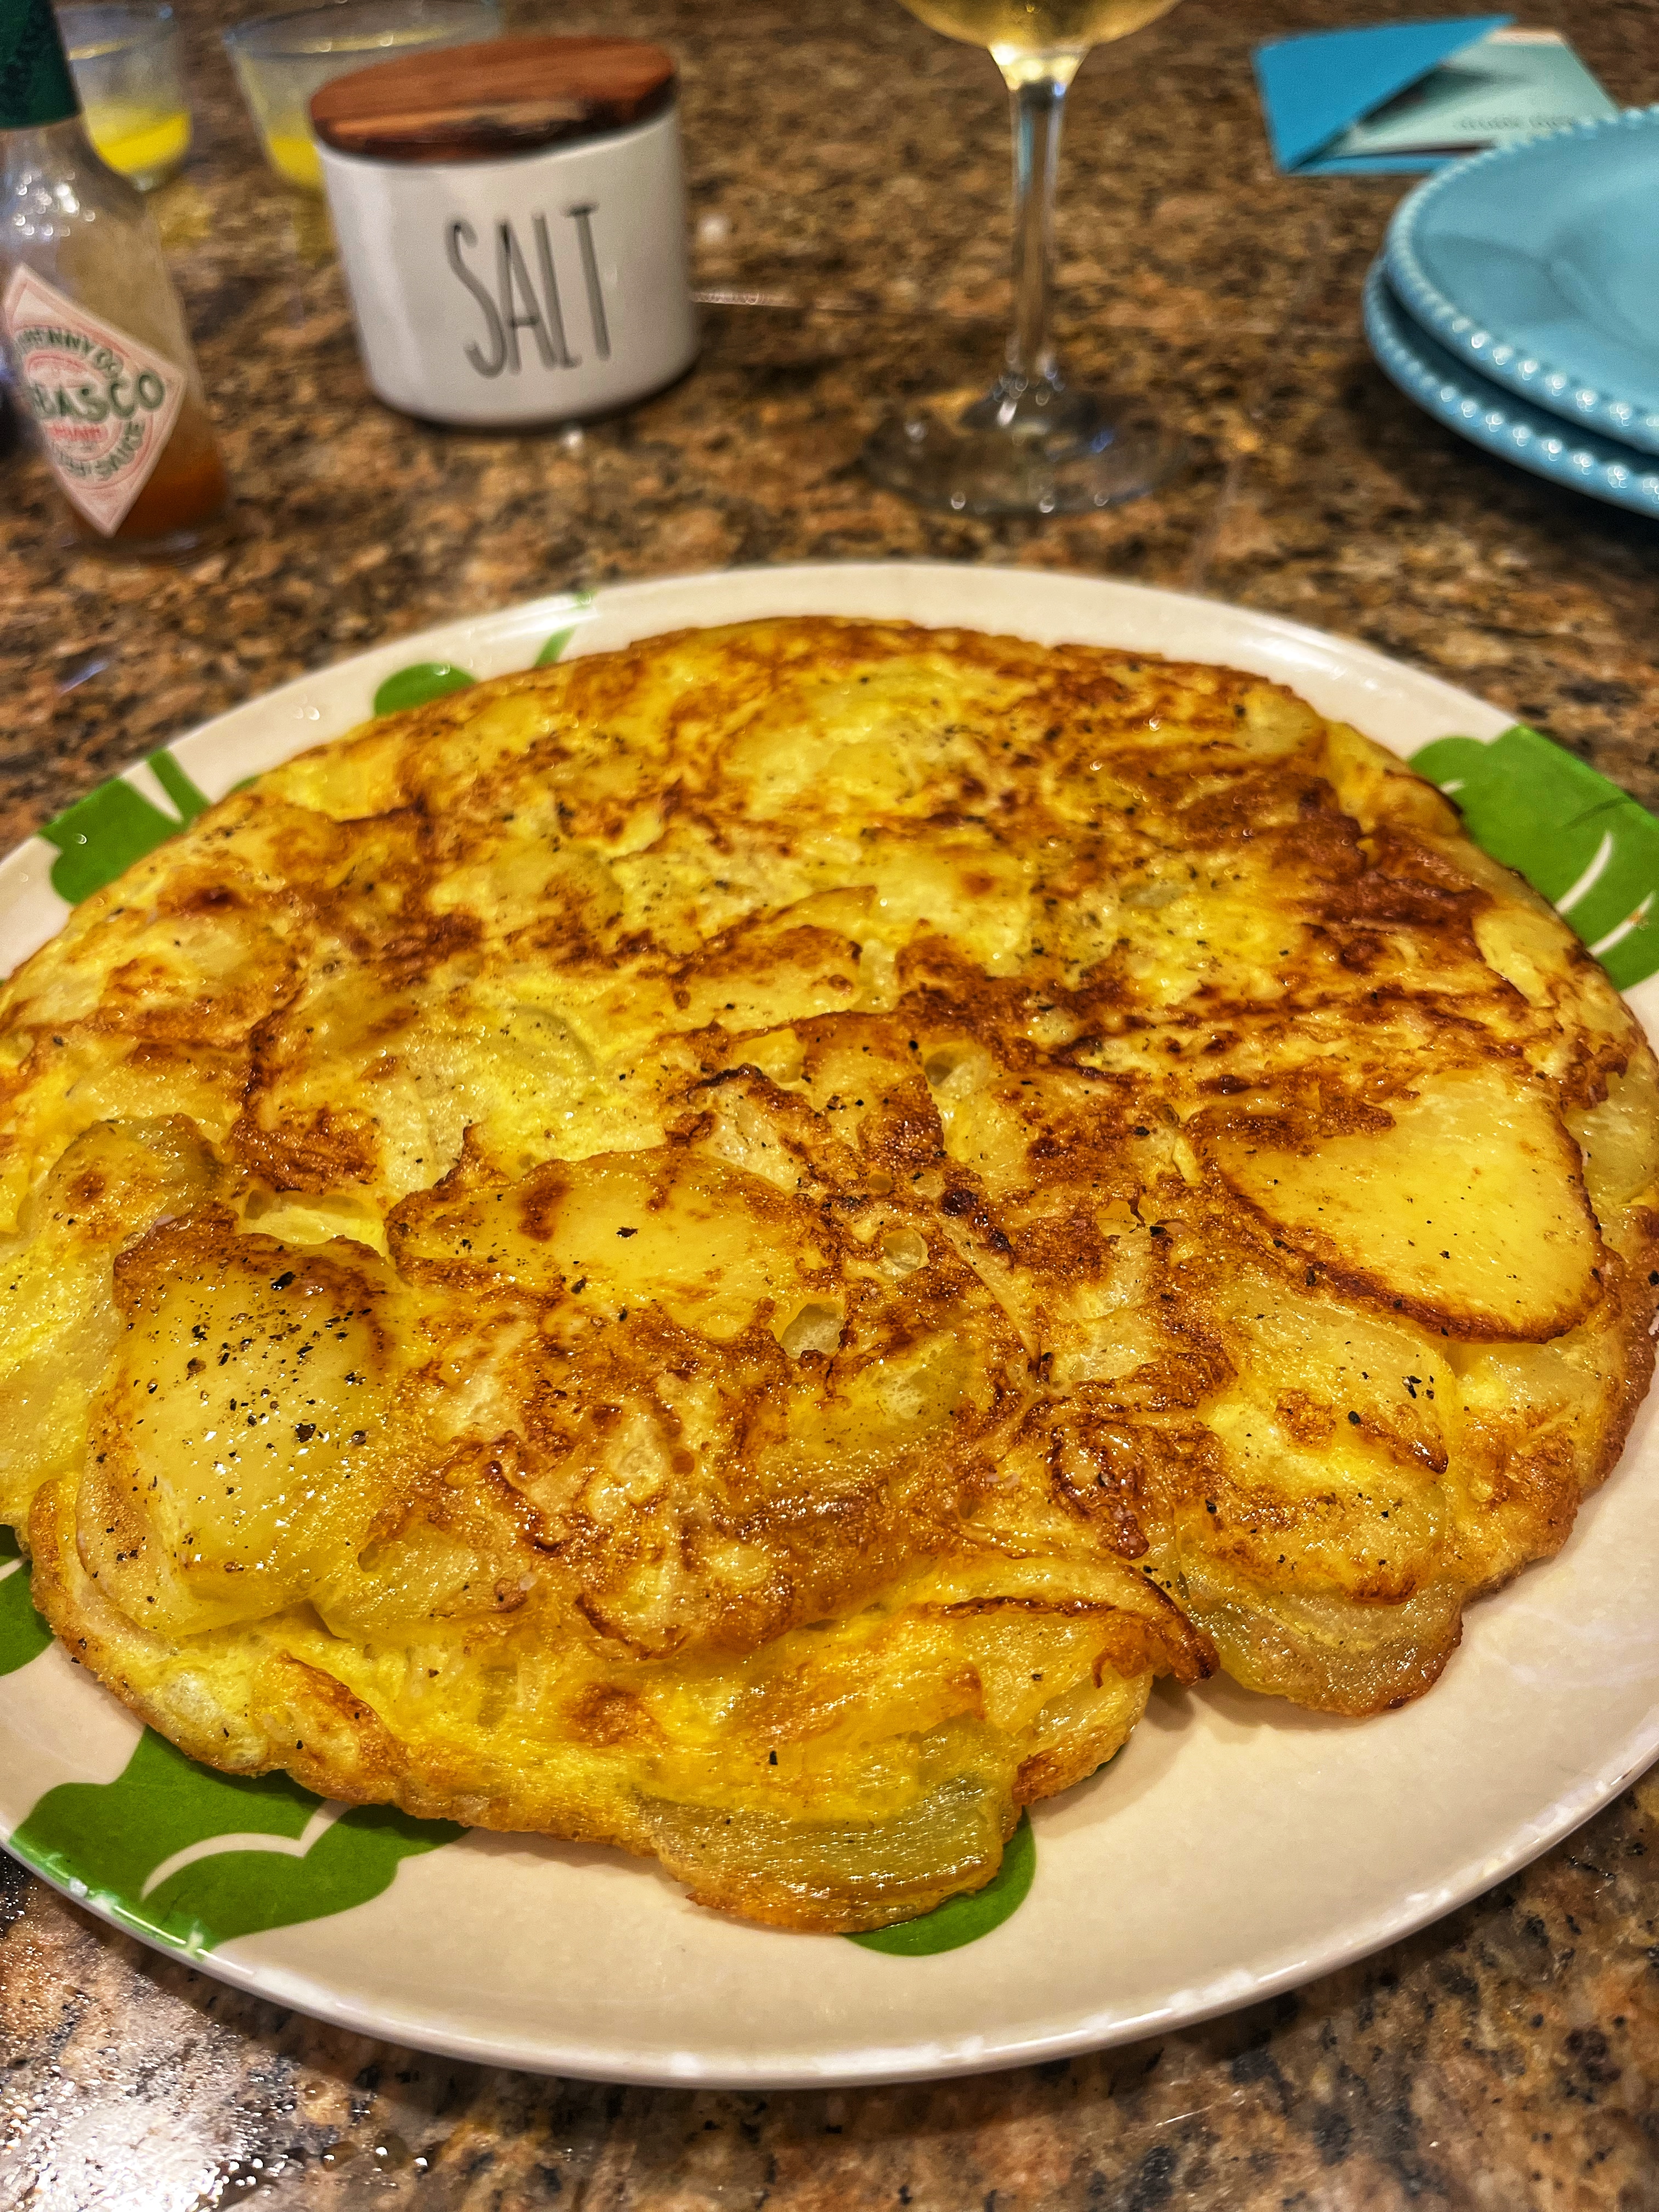
The Spanish tortilla or Spanish omelet is an essential dish in Spain. I am sure if you’ve ever been out for tapas here or in Spain, then you’ve seen it on the menu.
My mom spent three months in Santander, Spain back in 1997 and when she came back she would make this for us, to rave reviews. It is delicious. It has been off my radar until I was watching either Top Chef or Ciao House where they were discussing the tortilla, I wasted no time texting my mom asking for her recipe. She didn’t have her original one anymore but she sent me a recipe that looked closest to what she remembered making.
I actually happened to have all the ingredients on hand..We’ll call that food fate.
In a nut shell…it’s easy to make and only calls for five ingredients, potatoes, eggs, onions, olive oil and salt.
Peel and thinly slice about a pound of potatoes ( I think I used four yellow potatoes), then do the same to one medium onion ( I used a sweet onion, which I think is better for this recipe). Heat the olive oil in a nonstick pan until it’s hot and then add the potatoes and onion. Cook for about 20ish minutes, stirring and turning them until they are soft. Meanwhile whisk four eggs in a large bowl and add a good pinch of salt (I also added a few grinds of fresh pepper). Next you’re going to add the potatoes and onions and stir to incorporate them.
Reheat the same pan and add some more olive oil. Pour in the tortilla mixture and swirl the pan as you would an omelet. Cook 6 to 7 minutes until egg is set.
Take the tortilla out of the pan and put the cooked side on a plate. Flip the pan and place it on top of the tortilla as a lid. Flip the plate and pan together to flip the egg in the pan. Cook the other side for another 6 to 7 minutes.
You can eat it right away or wait and enjoy it at room temperature. It’s good any time of day and I like to add a few dashes of Tabasco to mine, Tabasco and eggs are meant to be.
We woke up Tuesday morning to a Royal Caribbean ship docking right next to us in Puerto Vallarta.
Our plan for the day was to get to Los Muertos beach, eat lunch and lay in the sun.
We walked around until we found a place that had some open chairs on the sand and that place ended up being Burros Bar.
We ordered margaritas, I had a Cadillac and my babe got the mango, and apparently it was two for one.
For food we ordered the shrimp aguachile to share, a shrimp quesadilla and a shrimp burrito. Her burrito was the best and I really wish had ordered the snapper, food regrets are the worst.
After lunch we walked down to the beach and laid out for awhile.
After a couple of hours we found ourselves ready to head back to the ship where we could lay by the pool and the drinks were already paid for.
We stopped for some ice cream at one of the ports shops, dropped our stuff in our cabin and situated ourselves by the pool.
Before heading back to our room we watched the Royal Caribbean ship depart port.
After dinner we decided to watch a show called “Rock you Tonight” It was bad, if we were watching a high school performance then it would have been pretty good, but for cruise ship entertainment it was really not good. The entertainment in general was poor. I ended the night not feeling very hot so we went back to the room and said goodnight to Tuesday.
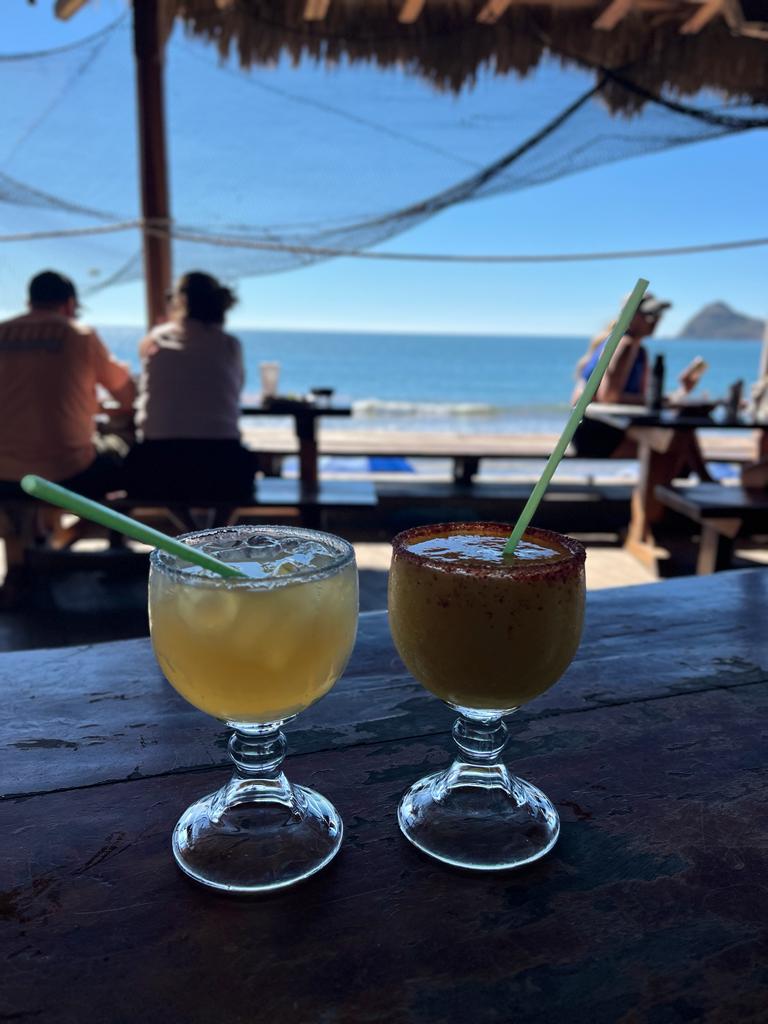
Wednesday was Mazatlan and sadly we were only there from 7:00 to 2:00. We got off the ship around 9:00, took a cab to a beach somewhere, and then we just walked until we found a man who offered us a couple of lounge chairs for a small fee.
As we were lounging in the sun wishing for a drink, a man with a menu appeared. He claimed that him and his mom were from Cabo and that they are making drinks in the alley. Shawna and I glanced at each other questionably and then said “ok, why not?”. My babe was braver than me and she ordered a very large mango margarita…..I ordered a Tecaté, playing it like a wuss. Her drink was really good and once again I had a drink regret because the nice man never came back, sigh.
We had an alarm set to make sure we allowed time for lunch.
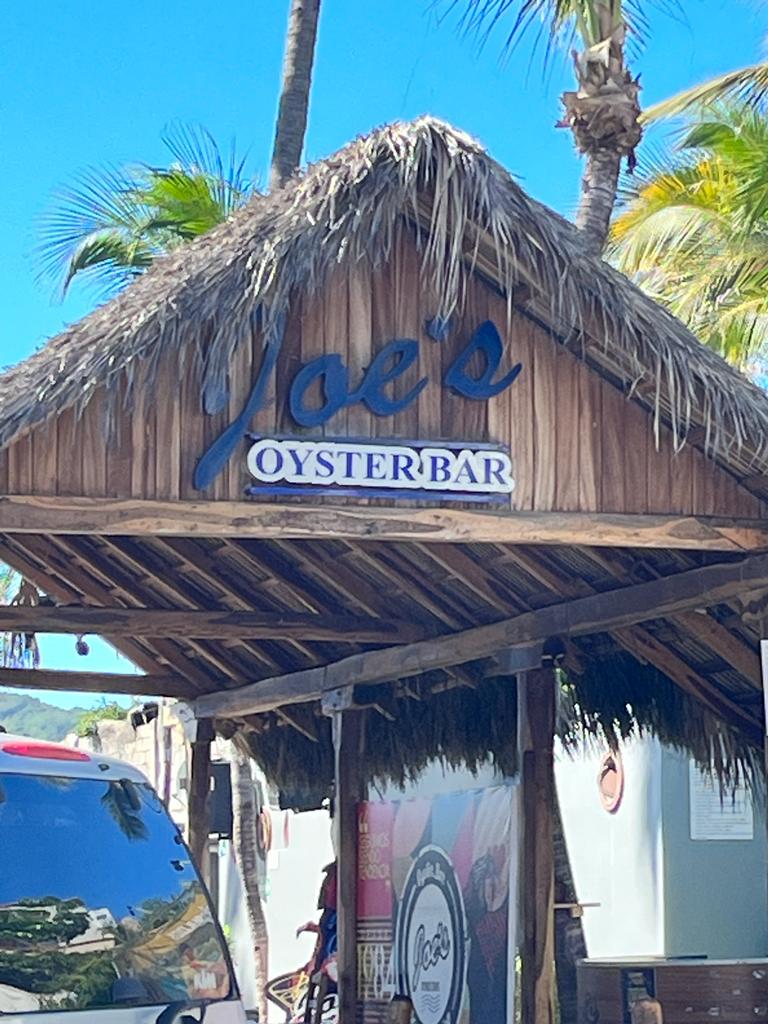
We walked back down the beach until we hit Joe’s Oyster bar and popped in there.
Once again we ordered ceviche and shrimp tacos.
The shrimp in the tacos were fried, and they were SO DELICIOUS!
Our time was up so we went back to the ship and to the pool which was already crowded. We spent the afternoon swimming, drinking and meeting new people.
We took that night off, brought dinner down to our room and just watched a couple of movies. Oh, I forgot to mention the food at the buffet. It was set up by different stations, salad, pizza, entrees, desserts etc. But every day one side of the entree station had four or five Indian dishes, plus condiments such as chutney and raita. You guys, it was the best thing on the ship. Every dish, each day was phenomenal. Anyhow, that is what I had dinner that night.
And just like that it was Thursday which was our last day at sea. When we woke up we were rocking and rolling, we peeked out our window and this is what we saw….
Obviously, we wouldn’t be outside so we looked at the daily schedule of events to try and plan an inside day. Norwegian didn’t have as many fun ‘at sea’ activities as Holland America did. I am not sure if it was the actual games, the cruise staff or the guests, maybe all of the above, but it was all just blah.
We wandered around, popping into the bridge.
Played a little basketball in the arcade.
We watched a dance class from the safety of the back of the lounge while sipping Dirty Shirley’s.
Then we saw the sun really making an effort so we bundled up, grabbed our books and went to the pool deck.
But we couldn’t hang. The wind was ICE. So we took that as a sign to just go read in the room until dinner. We had reservations at Le Bistro that evening. I opened last years birthday gift to enjoy while getting ready.
It was DELICIOUS!
We both ordered the Escargot Bourguignonne, I got the Coq au Vin and my babe got the Duck de Canard. I guess I only took one photo and it was of the escargot, so voila!
The dinner was pretty good and after we headed to Bliss lounge to watch Karaoke and that was a lot more entertaining than the rock show, that’s for sure. The next day was our final day and we spent it in Ensenada.
We kicked off the spooky season with my first visit to Knott’s Scary Farm.
We went straight to an amazing looking roller coaster. The lights were all lit up and it looked like a boardwalk. The ride was so fun we did it multiple times. The downside, the exit took us into clown alley. Yes, I know that I am an adult, but I have an irrational fear of clowns…sigh, I am not proud. It took all that I had to not look them, even when they came running at me head on…Otherwise I would have cried.
We had a such good time, rides at night are just better. Parts of the park were very dark and creatures of all sorts would follow us around breathing down our necks and jump out at us. A lot of them had on shoes with metal taps so when they ran and slid at you, it made an awful sound..basically scaring the shit out of us at every corner we turned.
We were walking through a very dark area with fog machines clouding our path when we realized why so many people run in the wrong direction in horror films. You know how we scream at those idiots? Well, we were them…We had a hard time figuring out where we were and where we were headed. If was legit in danger, I would have just fell to the ground and succumbed to my death.
However, it was fun and definitely something to do again.
The girls had fun at the store trying on masks.
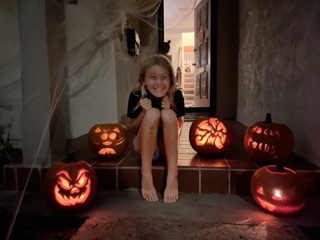
We hit the pumpkin patch and we made it easy on ourselves this year. We went to one in Temecula, gave the girls some money, grabbed a glass of wine, and hung out while they did all of the things. Petting zoo, panning for gems, snow cones and all of the other shit that is a waste of money.
We no longer buy our pumpkins at the actual patch which saves a lot of money. We just grab them at a local store on our way home, the girls don’t care.
Then we carve them and then they die. {the pumpkins, not the girls.}
Luckily we got a few photos of our artistry before they wilted 20 minutes later.
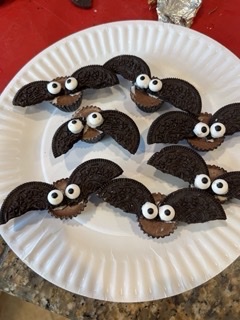
The next day we made Oreo bats and I realized that the girls are almost too old for these food crafts. They just want to eat the ingredients rather than create. However, I MADE THEM HAVE FUN!
These are super simple using only 3 ingredients.
Oreos, bite size Reese’s and candy eye balls. We used the oreo filling as the glue for the wings and the eyes. Pop them into the fridge for 10 minutes to set or don’t and just eat them right away.
I think they turned out cute!
The girls have their costumes and we are excited to take them out Monday night, and then go right home to inspect their candy! {aka take all the good stuff}
We get to see Dave Matthews in less than 45 days, I think…. Math is not my strong suit.
With the Dead and Company being on tour and Dave has finally gone out to tour this summer, I can’t help but remember THAT DAY.
May 20, 1995
I went to Vegas to see the Grateful Dead. It was hot, I wasn’t old enough to gamble and I remember being so afraid of being dosed with acid. You laugh, but we heard that squirt bottles had been dosed with acid, sigh. I walked into the outdoor stadium, it was sweltering, people were selling cold fruit, and squirting people with “water”, I put myself into panic mode, ha! But, then….this band came on stage and that was that. I fell in love right there. Soooo, I can NOT wait to see him live again with my favorite person.
Last Saturday I asked the girls what they wanted for breakfast. Being that we didn’t have pancake mix (no I am not making it from scratch, eye roll). They branched out. One asked for avo toast and another, toad in a hole (egg in toast). Extra, or kids who still need to dip everything they eat in a condiment, now insert eye roll.
I made a very good scallop recipe.
You had me at spicy herb oil.
Reality check. We can combine all of the herbs, add in some salt and some spice and we could pair it with anything. Steak, chicken, fish, pasta….seriously you guys, it’s so flavorful, and fresh and perfect for summer.
To give this dish a more Asian influence, add 1 tsp of sesame oil to the herb oil mixture.
This recipe comes from Chef Tory Miller
Pan-Seared Scallops with Heirloom Tomatoes & Spicy Herb Oil
INGREDIENTS
8 Jumbo Scallops
Salt, to taste
fresh ground pepper, to taste
2 Tbs Butter
Herb oil
1 Tbs fresh flat-leaf parsley
1 Tbs chopped fresh chives
1 Tbs chopped fresh mint
1 Tbs chopped fresh Basil
1 Tbs minced garlic
1 Tbs minced shallot
1 Tbs soy sauce
1 Tbs fish sauce
1/4 cup evoo
1 fresh Thai chili, thinly sliced
2 cups fresh, ripe cherry tomatoes
1 lime, halved
Pat the scallops dry with a paper towel. Season with salt and pepper.
Heat the oil in a skillet over medium-high heat. Add the scallops and cook without turning or moving until they start to turn brown around the edges. Add the butter to pan. When melted, use the butter to baste the scallops to complete the cooking. Do not turn the scallops. This whole cooking process should take around 5 minutes.
Remove from heat and set the scallops on a paper towel lined plate.
To make the herb oil, mix all the ingredients in a bowl and stir well.
Arrange the tomatoes on a plate. Season with salt and pepper. Add the cooked scallops and drizzle with the herb oil. Squeeze the lime juice over the entire dish.
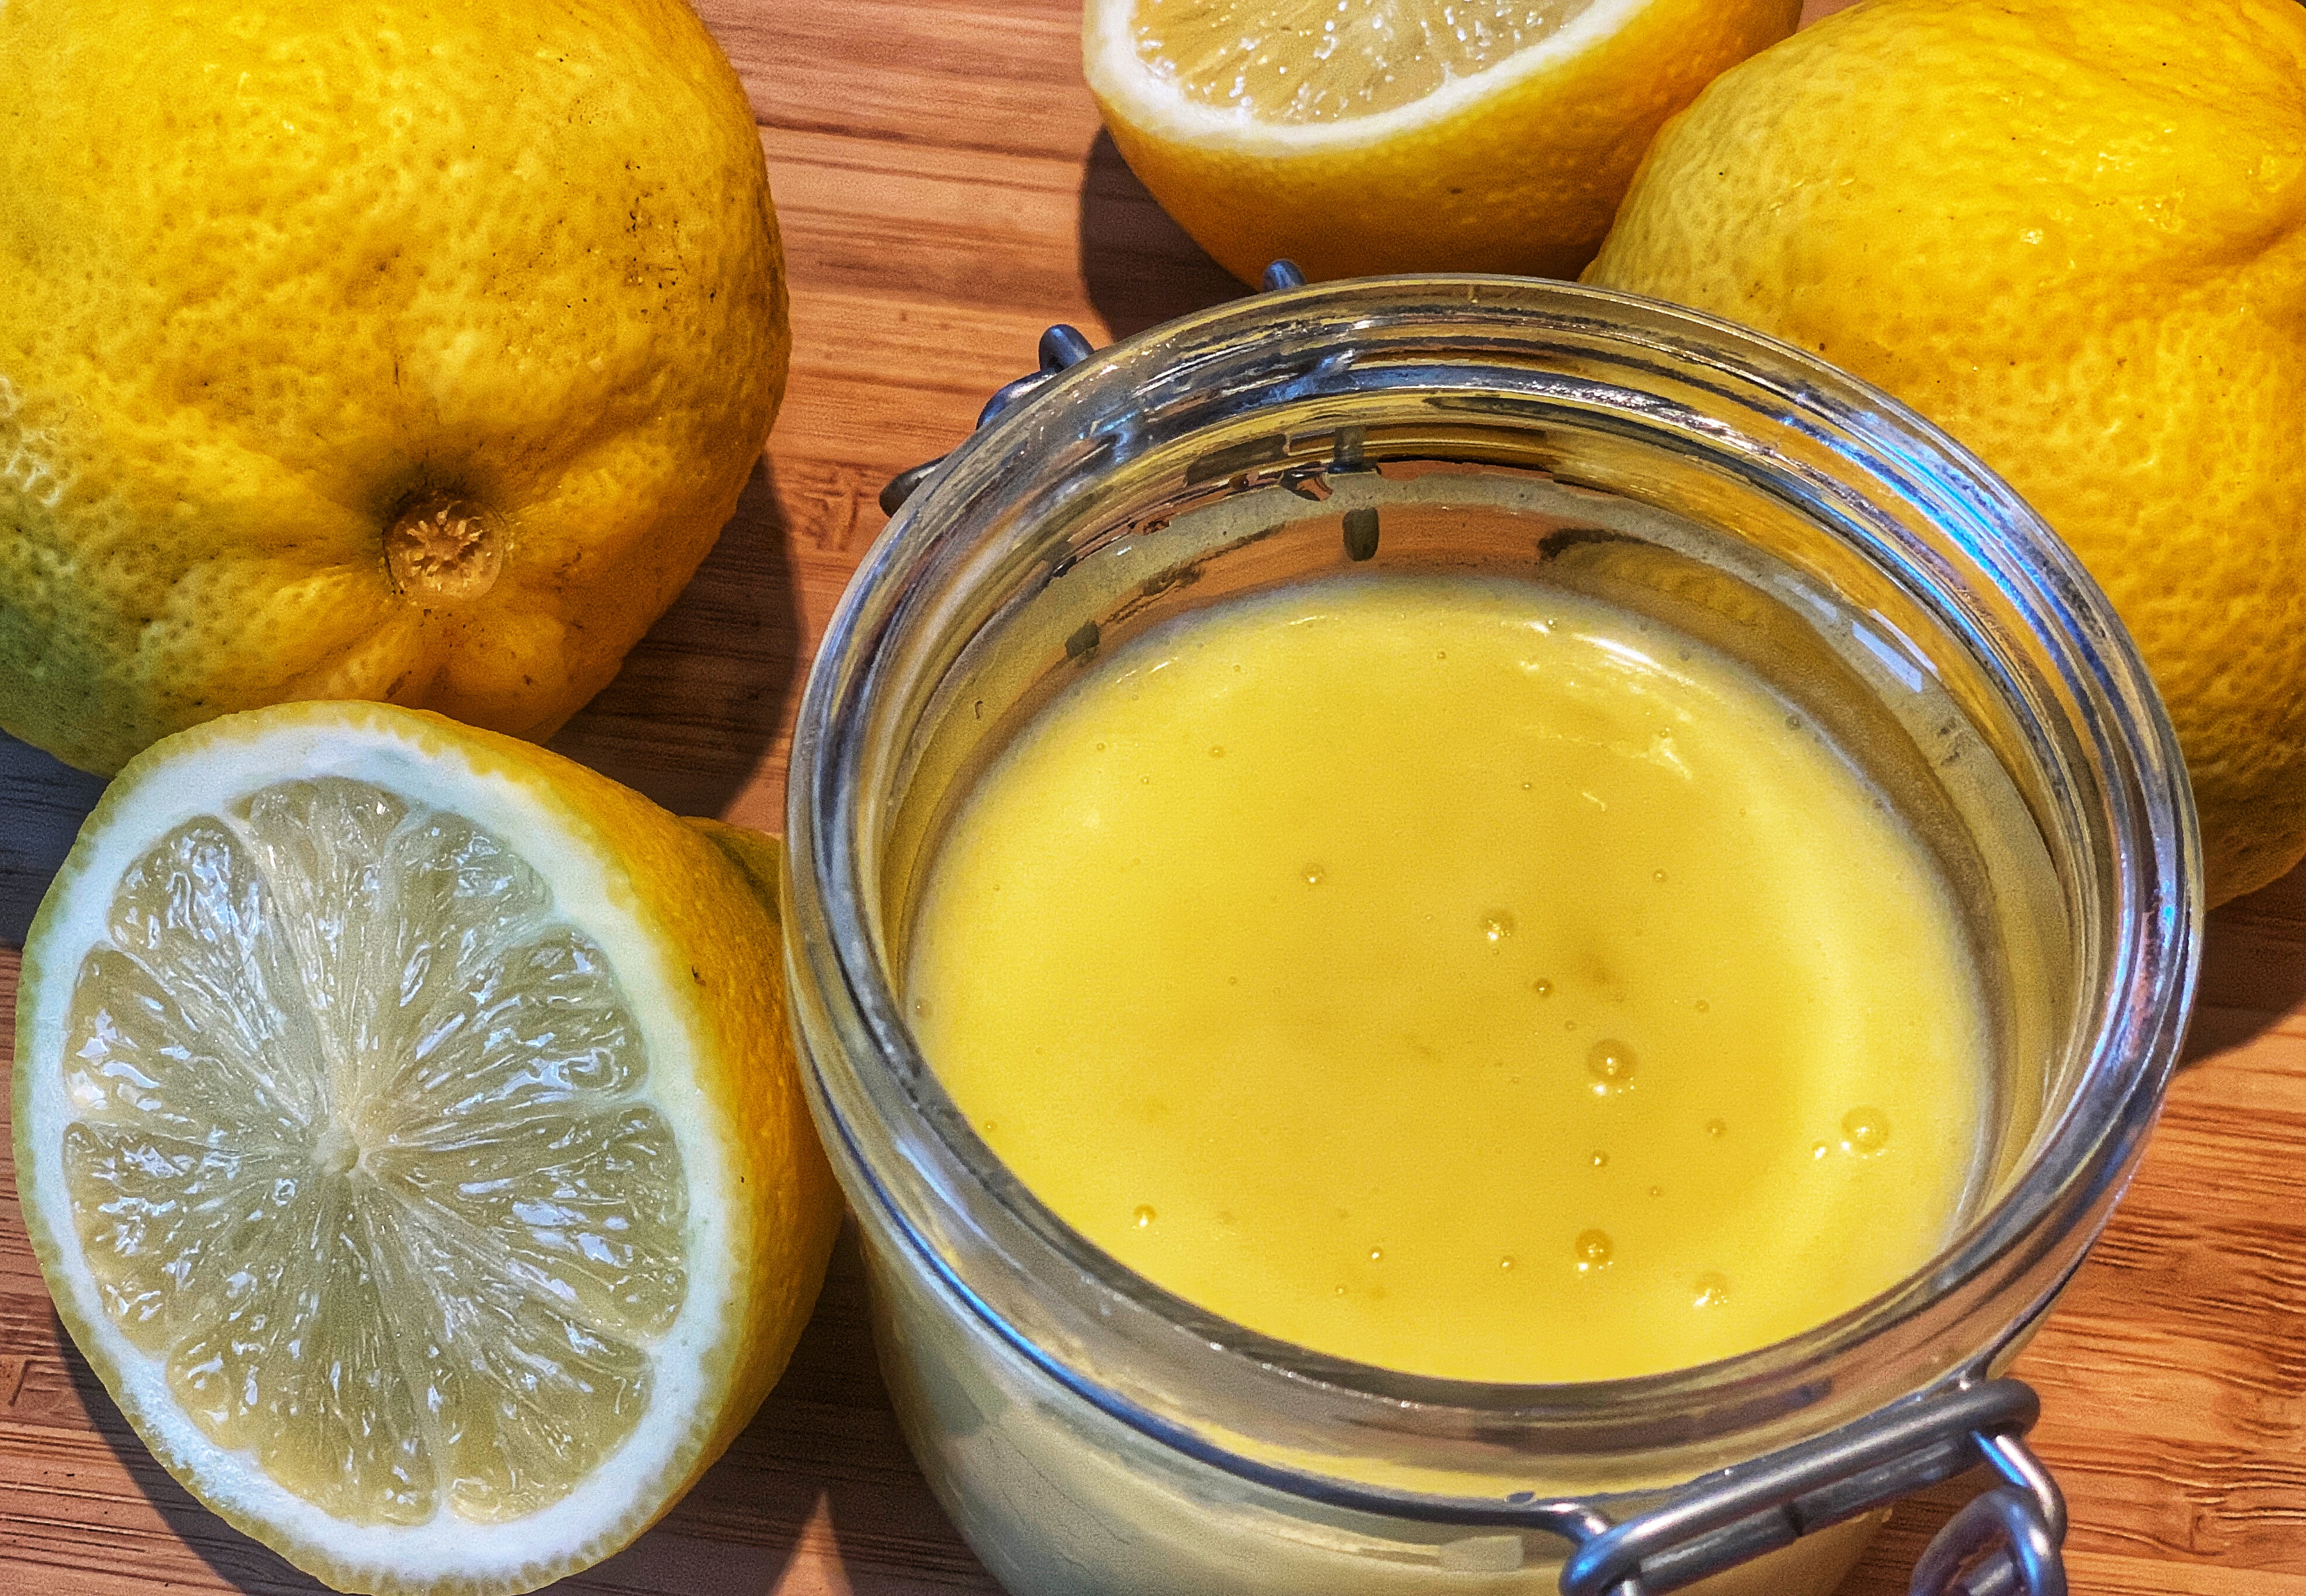
Our lemon tree is in full produce mode. I’ve always wanted a lemon tree for those moments when you randomly need a lemon but don’t have one. You know, maybe you decided to make a piccata dish or you wanted to make pesto. All you need is one lemon and clearly you don’t want to go to the store for one damn lemon, right? I used to visualize the neighborhood and picture which homes had lemon trees and then I may have helped myself to a lemon or two in a time of need (the tree would be in the front yard, I wasn’t hopping any fences you guys). Now that I have said lemon tree, I never have to buy lemons, but I’ve realized that I don’t use them very often.
The lemon tree was staring back at me probably wondering why I was neglecting it, I felt bad.
There is only so much you can do with an abundance of lemons. Lemonade, lemon bars, lemon cakes, lemon meringue pie, the list goes on. We still had cream cheese frosting in the fridge from Kaili’s birthday cake and I had puff pastry in the freezer, I didn’t see the harm in making lemon curd and then turn those three things into a lemon cream cheese danish.
This is the recipe I used to make the lemon curd.
INGREDIENTS
4 large egg yolks
2/3 cup granulated sugar
1 Tablespoon lemon zest (about 1 lemon)
1/3 cup fresh lemon juice (about 2–3 lemons)
1/8 teaspoon salt
6 Tablespoons butter, softened
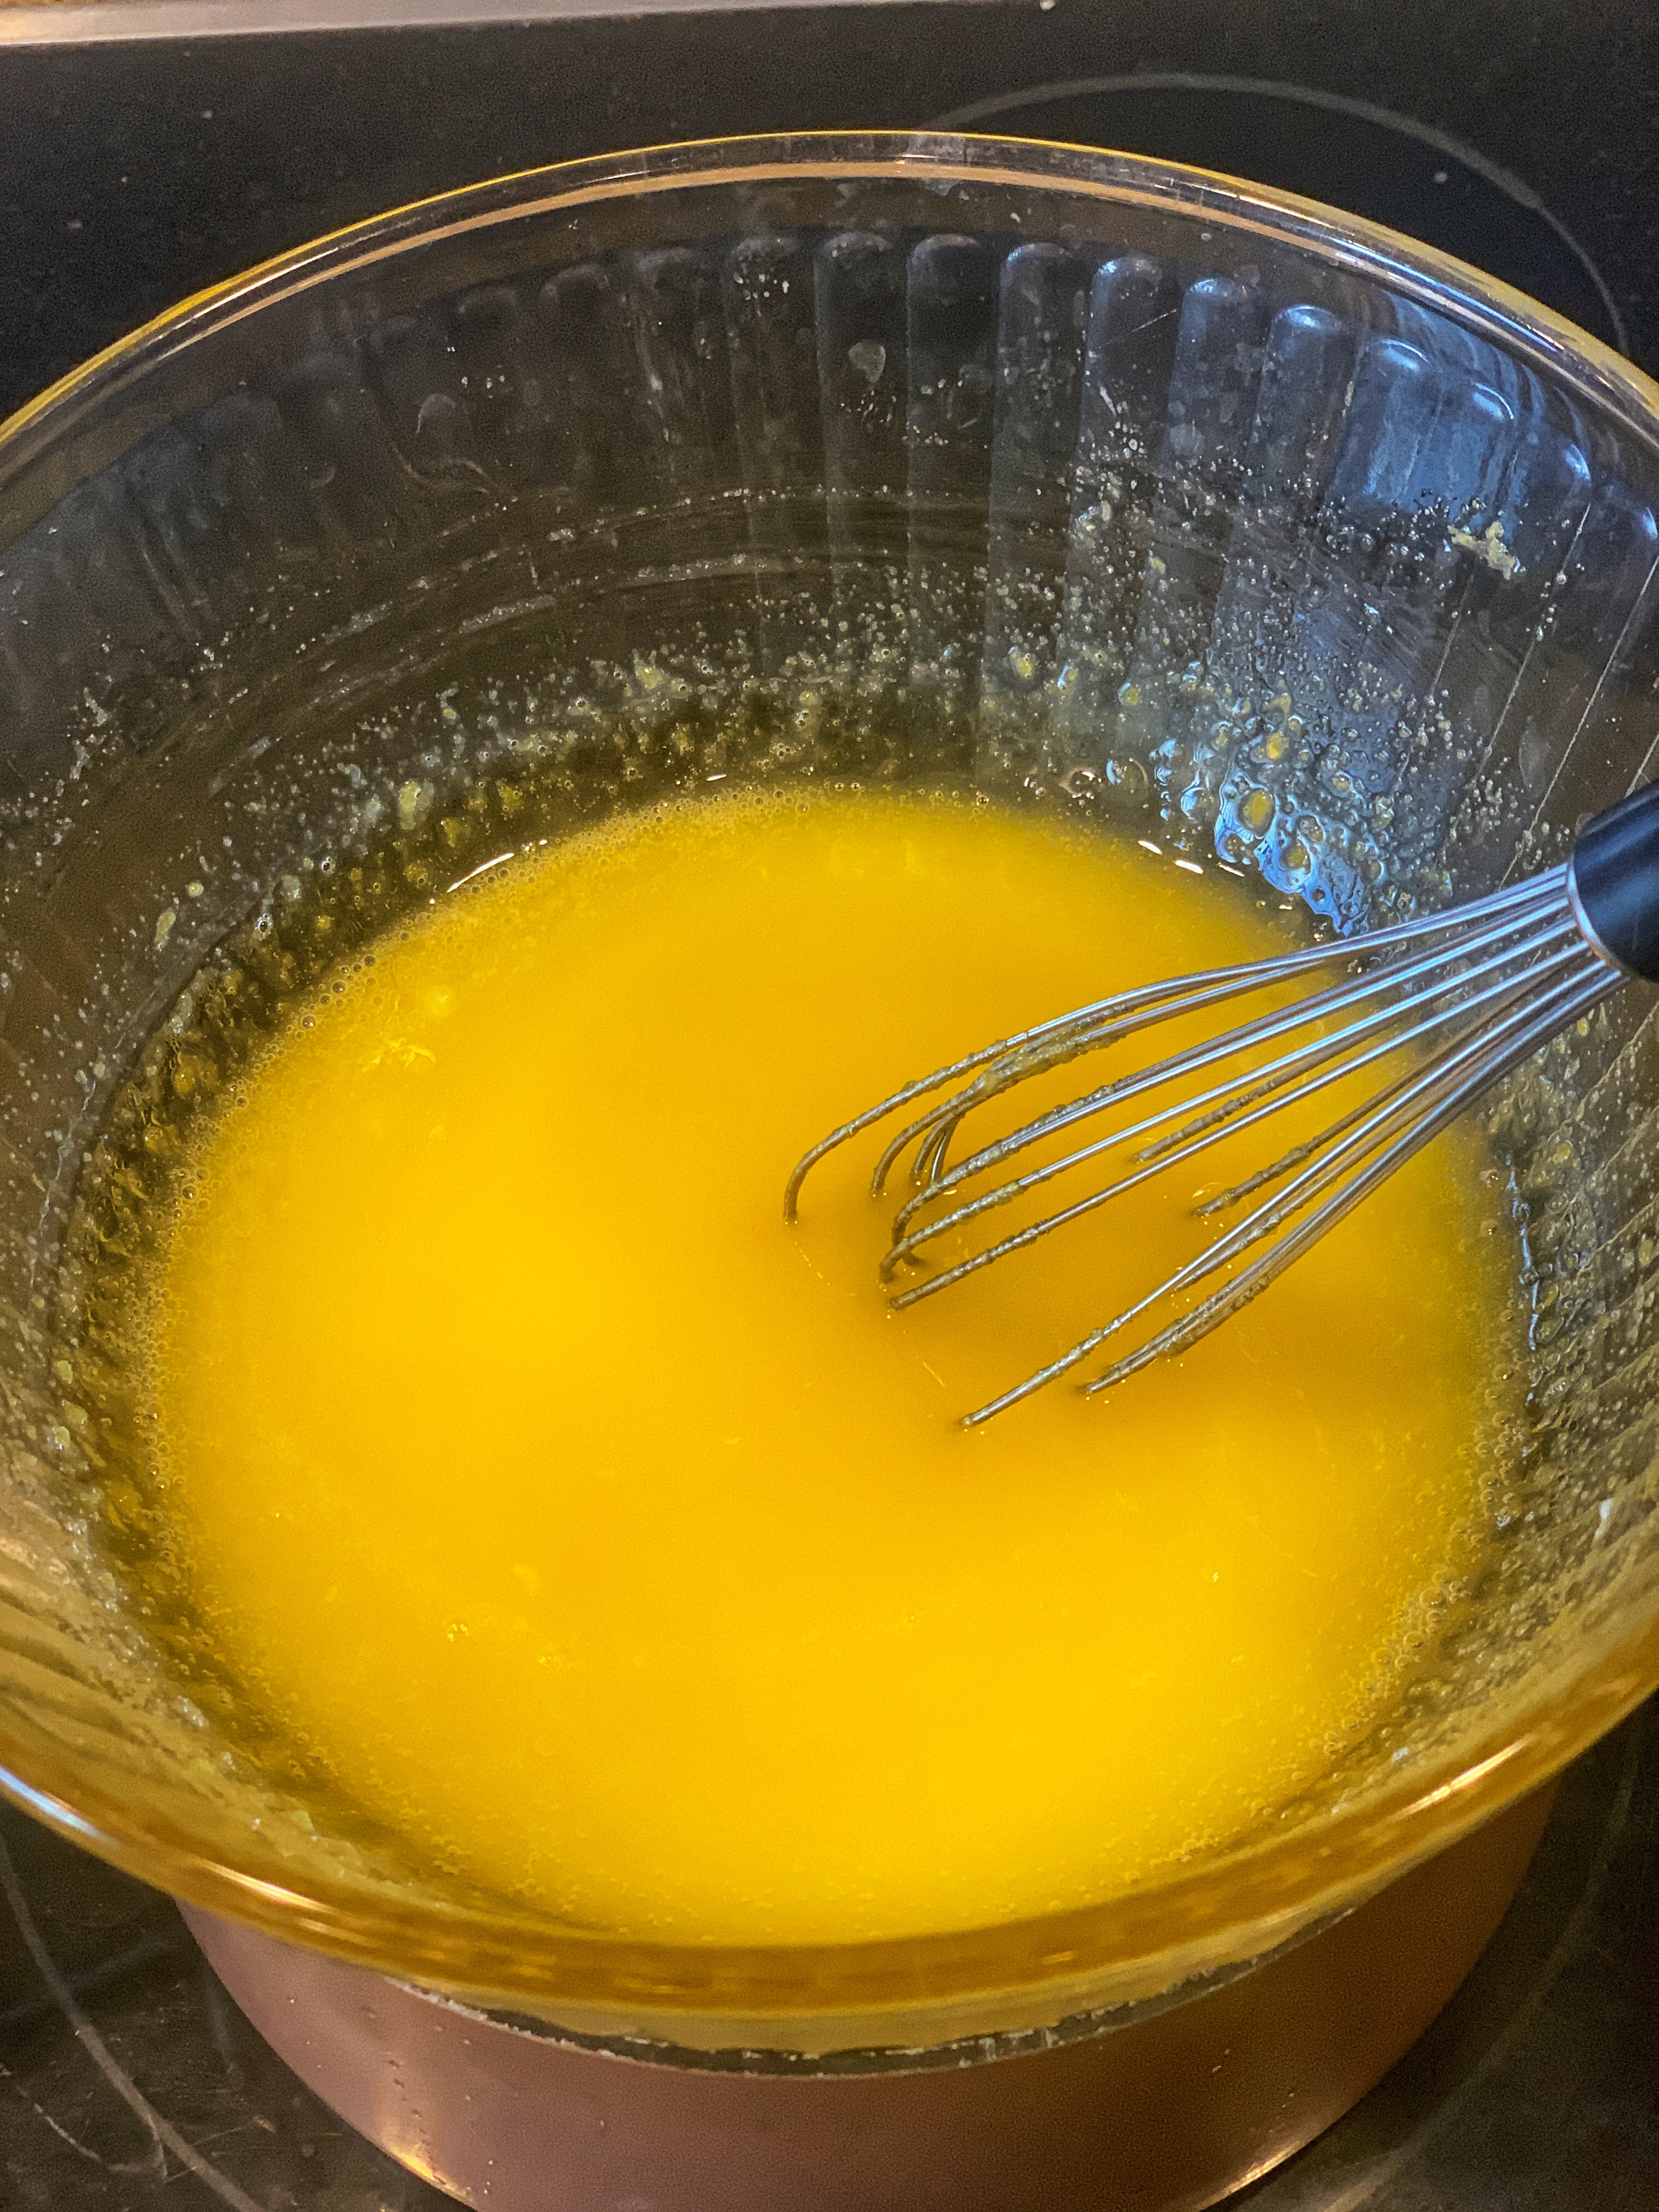
If you have a double boiler then pull that out. If not, like me, simply place a small heatproof glass bowl over a saucepan of simmering water you will cook the curd in the top pot/bowl. Place on high heat. Once the water begins to boil, reduce to low heat to keep the water at a simmer.
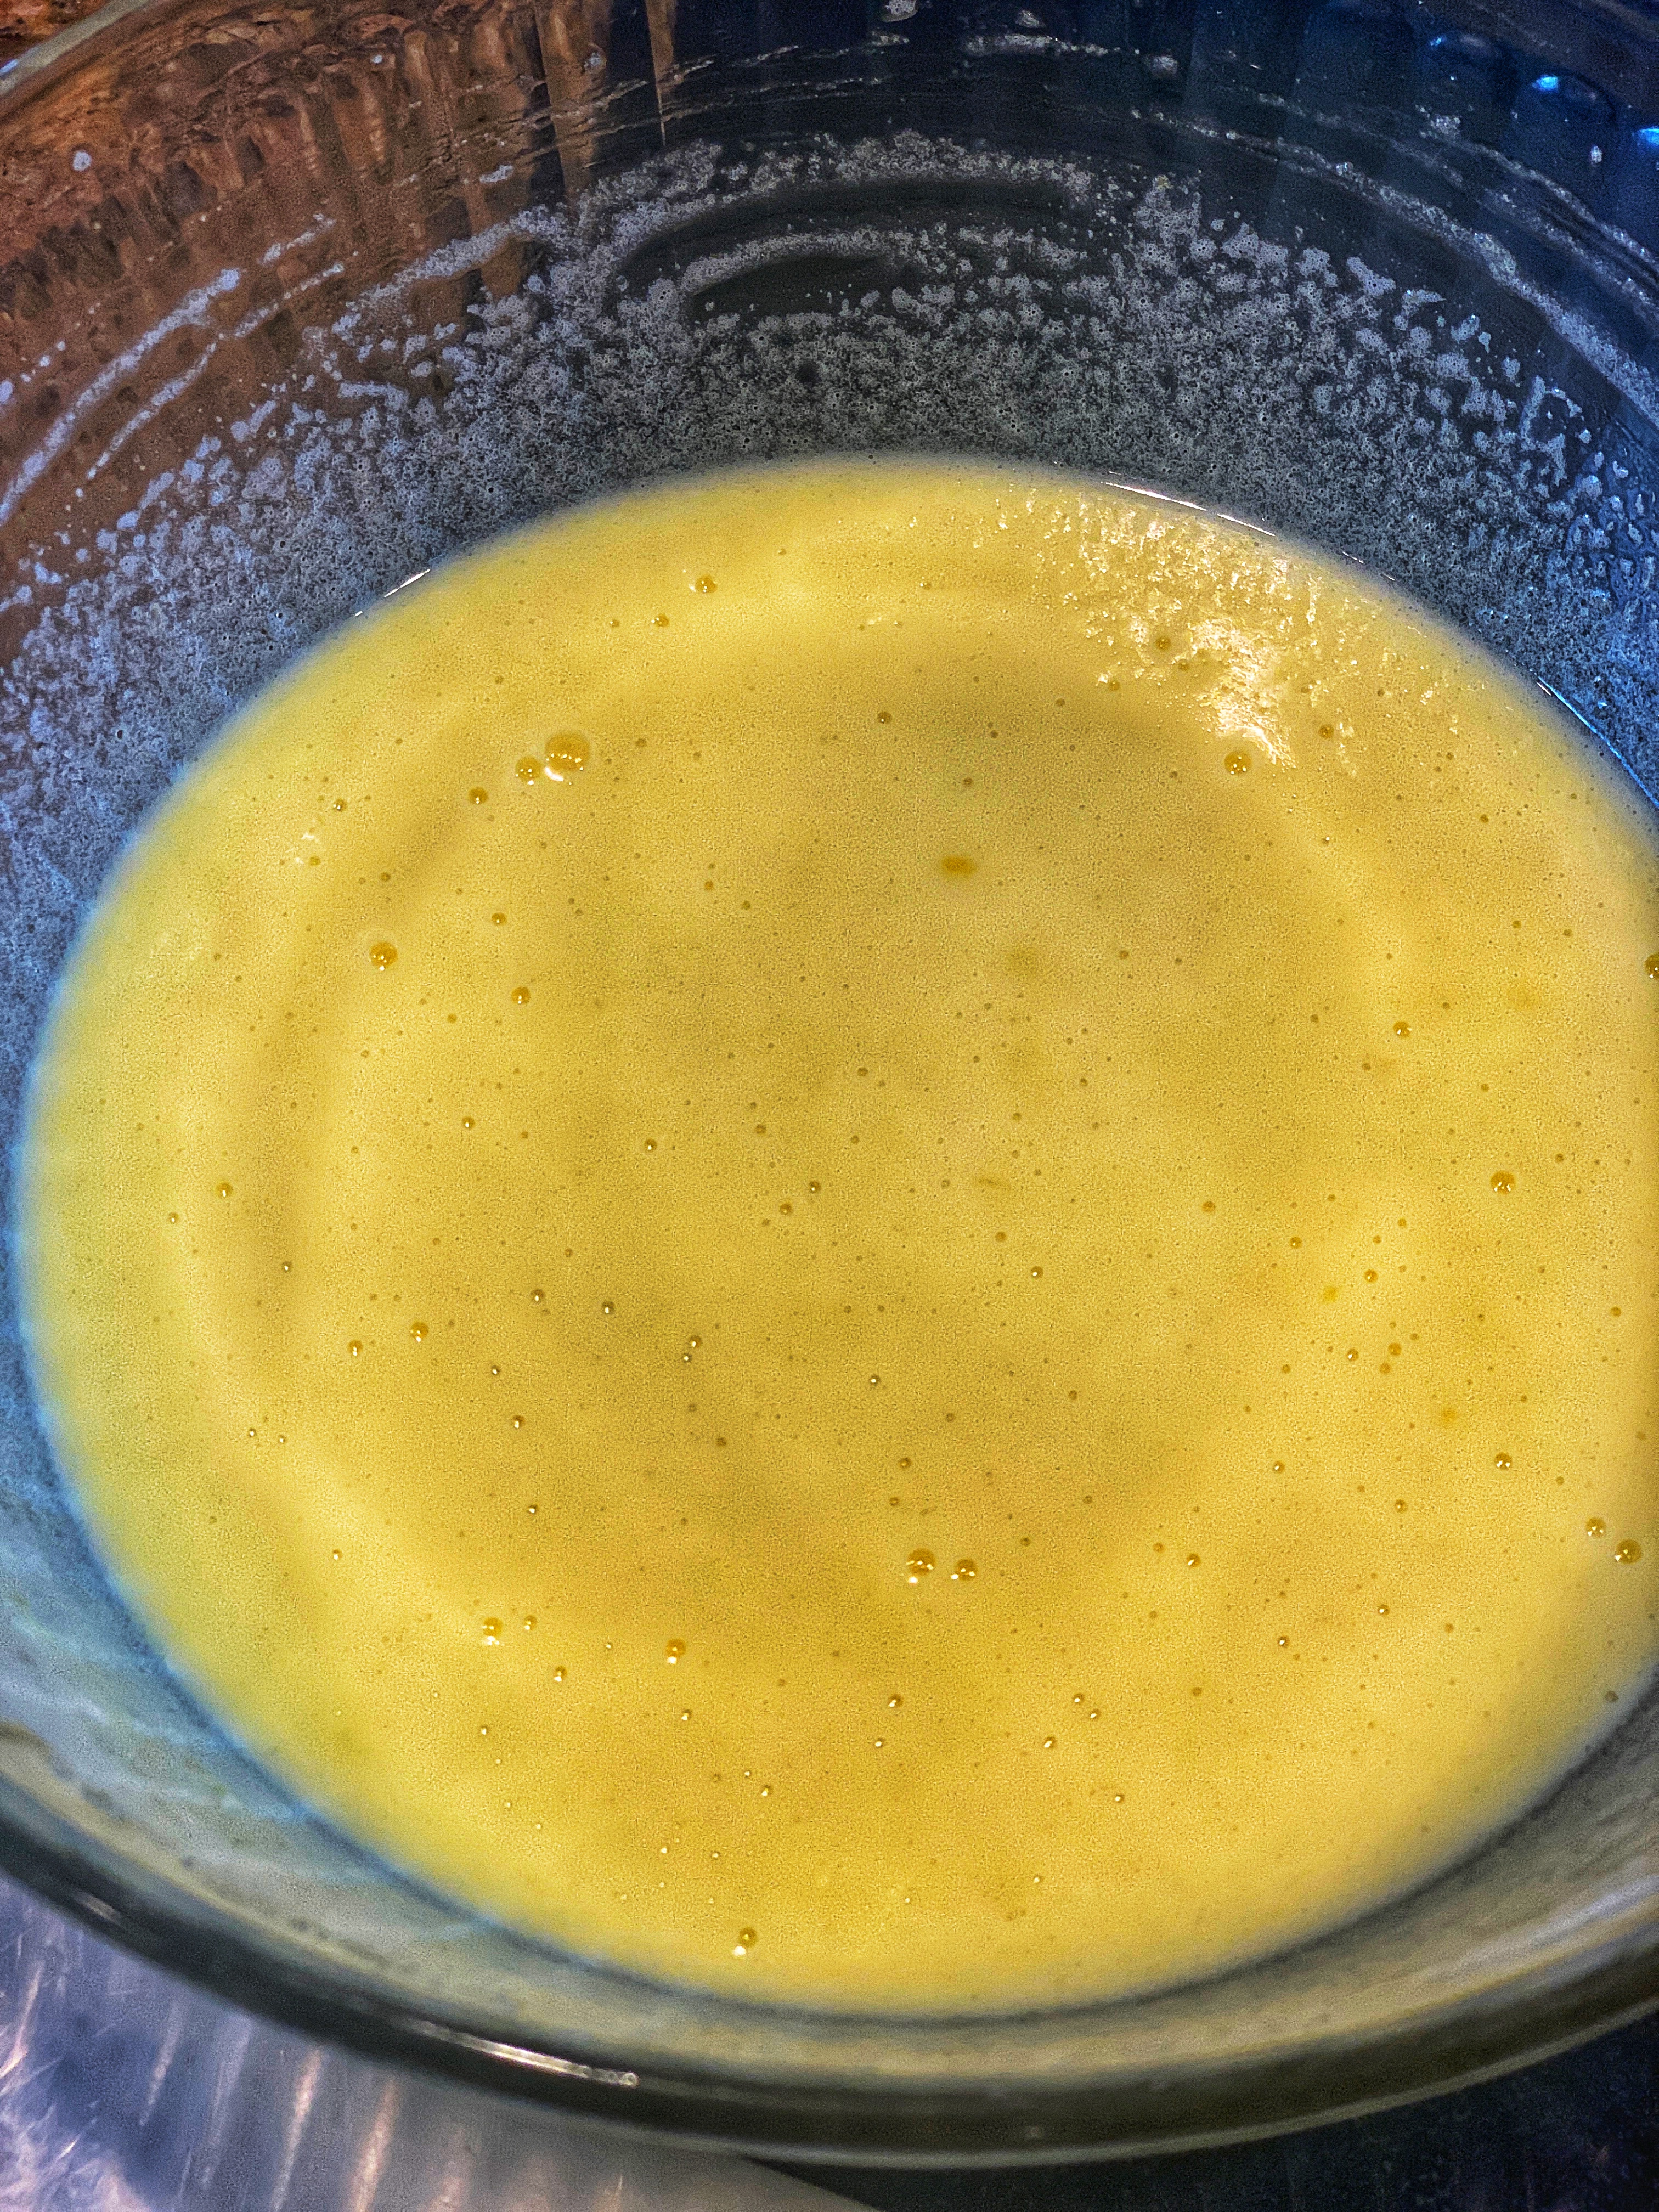
Place egg yolks, sugar, lemon zest, lemon juice, and salt into the top pot of your double boiler. Using a whisk, whisk until completely blended, then continue to whisk as the curd cooks. Constant whisking prevents the egg yolks from curdling. Whisk and cook until the mixture becomes thick, resembling the texture of hollandaise sauce, about 10 minutes. If curd isn’t thickening, turn up the heat and constantly whisk.
Remove pan from heat. Cut the butter into 6 separate pieces, then whisk into the curd. The butter will melt from the heat of the curd. Pour curd into a jar or bowl and place a piece of plastic wrap directly on top so it is touching the top of the curd. The curd will continue to thicken as it cools. Once cool, the plastic wrap can be removed.
I don’t know why twisting bacon before cooking it changes the flavor and the texture, but it does and it’s delicious.
If you sprinkle some brown sugar on the bacon before cooking, you’ll never want bacon any other way again.
I actually made a little mixture of brown sugar, nutmeg, garlic powder and cayenne pepper then slightly dredged each piece of bacon in that seasoning before twisting. We may or may not have had this two nights in a row, paired with burrata and arugula.
We had a family day at the Galaxy game. We’ve been spoiled with amazing seats the last few times we’ve gone. I don’t know how we are going to adjust to going back to regular old seating.
Are anyone else’s children hooked on Turning Red? Ours are obsessed with one of the songs, they get home from school and go up to their rooms and belt it out. It’s also shower material. One minute it was all about Bruno and now it’s 4 town and birthday party decor.
I can appreciate a movie about PMS and a girls first period. Especially with a house full of females. Sigh, good times ahead.
The older two girls had a school field trip to the Opera. The school busses took them downtown to the Civic Center to see Romeo and Juliet in Italian. There were english subtitles so the kids could follow along. They were dropped off at school around 4:30 and didn’t get home until 10:00. It was a new experience for them and they had a great time. I can’t believe how old they are getting.
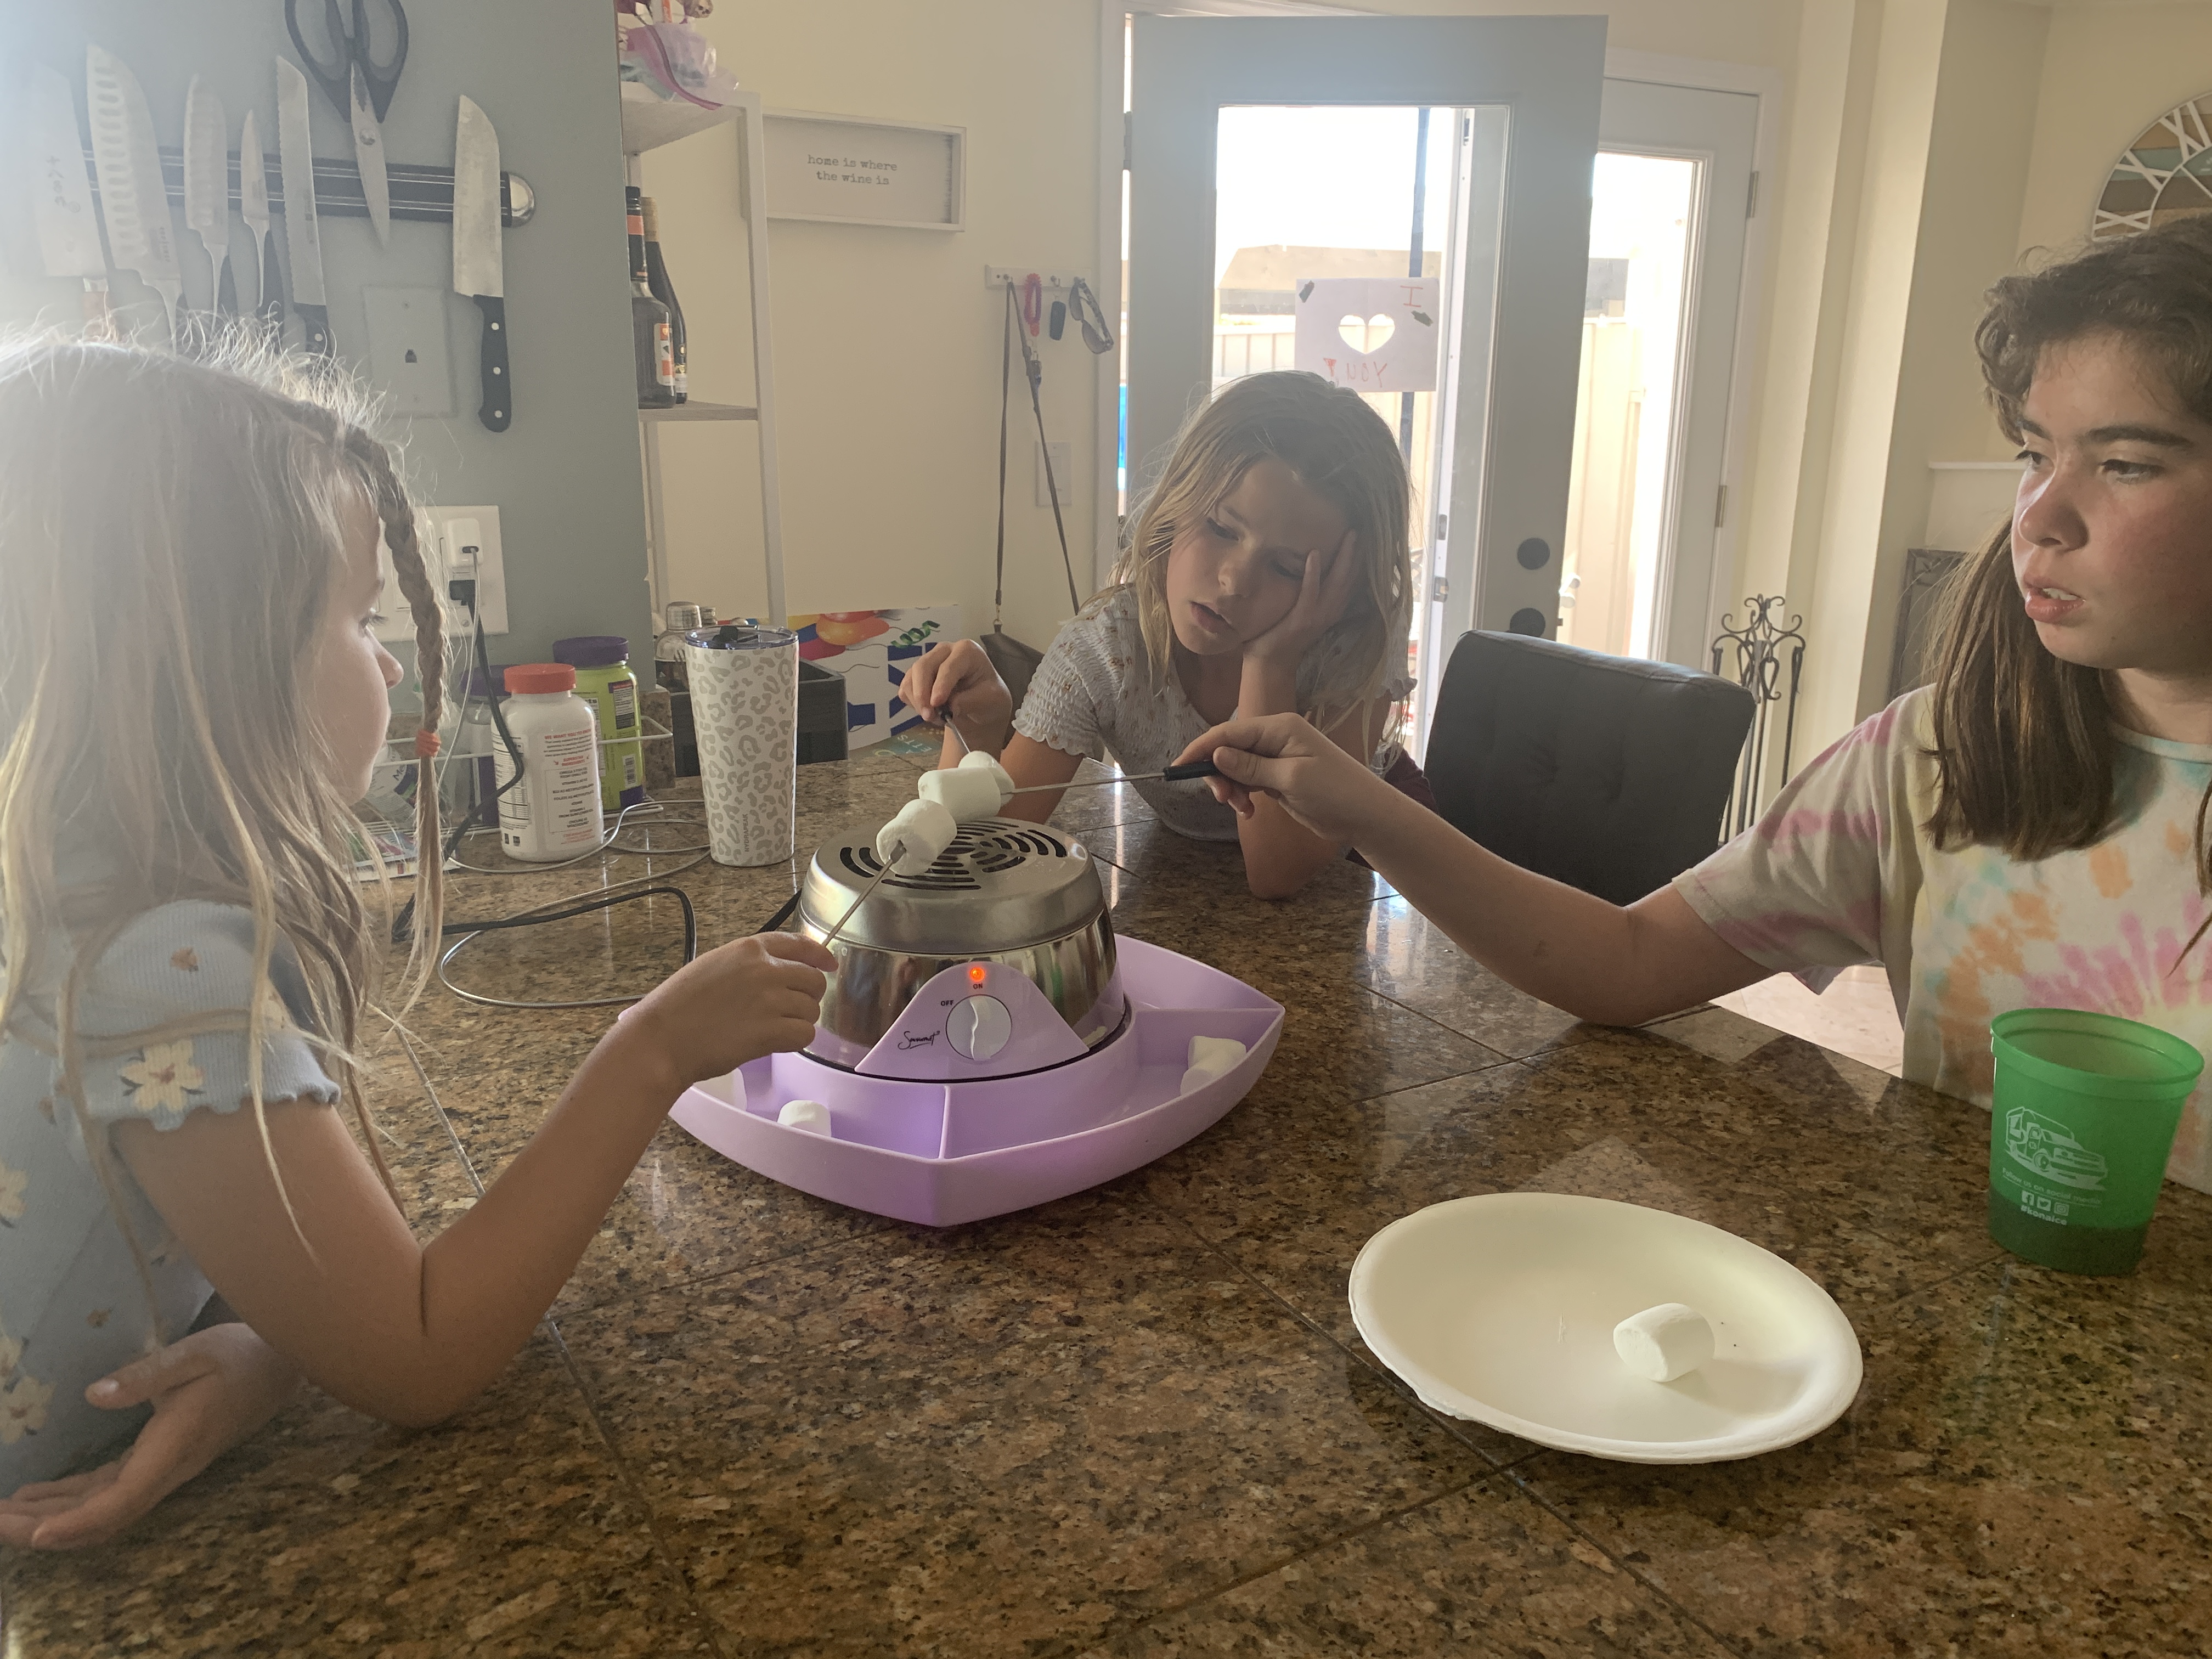
We wrapped up the week with an amazing USMNT game, a 5-1 win! The girls broke in the S’mores maker a couple of times, and we watched parts of the Academy Awards.
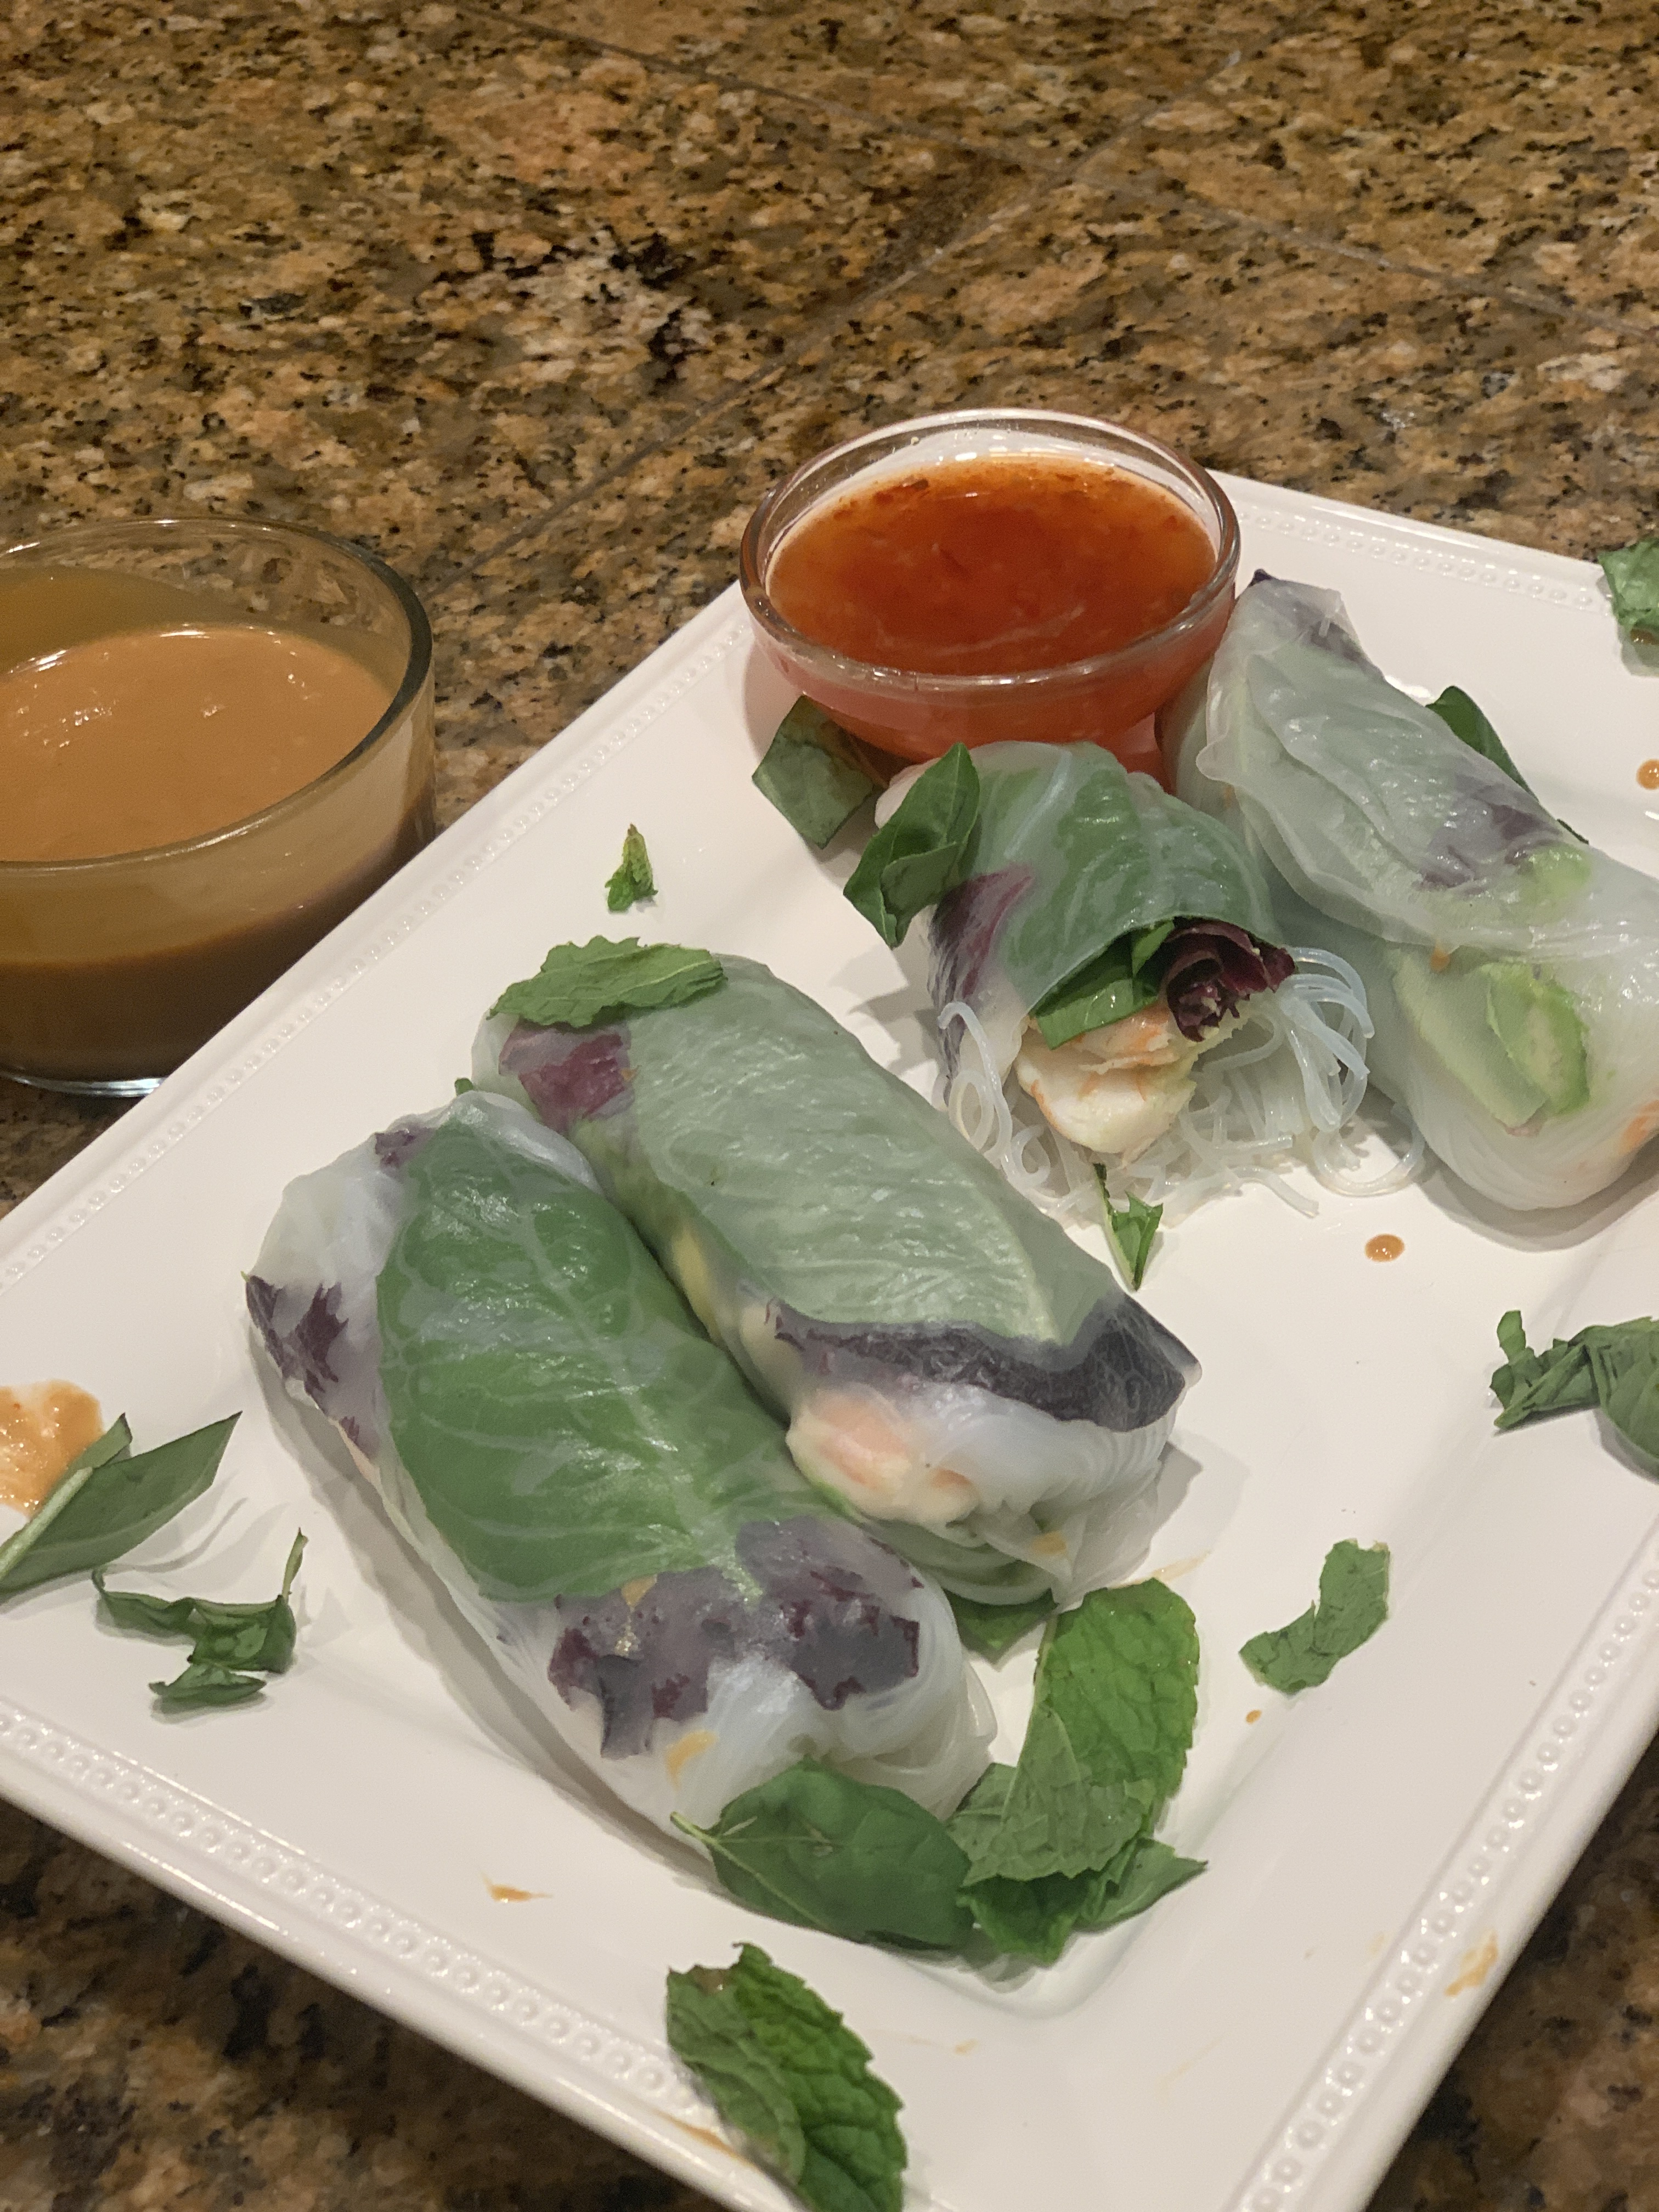
Each time I make these, whether I use avocado or switch it up and add fresh mango instead, I can’t believe how good they are. So deliciously fresh with the bright flavors of the herbs. I tell myself that I am going to put it on menu rotation. Then I don’t, because life… But that really isn’t a reason, so I will do better.
I found that prepping all the ingredients and assembling the rolls earlier in the day is the way to go. Cover with a damp towel, put them in the fridge and then dinner is literally waiting for you.
Chrissy suggests serving these with a Thai sweet chili sauce and a hoisin sauce. BUT, the key to these rolls is Mrs. Teigen’s peanut sauce. You see, this peanut sauce is one of the best I have ever had, and it’s super easy to make. You shouldn’t have these rolls without the peanut sauce, but you can have the peanut sauce without the rolls, you can have the sauce with anything. I find fingers pair well, cold noodles pair well and spoons definitely pair well.
Ingredientsfor Summer Rolls 4 to 6 red leaf lettuce leaves 8 medium shrimp, peeled (fresh or frozen (thawed)) salt 1 ounce Asian vermicelli or rice noodles 8 large or 16 small basil leaves 8 large or 16 small mint leaves 1 medium carrot, cut into 3-inch long julienne strips 1 avocado thinly sliced 8 (8-inch) round rice paper wrappers (you can find in most supermarkets with the Asian food)
Ingredients for Peanut Sauce
1/2 cup creamy peanut butter
1/4 packed light brown sugar
5 cloves garlic, minced
1 teaspoon finely grated fresh ginger
3 tablespoons soy sauce
1 1/2 tablespoon of Sriracha
1 tablespoon rice vinegar
If you are going to have the peanut sauce with the summer rolls, then start there. Add all of the sauce ingredients into your handy dandy blender or I like to use the magic bullet blender. After blending and tasting for seasoning, put it in the fridge until serving time. When that time comes, use warm water to thin the sauce to your liking.
For the Rolls:
Rinse the lettuce leaves and pat dry. Remove and discard the center ribs then slice in half so you end up with 16, about 3 inch long pieces.
Fill a saucepan halfway with water and salt the water. Bring to a boil over high heat. Add the shrimp and cook until pink, about 2 minutes. Turn the heat to low, take the shrimp out of the pot with tongs or a slotted spoon and rinse with cold water, pat dry. Cut off the tails and slice lengthwise.
Place the rice noodles in the pot of still hot water to soften. Cook until soft. Remove and rinse in a colander under cold water.
Create a workspace lined up with lettuce, herbs, carrots, avocado, shrimp and rice noodles. Fill a clean skillet or shallow bowl with warm water to soak the rice papers. Arrange a damp towel on your workspace. One at a time, dunk the rice papers into the warm water to soften. Remove from the water and run under cool water. They easily stick together, so the cool water is a good time to unstick them from themselves. Lay flat on the damp towel.
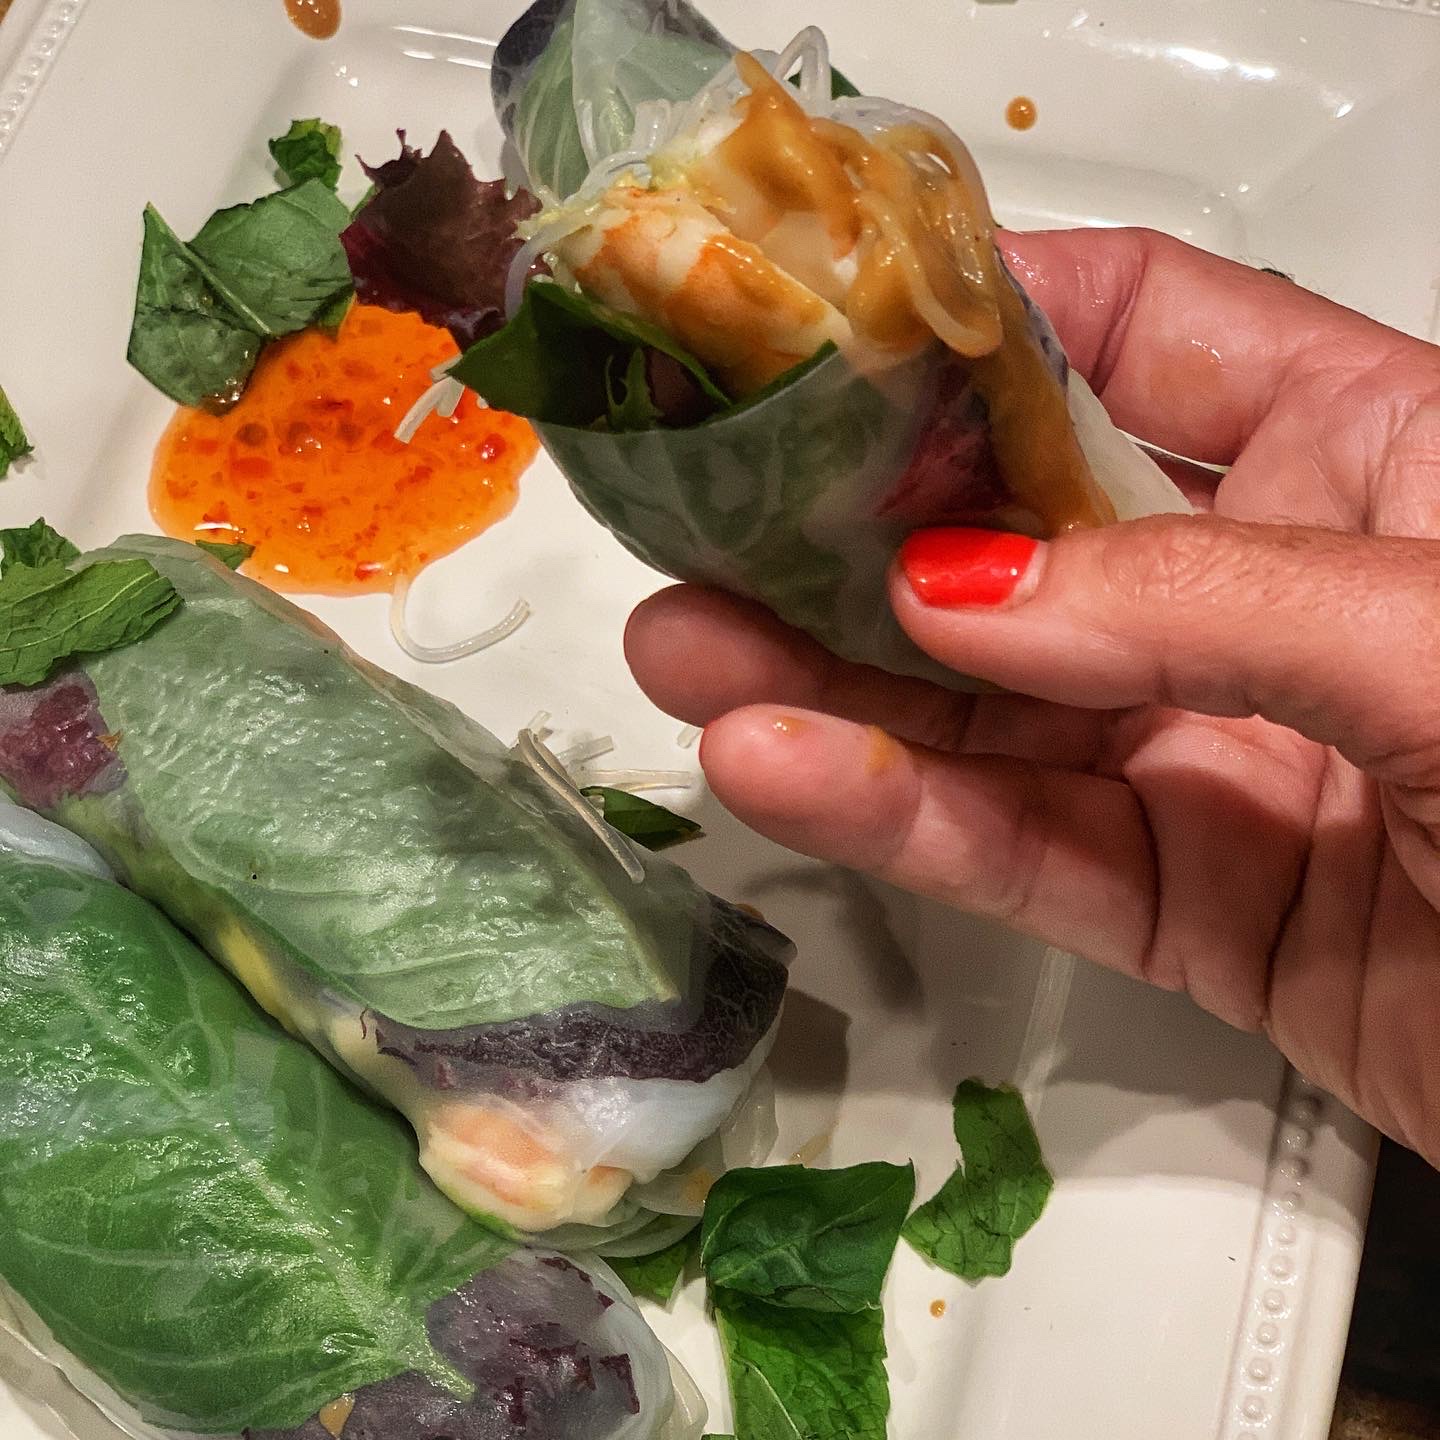
To assemble: place 2-3 shrimp halves pink side down about 1/3 from the bottom, layer over mint and basil, then avocado, then carrots, rice noodles, then lettuce leaves. Roll up like a burrito by pulling up the bottom, tucking in the sides, then rolling till the end. The rice paper will stick together sealing it shut. Repeat with remaining rice papers.
If you aren’t serving these immediately, place them on a damp towel, and cover with a damp towel. They are fine hanging out in the fridge until you are ready. Serve with peanut sauce and Thai chili sauce.