Kid Food, Will They Eat It?

After an evening Costco run I found myself running around like a crazy person trying to get all the crap put away, and the artichokes prepared and cooking then it dawned on me I probably needed to feed the kid. She wasn’t going to gnaw on a pork chop so I rummaged through the fridge to see what I could pawn off on her. I saw a lonely turkey hot dog and remembered an idea I saw on Pinterest ages ago. Get ready to be blown away.

IMG_20130801_165936


Who ever came up with this was either brilliant or totally bored. I pushed the dry spaghetti noodles through cut up hot dogs and threw them into a pot of boiling water. 9 minutes later…

IMG_20130801_171652


Voila! I was pretty sure Kaili wasn’t going to eat this but I felt a sense of accomplishment for even attempting it.  She picked at it but was much happier with her artichoke. Maybe in another year?

Kaili Days and a Phone Dump

It’s week three at school for us and things are great. She’s adjusted fine, she is excited to go in the morning and will give me a hug and kiss and line up with her class all by herself, no tears. I’ve been told that she does great in the classroom. She is communicating well, can recognize her name and doesn’t have to be asked to follow directions. She even said “pee pee” and then  proceeded to go to the bathroom and sit on the potty.  We are moving in the right direction.
The only problem is she hasn’t been napping at school. So three out of seven days she goes without a nap, gets overtired and it just rolls into the next day and so on. She is waking up earlier than she ever has, no matter what time she goes to bed. You could say bedtime has become a shit storm. You don’t know how she will handle it. Some days when she naps at home she goes down just fine for bed at her regular time, other days she is up fighting it until 8:00 pm. On the days she doesn’t nap at school she is asleep by 6:30. There is no rhyme or reason. She was so used to her schedule and it’s all up in the air without those naps. BUT today, she napped! I don’t want to jinx it but I sure hope that this is the start of something beautiful. Even if we can get her a one hour nap, it’s bound to help…right?

IMG_20130619_131957

As for me, I just love being in the classroom. I love those 6 hours doing my own thing, knowing someone else is taking care of Kaili and I don’t have to worry about her.

  • Shaving cream on the table is not only a fun sensory activity for the kids but it will take off any dried glue, marker or crayon marks and paint. I like to do this at the end of class, it’s a great way to clean the tables! They can also practice writing their letters or make tracks with cars.

IMG_20130610_110329

  • Shape art. We were talking about transportation so they were making shape vehicles.

IMG_20130617_105630

  • Tracing. I needed to see where these kids were with their writing. I like to have them trace over a highlighter or a yellow marker. *If they need the help.

IMG_20130612_101849

  • Cutting. Another thing I wasn’t sure about. I had them cut on the black lines I drew, stopping at the dot. Also tells a lot about their ability to follow directions.

IMG_20130617_094025

  • Sensory tubs. One water, one cornmeal. Motor skills at work.
  • IMG_20130619_095818IMG_20130619_094727
  • Tray activities.
IMG_20130613_103820
Animal play in dirt. The boys loved this.
IMG_20130613_103833
water colors on coffee filters. The colors bleed beautifully.
IMG_20130613_103903
Shaving cream with a little liquid water color. As they mix, the color blends. Fun to watch their reaction.

IMG_20130613_103934

I was impressed with this train track they built. I wish I could have kept it there all week.

IMG_20130613_111705

Paleo Pizza #2

This pizza has an eggplant base crust. I will be honest when I first saw the recipe I hemmed and hawed and tried really hard to keep the negative thoughts to myself. I reminded myself It was Father’s day and this is what he wanted, so don’t be a bitch.

This crust was pretty easy to make, peel an eggplant, grate it, squeeze out the liquid and mix in a few more ingredients…done.  I followed this recipe for the measurements and ingredients  but when it came to cooking it I more or less followed the cauliflower crust recipe. The two crust recipes were so different in cooking temperature and time but I was pretty sure they didn’t need to be and I was right. I cooked the eggplant crust on a slightly higher heat for a shorter amount of time and it was fine. I did however flip the crust over in the middle of cooking like the original recipe suggested, didn’t want to get too crazy.

I was highly surprised by how good this was as a crust. As Shane said, “you wouldn’t want to make bread sticks out of this”. Alone is has a slightly bitter flavor so use this for a pizza with strong flavors. I put caramelized onions, goat cheese, arugula, prosciutto, tomatoes and basil and it was delish. The sweetness of the onions is amazing with goat cheese…just saying.

IMG_20130616_120245

Eggplant Crust

1 eggplant, peeled and grated

1/4 cup Almond meal

1/4 cup Flax seed meal

1 egg, beaten

salt and pepper, to taste

Directions

Preheat oven to 400 degrees

Grate eggplant with a cheese grater, discarding the skin.

Place grated eggplant in a clean dish towel, and squeeze over a sink to remove excess liquid.

Pour grated eggplant into a large mixing bowl.

Add in the flax meal and almond meal.

Whisk egg in a smaller bowl and add to batter.

Add salt and pepper to taste.

Mix until ingredients are evenly combined.

Pour out batter onto a parchment-lined baking sheet.

Smooth batter out with hands into a thin layer about 1/8 inch thick.

Bake for 10-13 minutes or until golden brown, then remove the crust from oven.

Lightly grease another piece of parchment paper with olive oil, and place on top of crust. Carefully flip the crust and then slowly peel off the parchment paper from the bottom side.

Brush the flipped side lightly with olive oil. { I used garlic infused olive oil }

Return to oven and cook 8-10 minutes until golden brown and edges are crisp.

Now you can add your topping and pop back into the oven until cheese in melted 7-10 minutes.

IMG_20130616_123341

Paleo Pizzas {Pizza #1}

What do you get a man that doesn’t need anything? That is what I always struggle with when it comes to buying Shane {or my dad for that matter } a gift. So for Father’s day I told Shane I would make him anything he wanted for dinner, he decided on Paleo pizza. I made two, one with a cauliflower crust and one with an eggplant crust, both with the same toppings. I thought it would be easier to decide which crust was better if the toppings were the same.

So, were they good? Yes, the cauliflower crust has a really good flavor but it is delicate and can’t hold a lot of toppings. You have to make sure you squeeze all of the water out of the cauliflower or it will take forever to cook. The edges get crispy and you can taste the cheese, yum. We didn’t have any leftovers but I don’t think this crust will hold up well over time.

The eggplant crust is easier to make and like the cauliflower you need to make sure to squeeze all of the water out, I had Shane help, man hands are better at this. This crust is sturdier and crispier than the other and overall resembled more of a “real” pizza crust. The eggplant crust is  the better of the two with toppings but alone it had a slightly bitter taste.

So if I had to choose, I would use the eggplant crust with a pizza that has a lot of strong tasting toppings and the cauliflower crust for a more mellow pizza like the Margherita or plain cheese.

These are the toppings I used.

No sauce just some garlic and olive oil.

Mozzarella + Parmesan + Goat cheese

Prosciutto, caramelized onions, fresh arugula and fresh basil { I added some chopped tomatoes on pizza #2 }

Cauliflower Crust  I used this recipe and it was spot on.

IMG_20130615_170959

1 small to medium sized head of cauliflower – should yield 2 to 3 cups once processed
1/4 teaspoon kosher salt
1/2 teaspoon dried basil (crush it even more between your fingers)
1/2 teaspoon dried oregano (crust it even more between you fingers)
1/2 teaspoon garlic powder
optional a few shakes of crushed red pepper
1/4 cup shredded parmesan cheese
1/4 cup mozzarella cheese
1 egg
optional 1 tablespoon almond meal

Place a pizza stone in the oven, or baking sheet if you don’t have a pizza stone. Preheat oven to 450 degrees. On a cutting board, place a large piece of parchment paper and spray it with nonstick cooking oil.

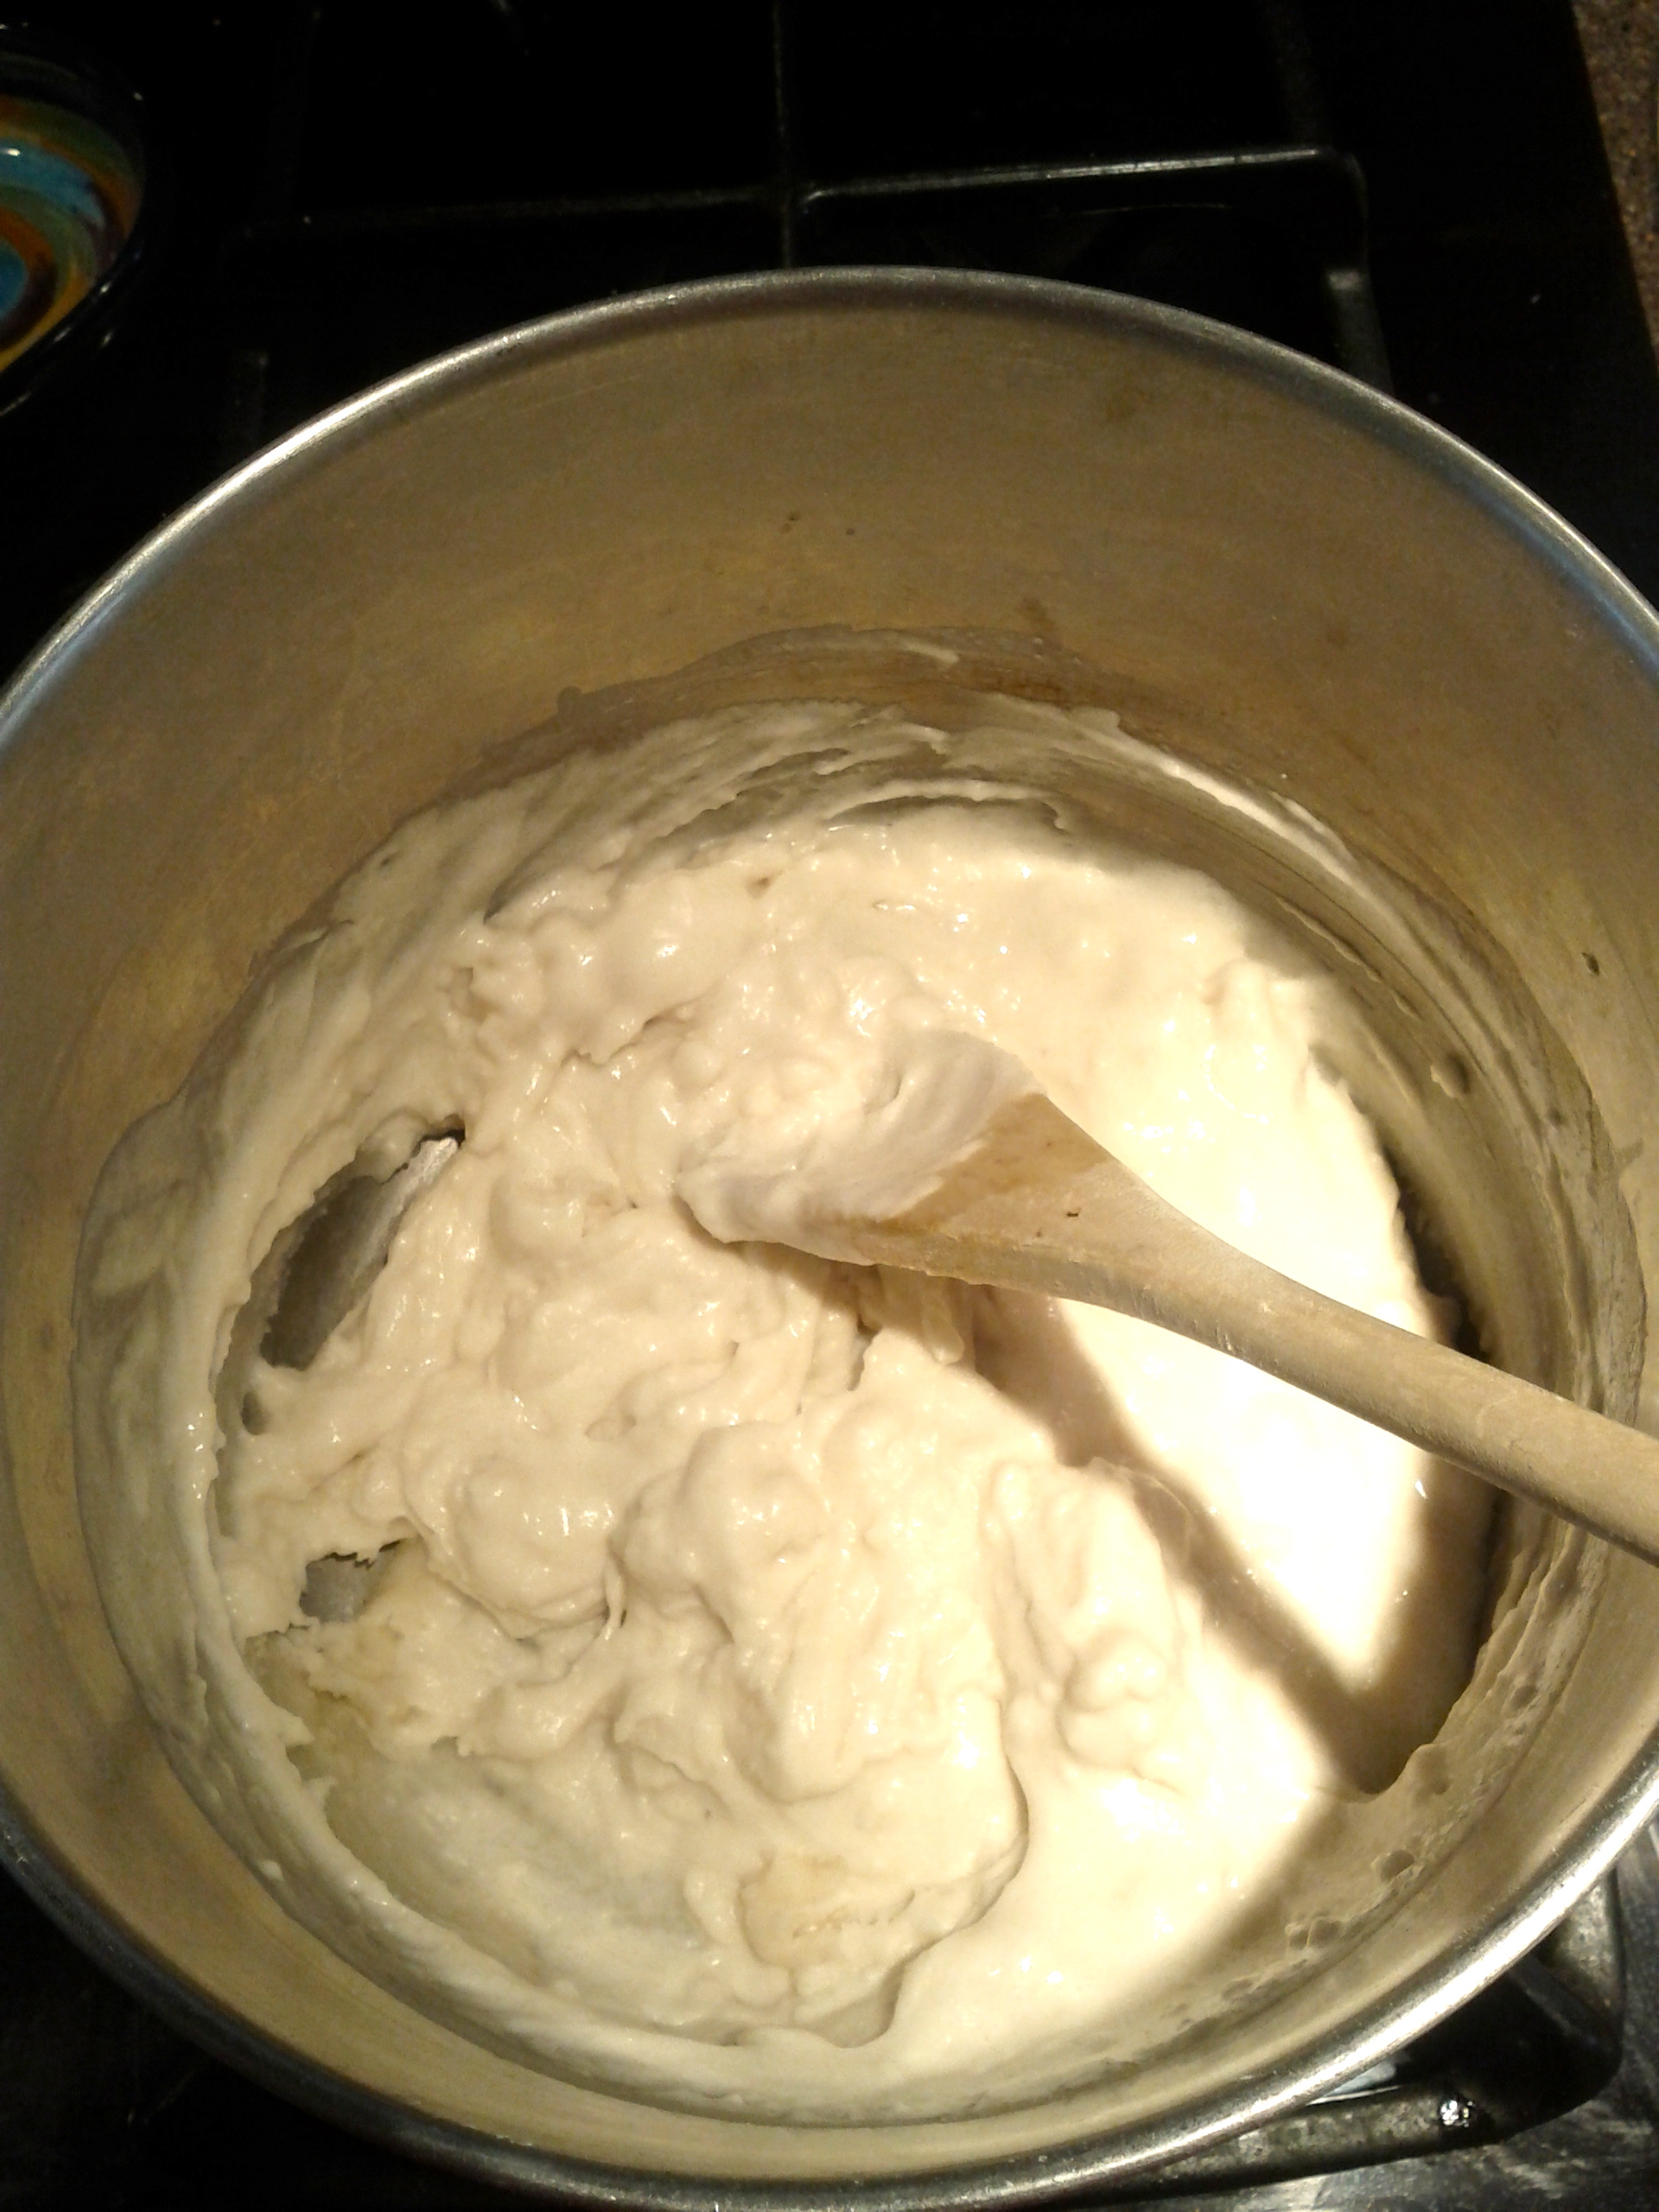
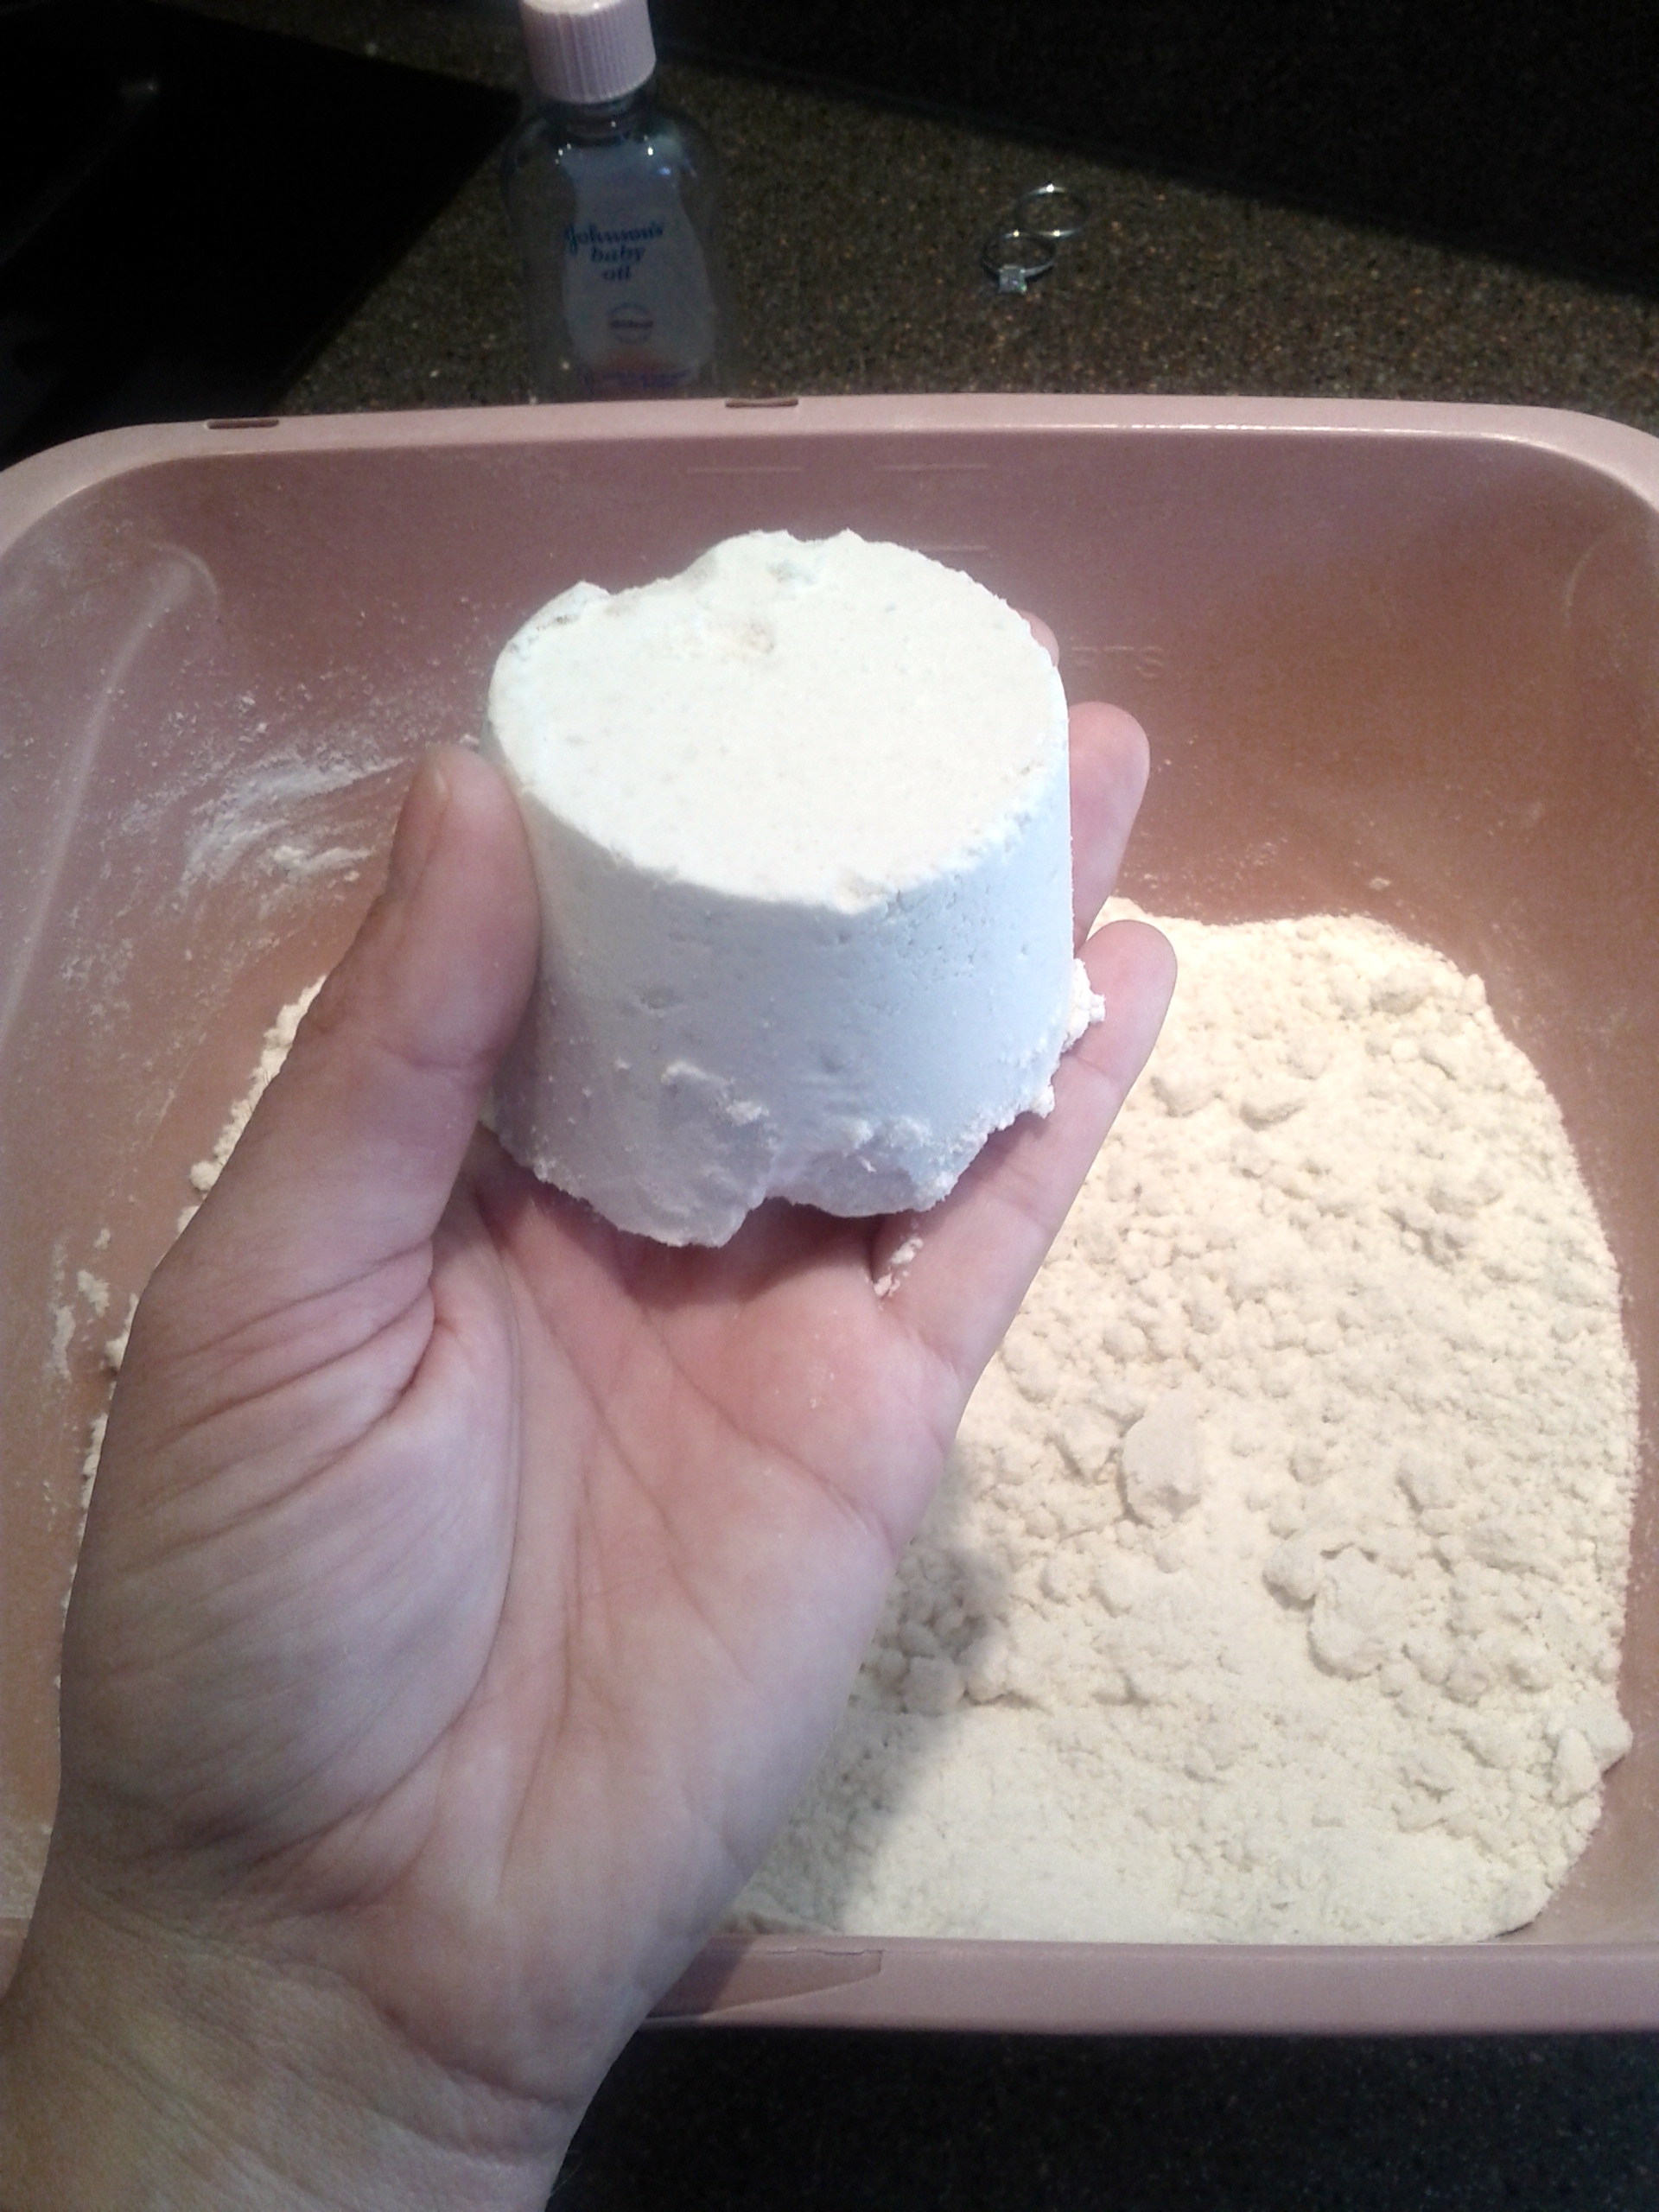
Wash and throughly dry a small head of cauliflower. Don’t get one the size of your head unless you are planning on making 2 pizzas. Cut off the florets, you don’t need much stem. Just stick with the florets. Pulse in your food processor for about 30 seconds, until you get powdery snow like cauliflower. See above photo. You should end up with 2 to 3 cups cauliflower “snow”. Place the cauliflower in a microwave safe bowl and cover. Microwave for 4 minutes. Dump cooked cauliflower onto a clean tea towel and allow to cool for a bit before attempting the next step.

Once cauliflower is cool enough to handle, wrap it up in the dish towel and ring the heck out of it. You want to squeeze out as much water as possible. This will ensure you get a chewy pizza like crust instead of a crumbly mess.

Dumped ringed out cauliflower into a bowl. Now add 1/4 cup parmesan cheese, 1/4 cup mozzarella cheese, 1/4 teaspoon kosher salt, 1/2 teaspoon dried basil (crush up the leaves even more between your fingers before adding), 1/2 teaspoon dried oregano (crush up the leaves even more between your fingers before adding), 1/2 teaspoon garlic powder (not garlic salt), and a dash of red pepper if you want. I also added 1 tablespoon almond meal because my cauliflower yielded closer to 2 cups of cauli snow, this is optional and I would not add the almond meal if you have closer to 3 cups of cauli snow. Now add your egg and mix away. Hands tend to work best.

Once mixed together, use your hands to form the dough into a crust on your oiled parchment paper. Pat it down thoroughly, you want it nice and tightly formed together. Don’t make it too thick or thin either.
Using a cutting board slide the parchment paper onto your hot pizza stone or baking sheet in the oven. Bake for 8 – 11 minutes, until it starts to turn golden brown. Remove from oven.
Add your toppings and then slide parchment with topped pizza back in the hot oven and cook for another 5 to 7 minutes until the cheese is melted, bubbly, and slightly golden.
Allow to cool for a few minutes then cut and serve.
IMG_20130615_173822

Easy Homemade Play-dough

In all honestly it’s been years since I have made play dough, I always seemed to have an abundance of store bought tucked away. But my classroom was in dire need of some and instead of buying it I thought I would make some because it is so easy . Chances are you have all the ingredients in your pantry but if for some reason you don’t have cream of tartar at home or if you have never heard of it, it is a baking item and you can find it next to the spices. It is not tartar sauce, don’t be that person.

Recipe

1 cup white flour
1/2 cup salt
2 tablespoon cream of tartar (find it in the spice section)
1 tablespoon oil
1 cup water
food coloring

Mix the first 4 ingredients in a pan, then add the water, mix well.IMG_20130611_145107

Cook over medium heat, stirring constantly, for 3 – 5 minutes {took me closer to 3 minutes} The dough will become difficult to stir and form a big clump.  Remove from stove and knead by hand for 5 minutes.

IMG_20130611_145332 IMG_20130611_145758

Add the food coloring during the kneading process, enough to reach your desired shade. Keep Play dough  stored in a covered plastic container or plastic  bag.

Unsaved Preview Document

Shaving Cream Bath Paint

I’ve been thinking about getting some bath paints for K but keep going back and forth because I just don’t know if she will really use them. So I thought giving her colored shaving cream at bath time might be a good test, and it was. She seemed really interested when I first introduced them but was over it fast. Pouring water is much more fun at this time in her life..apparently.

What I did learn is that you don’t want to use gel food coloring. I made a few colors with the liquid coloring and a few with the gel coloring and the gel will stain. It didn’t seem to stain the tub but it did stain my skin. Maybe you don’t care if you child gets out of the bath multi-colored, I do.

IMG_20130311_173704 IMG_20130311_180344

I will wait a few weeks and then try this activity again. Well maybe that’s not true, I may make a green bath day for St. Patricks day!

Cloud Dough

I have been waiting for the weather to warm up before I did this activity. I am not cool with a mess in the house, go figure. I kept my classroom clean too, just saying.

Cloud dough is a a smooth and moldable dough made with only 2 ingredients, flour and baby oil. I made a small batch since it was just for Kaili.

Combine 4 cups flour and 1/2 cup baby oil and mix well. I used my hands but I imagine a pastry cutter would work even better.

IMG_20130227_095334 IMG_20130227_095309

I put a few different items for her to manipulate on a tray.

IMG_20130227_095552

Then we took it out into the warm sunshine. The weather is amazing!

IMG_20130227_100451

Practicing blowing out candles. She has a birthday soon.

IMG_20130227_100607

She sat outside and played with this for a good amount of time. Enough time for me to get some sun and read a few more pages of my book.

IMG_20130227_101301

Paper Towel Roll Heart Printing

Replace a paintbrush with an empty paper towel roll for a twist on Valentine art.

Bend the paper towel roll into a heart shape. I taped mine just to keep it’s shape.

IMG_20130206_122808

Kaili didn’t waste any time to get going.

IMG_20130206_122834

So easy. So fun!

Happy Valentines Day!

IMG_20130206_122755

Playdough Add Ons

PlayDough, an obvious favorite for children. It’s great for little hands to manipulate and helps build fine motor skills. A simple tactile activity and  it can be used in so many different ways. They can pull it, squash it, roll, it cut it, flatten it, poke it and so on.

One extension to enhance their imagination is to introduce toy animals.

IMG_20130206_090129

Pig tracks
Pig tracks

After a while you can introduce another element.

Add sticks for a barnyard zoo

The ideas are endless.

PlayDough Tool Ideas

popsicle sticks

toy cars

toy animals

sticks, leaves, rocks from an outside nature walk

buttons

dried noodles

dried beans

shells for making imprints

sand for a different texture

googly eyes for funny faces or sad faces—> then you can talk about emotions. See how this works?

Valentine Art

I know, it’s not even February yet. However I have like a million valentine crafts I want to do and Shane and I will be out of town when the Hallmark holiday hits, so I gotta get a move on. Last year she wasn’t quite old enough to do much so instead I did this to her.

Dr7tO

I am not sure she will put up with something like this now that she is a mature 1 1/2 year old. But don’t get me wrong, I will try.

For Valentine’s day craft #1, we did this.

IMG_20130124_124429 IMG_20130124_124035

I taped it, she painted it. Voila!

IMG_20130124_155000