Paleo Pizza #2

This pizza has an eggplant base crust. I will be honest when I first saw the recipe I hemmed and hawed and tried really hard to keep the negative thoughts to myself. I reminded myself It was Father’s day and this is what he wanted, so don’t be a bitch.

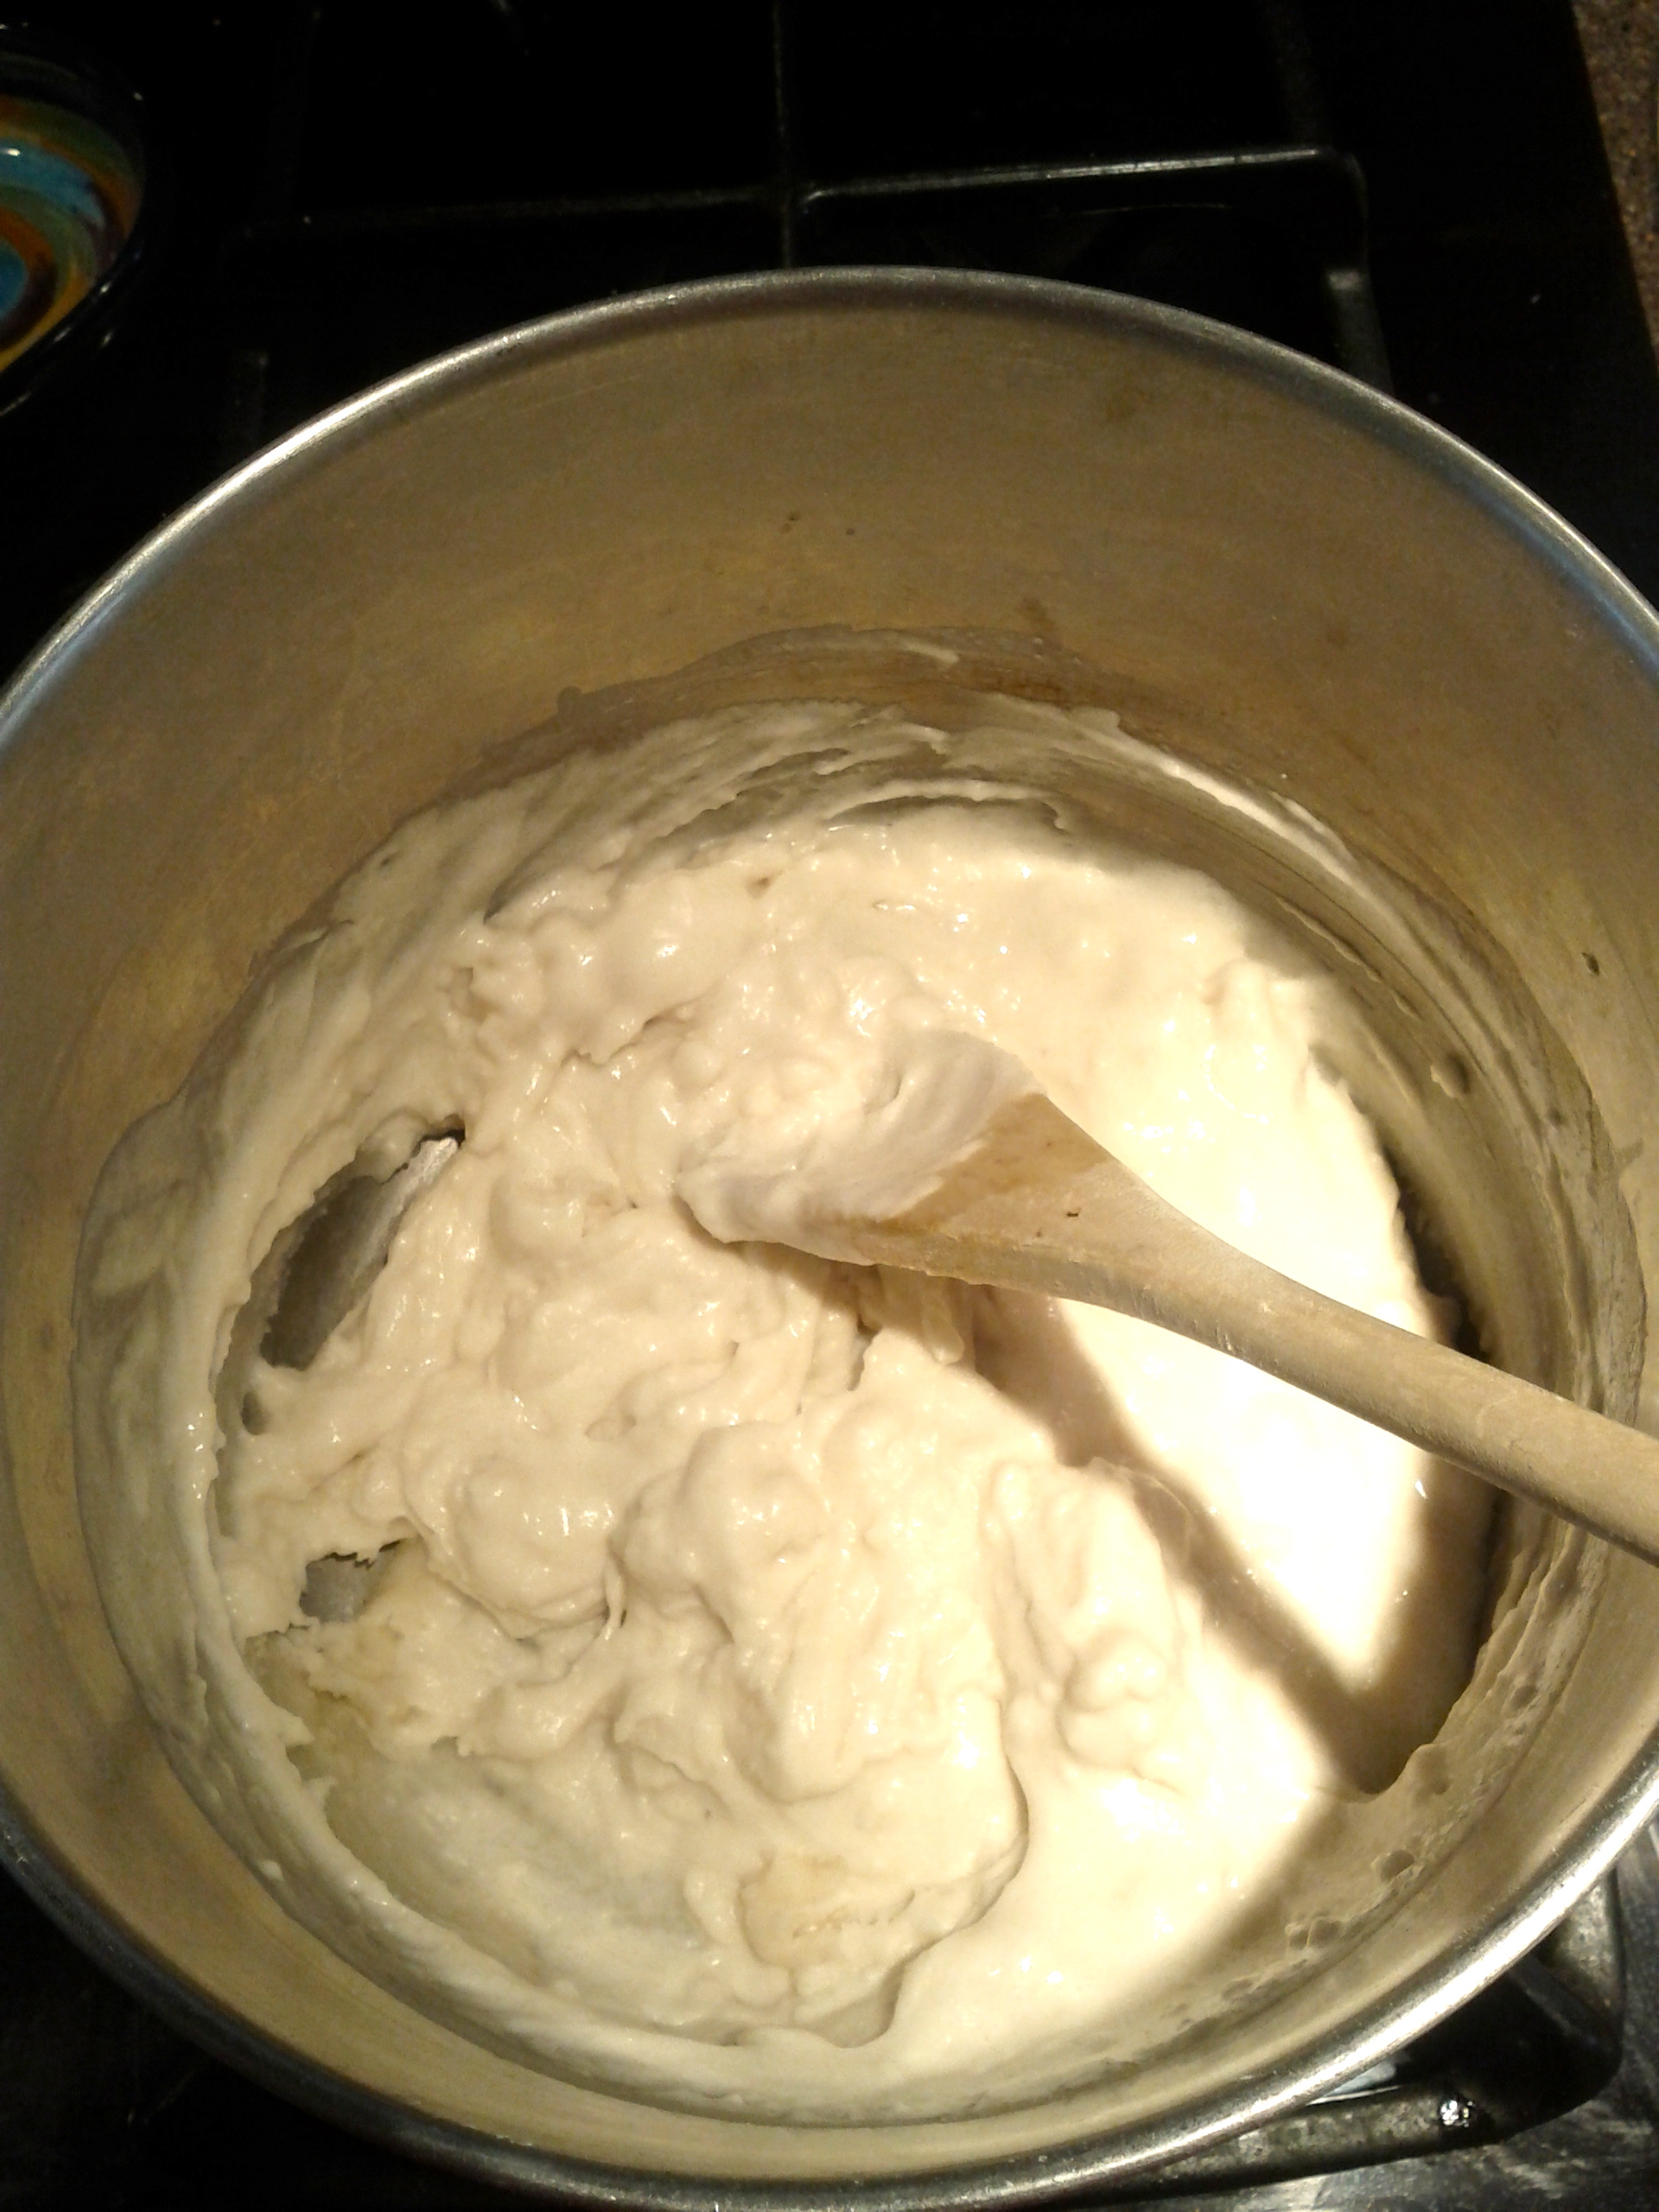
This crust was pretty easy to make, peel an eggplant, grate it, squeeze out the liquid and mix in a few more ingredients…done.  I followed this recipe for the measurements and ingredients  but when it came to cooking it I more or less followed the cauliflower crust recipe. The two crust recipes were so different in cooking temperature and time but I was pretty sure they didn’t need to be and I was right. I cooked the eggplant crust on a slightly higher heat for a shorter amount of time and it was fine. I did however flip the crust over in the middle of cooking like the original recipe suggested, didn’t want to get too crazy.

I was highly surprised by how good this was as a crust. As Shane said, “you wouldn’t want to make bread sticks out of this”. Alone is has a slightly bitter flavor so use this for a pizza with strong flavors. I put caramelized onions, goat cheese, arugula, prosciutto, tomatoes and basil and it was delish. The sweetness of the onions is amazing with goat cheese…just saying.

IMG_20130616_120245

Eggplant Crust

1 eggplant, peeled and grated

1/4 cup Almond meal

1/4 cup Flax seed meal

1 egg, beaten

salt and pepper, to taste

Directions

Preheat oven to 400 degrees

Grate eggplant with a cheese grater, discarding the skin.

Place grated eggplant in a clean dish towel, and squeeze over a sink to remove excess liquid.

Pour grated eggplant into a large mixing bowl.

Add in the flax meal and almond meal.

Whisk egg in a smaller bowl and add to batter.

Add salt and pepper to taste.

Mix until ingredients are evenly combined.

Pour out batter onto a parchment-lined baking sheet.

Smooth batter out with hands into a thin layer about 1/8 inch thick.

Bake for 10-13 minutes or until golden brown, then remove the crust from oven.

Lightly grease another piece of parchment paper with olive oil, and place on top of crust. Carefully flip the crust and then slowly peel off the parchment paper from the bottom side.

Brush the flipped side lightly with olive oil. { I used garlic infused olive oil }

Return to oven and cook 8-10 minutes until golden brown and edges are crisp.

Now you can add your topping and pop back into the oven until cheese in melted 7-10 minutes.

IMG_20130616_123341

Paleo Pizzas {Pizza #1}

What do you get a man that doesn’t need anything? That is what I always struggle with when it comes to buying Shane {or my dad for that matter } a gift. So for Father’s day I told Shane I would make him anything he wanted for dinner, he decided on Paleo pizza. I made two, one with a cauliflower crust and one with an eggplant crust, both with the same toppings. I thought it would be easier to decide which crust was better if the toppings were the same.

So, were they good? Yes, the cauliflower crust has a really good flavor but it is delicate and can’t hold a lot of toppings. You have to make sure you squeeze all of the water out of the cauliflower or it will take forever to cook. The edges get crispy and you can taste the cheese, yum. We didn’t have any leftovers but I don’t think this crust will hold up well over time.

The eggplant crust is easier to make and like the cauliflower you need to make sure to squeeze all of the water out, I had Shane help, man hands are better at this. This crust is sturdier and crispier than the other and overall resembled more of a “real” pizza crust. The eggplant crust is  the better of the two with toppings but alone it had a slightly bitter taste.

So if I had to choose, I would use the eggplant crust with a pizza that has a lot of strong tasting toppings and the cauliflower crust for a more mellow pizza like the Margherita or plain cheese.

These are the toppings I used.

No sauce just some garlic and olive oil.

Mozzarella + Parmesan + Goat cheese

Prosciutto, caramelized onions, fresh arugula and fresh basil { I added some chopped tomatoes on pizza #2 }

Cauliflower Crust  I used this recipe and it was spot on.

IMG_20130615_170959

1 small to medium sized head of cauliflower – should yield 2 to 3 cups once processed
1/4 teaspoon kosher salt
1/2 teaspoon dried basil (crush it even more between your fingers)
1/2 teaspoon dried oregano (crust it even more between you fingers)
1/2 teaspoon garlic powder
optional a few shakes of crushed red pepper
1/4 cup shredded parmesan cheese
1/4 cup mozzarella cheese
1 egg
optional 1 tablespoon almond meal

Place a pizza stone in the oven, or baking sheet if you don’t have a pizza stone. Preheat oven to 450 degrees. On a cutting board, place a large piece of parchment paper and spray it with nonstick cooking oil.

Wash and throughly dry a small head of cauliflower. Don’t get one the size of your head unless you are planning on making 2 pizzas. Cut off the florets, you don’t need much stem. Just stick with the florets. Pulse in your food processor for about 30 seconds, until you get powdery snow like cauliflower. See above photo. You should end up with 2 to 3 cups cauliflower “snow”. Place the cauliflower in a microwave safe bowl and cover. Microwave for 4 minutes. Dump cooked cauliflower onto a clean tea towel and allow to cool for a bit before attempting the next step.

Once cauliflower is cool enough to handle, wrap it up in the dish towel and ring the heck out of it. You want to squeeze out as much water as possible. This will ensure you get a chewy pizza like crust instead of a crumbly mess.

Dumped ringed out cauliflower into a bowl. Now add 1/4 cup parmesan cheese, 1/4 cup mozzarella cheese, 1/4 teaspoon kosher salt, 1/2 teaspoon dried basil (crush up the leaves even more between your fingers before adding), 1/2 teaspoon dried oregano (crush up the leaves even more between your fingers before adding), 1/2 teaspoon garlic powder (not garlic salt), and a dash of red pepper if you want. I also added 1 tablespoon almond meal because my cauliflower yielded closer to 2 cups of cauli snow, this is optional and I would not add the almond meal if you have closer to 3 cups of cauli snow. Now add your egg and mix away. Hands tend to work best.

Once mixed together, use your hands to form the dough into a crust on your oiled parchment paper. Pat it down thoroughly, you want it nice and tightly formed together. Don’t make it too thick or thin either.
Using a cutting board slide the parchment paper onto your hot pizza stone or baking sheet in the oven. Bake for 8 – 11 minutes, until it starts to turn golden brown. Remove from oven.
Add your toppings and then slide parchment with topped pizza back in the hot oven and cook for another 5 to 7 minutes until the cheese is melted, bubbly, and slightly golden.
Allow to cool for a few minutes then cut and serve.
IMG_20130615_173822

Easy Homemade Play-dough

In all honestly it’s been years since I have made play dough, I always seemed to have an abundance of store bought tucked away. But my classroom was in dire need of some and instead of buying it I thought I would make some because it is so easy . Chances are you have all the ingredients in your pantry but if for some reason you don’t have cream of tartar at home or if you have never heard of it, it is a baking item and you can find it next to the spices. It is not tartar sauce, don’t be that person.

Recipe

1 cup white flour
1/2 cup salt
2 tablespoon cream of tartar (find it in the spice section)
1 tablespoon oil
1 cup water
food coloring

Mix the first 4 ingredients in a pan, then add the water, mix well.IMG_20130611_145107

Cook over medium heat, stirring constantly, for 3 – 5 minutes {took me closer to 3 minutes} The dough will become difficult to stir and form a big clump.  Remove from stove and knead by hand for 5 minutes.

IMG_20130611_145332 IMG_20130611_145758

Add the food coloring during the kneading process, enough to reach your desired shade. Keep Play dough  stored in a covered plastic container or plastic  bag.

Unsaved Preview Document

One Day

Morning clouds that never go away.

IMG_20130606_065755

Before school kisses.

IMG_20130606_083024

I’ve got their fingerprints if they ever break the law.

IMG_20130606_102107

Happy the Guinea Pig, still kick’n it after all these years. Shocked actually.

IMG_20130606_093553

The body, inside and out.

IMG_20130605_103133

A whole lotta grapes for a little person.

IMG_20130606_113943

Walk this way.

IMG_20130606_154152

Grease was on, mommy and daddy were singing along.

IMG_20130606_171717

Miss. Grumples didn’t approve.

IMG_20130606_172637

Have a great weekend!

Back To Work

Oh you guys, it’s so nice to be working again, granted it’s only been two days but it’s been nice.

early morning entertainment

It’s nice to have a reason to take a shower in the morning. It’s nice to not wonder if I am providing  enough stimulation for K’s little brain.It’s nice to have some time away from Kaili and out of the house. It’s nice to not feel guilty for letting her watch cartoons since I know she will be busy learning and playing most of the day. It’s nice to not change diapers for a few hours. It’s nice to focus on something other than “what in the hell am I going to do today?” And it’s nice to be busy doing what I love.

breakfast with Mickey

Teaching is like second nature, what is interesting is doing it all again but this time with a 2 year old. This was my classroom back in 2007, before she was even a thought. Now she is painting in it, it’s surreal.

busy painting while I get things ready for the day.

I was worried it would be hard for both Kaili and I to be away from each other but it’s not, it’s fine. She whimpers a bit when I say goodbye to her in the morning but that’s the extent of it. I was worried that when she saw me during the day, either walking by her classroom or outside that she would want to be with me, not the case so far.

watching her through the classroom window.

I was worried that she wouldn’t nap and the teachers would have a hell of a time keeping her on her cot. This part is true. She hasn’t napped and isn’t showing any signs of doing so. They have to sit with her to keep her quiet but they say she is doing fine. One day it will take a toll on her and she will just crash…right? one day?

Kaili not napping
Kaili not napping

Luckily these non-nap days aren’t a cause for meltdown city in the afternoon, she seems to handle it pretty well. I got to say things went as well as I could have hoped for. We’ll see how it goes from here.

Oh My Eye!

Welp, I finally bit the bullet and had the Pterygium removed from my eye. You have no idea what that is do you? It’s otherwise known as surfers eye and it’s a benign growth of the conjunctiva and it’s thought to be caused by excessive exposure to wind, sunlight and sand. Since I am not a surfer I will call it soccer/laying in the sun for too long eye. The pterygium would bother me off and on and I would complain about it, then Shane would tell me to go see the doctor to have it removed and the thought of anyone cutting my eyeball freaked me out, so I dealt with it. A month or so ago it was really bothering me {itchy, redness, feels like you have sand in your eye} so I went to an ophthalmologist. The doctor convinced me that it would be a simple operation and I would be ready to go back to work the next week, so I agreed. But I won’t lie, I was nervous.

I was at the hospital early in the morning and they got me all prepped for surgery.

IMG_20130530_071026 IMG_20130530_073639

Two hours later the anesthesiolgist came in and I begged him to keep me asleep for the entire procedure and he agreed. But then my Dr. came in and nixed that idea saying it’s too risky on the heart and lungs for such a simple operation. He assured me that I would be asleep through the worst part i.e.. needle in my eye, and then I would wake up but be numb and comfortable. Then I was wheeled into the OR and given a cocktail and said “goodnight”. When I woke up I was looking into a bright light and couldn’t feel a thing but I started itching and was asking my Dr. to scratch my nose, then my chin, and then my forehead. This happened throughout the rest of the surgery, I am sure he wanted to scratch my eye out, pun intended.

I don’t remember much after that, I came to in recovery. I was woozy and itchy. They decided I probably had a small reaction to one of the anesthesias and gave me Benadryl. That helped and then the pain set in. The pain was worse than I expected and I wasn’t given anything stronger than extra strength Tylenol. Once I was home I was really uncomfortable and called the Dr. whining like a baby ” I need more pain meds” he told me to try Ibuprofen, thankfully that helped. So I alternated between the two for the rest of the day.

By the next morning I was terribly uncomfortable and seemed to be getting worse. I was concerned that something bad was happening and regretting the surgery all together. I start work on Monday, nothing can go wrong! At my post-op visit, my Dr. removed the bandaged and once he removed my eye patch and I opened my eye I felt a gazillion times better. Turns out the patch and tape were putting too much pressure on my eye and I was bruising. Relief, finally. He gave me the eye drops that I am going to be taking forever to make sure the Pterygium doesn’t come back and I was on my merry way, feeling like a whole new person. Does that sound dramatic? I have never had a problem with my eye and I realized that when you can’t see and you have so much pain it makes your whole body feel sick. I really feel for all of you that have serious eye problems, I am lucky to have the vision I do.

Two days later I have a red eye, with some bruising and it aches, but it’s not that bad. Now I get to start work with a black eye, sweet!

Don’t Do It!

We had a fun filled weekend. Friends from out of town, wine tasting, playing at the bay….the whole thing. But I imagine you also had a fun weekend so I don’t want to bore you with words. How about some pictures?

Kaili had the best time with the Warezak clan.

IMG_20130526_144350 IMG_20130526_144424 IMG_20130526_152650

She put on a brave face when it came to the water. She ran right in not knowing she can’t swim, multiple times…sigh.

IMG_20130526_152724

She went kayaking with daddy and Auntie Michelle. Both times she cried for me. Yes, I kayak but apparently I am not fast enough so now I only go solo….

Speaking of crying.

IMG_20130526_155109

That’s really the only time she was upset. She had so much fun and the ice cream, that was a highlight!

IMG_20130527_151316 IMG_20130527_151756 IMG_20130527_113655 IMG_20130526_193615 IMG_20130527_162534

Here is James intently watching Dora with a belly full of ice cream. He is a dream boat.

IMG_20130527_164931

You know you are at the beach when even the soap is sandy. Realizing how much I don’t like sand!

IMG_20130527_164945

Wiped. All of them are zoned out.

IMG_20130527_174129

Going to take a sharp right, I have to share this with you.

http://www.dailymail.co.uk/news/article-2331946/Dolphin-birth-Experts-blast-couple-flying-Hawaii-DOLPHIN-assisted-birth.html

This couple wants a dolphin assisted birth for their baby. How awesome is this? The first thing that popped into my head was how stupid a birth plan is to begin with. Remember mine? LOL Wow reading that again, I can safely say I jinxed THE WHOLE DAMN THING by writing that stupid post.

Ok, but maybe there are some people out there that do actually have a birth plan and it actually goes as plans? Well let’s say these smart folks are the lucky ones. Can you imagine how horrid it will be when the dolphin swims off with the newborn? Or how about when the pregnant mom is “sexually harassed” by the mammal? Have you seen this?  Moral of the story, hope for the best, expect the worst, leave the birth plan and dolphin at home. Happy Memorial Day!!

The One With Pics and Mick

Coconut milk in coffee is amazing and I can’t believe I haven’t been doing this for years. Tropics, take me away.

IMG_20130521_074156

We had a nice day of sunshine which means sprinkler fun…

IMG_20130520_155241

Water painting…

IMG_20130520_155405

and painting our toes, of course.

IMG_20130520_151344

I thought it would be fun to let K paint rocks.

IMG_20130520_160915

Started off slow…

IMG_20130520_161107

And then things kicked into high gear. BAM!

IMG_20130520_161716

We popped into school so I could get some stuff done.

IMG_20130521_100049

The delivery guy came bearing gifts.

IMG_20130521_165015

Speaking of gifts, Kaili got to pick out a toy from Toys R Us. This is what she chose…are you surprised?

IMG_20130521_144721

The Pad Thai That Wasn’t Pad Thai

My husband wanted to try this dish after he saw it on this site.  I was fearful, not for his cooking…ok well kind of for his cooking but also for all the different components that went into this dish. I was nervous for him, his cooking skills don’t get much practice and I wasn’t sure he would know where anything was in our kitchen. Oh and the fact that it’s made with spaghetti squash instead of noodles…oh boy! 

It took some hunting around to find the coconut aminos, Ok not really hunting around, we found it at the second store we hit. I have never heard of it or tasted it and I was wary of the stuff. We found some at Whole Foods and I was shocked when it tasted like soy sauce. It’s hard to replicate Thai or Chinese without certain staples, soy sauce being one of them. That was when I thought there might be hope for this dish.

He prepped everything ahead of time so it was all ready to throw together when the time came. Oh wait, I made the egg, I did something.

Let’s get one thing straight, this isn’t pad thai and it didn’t taste like pad thai. It’s a lot  like the story of Little red riding hood, she knew that the wolf dressed up in her grandmas clothing wasn’t her grandma for all the telling signs, however she kept getting closer and closer asking questions until she was almost eaten. That is what this dish is, a squash dressed up as a noodle dish. You know what it isn’t but you are intrigued enough to try it out..and then you find out the truth, maybe something you knew all along.

Turns out after all his hard work in the kitchen he didn’t  even like it, but I did. I was impressed! Both with him pulling this dish off and with how good it was. He said ” I won’t be making this again.” So there ya have it. Moral of this recipe is…..I have no idea, but it is yummy so have someone else make it. It must taste better that way!

IMG_20130511_134143

Ingredients
1 batch Sunshine sauce
2 large eggs
2 teaspoons coconut aminos
2 teaspoons plus 1 teaspoon coconut oil
1/2 medium onion, thinly sliced (about 1/2 cup)
1 cup snap peas, thinly sliced lengthwise
2 cups cooked spaghetti squash
6-8 ounces grilled chicken thighs, diced

Crack the eggs into a small bowl, and use a fork to scramble them with the coconut aminos. Heat a large skillet over medium-high heat, about 3 minutes. Add 2 teaspoons coconut oil  to the skillet, and when it’s melted, pour in the eggs and let them spread like a pancake. Reduce the heat to medium and cover with a lid, letting the eggs cook until they’re set and beginning to brown on the bottom, about 3-4 minutes. Flip and lightly brown the other side. Remove the eggs from the pan and cut into strips with a sharp knife.

Using the same pan, increase heat to medium-high and add 1 teaspoon coconut oil to the pan. Sauté the onion and snap peas, stirring with a wooden spoon, until they’re crisp-tender, about 2 minutes. Add the spaghetti squash, chicken, and cooked egg to the pan and, stirring with a wooden spoon, cook until heated through, about 3 minutes.

Add the Sunshine Sauce to the pan and stir-fry until everything is well-blended and hot. Divide among two plates, sprinkle with garnishes, and dig in.

*Recipe from The Clothes Make the Girl

The Artist In You

Do you ever stare at your child and think “what the hell am I going to do with you today? No? Well when that day happens you can thank me then.

Art Activities 

Art should be a fun, open-ended process. Meaning do not expect them to produce a finished art product. I will admit it’s sometimes fun to have a craft that a child can put together  that looks oh so cute hanging on the fridge, but that is different than creative art. There shouldn’t be any rules aside from not throwing paint and the obvious don’t color on the walls crap, just make sure that you are giving the child age appropriate tools.

Give them an environment for active exploration and  their brains will grow.

Dot Art

Dot markers {or bingo markers} can easily be found at a teachers supply store and maybe even Target these days.Unlike markers with a narrow pointed tip, bingo markers have larger round heads. I caution that their surface is fragile and can easily ruined if children pound on them or pick at them. For a change take them outside. Hang a piece of butcher paper on the fence and let them create all day. Use them on coffee filters or paper towels for a different effect.

IMG_20130507_155232

IMG_20130507_155726

Paint brush and/or hand painting

Some children love to get messy and some don’t. Mine teeters a fine line between both. With gentle encouragement Kaili was soon painting her hand and getting into it.

IMG_20130508_081417 IMG_20130508_081530

Wet chalk & dry paper {Mark making}

Mark making is a term used to refer to the variety of artistic moves that young children make.

Mark making or scribbling is important both in itself and as practice for later writing and drawing. I love chalk activities, their are so many extensions. However wet chalk or chalk in any form can get messy so I think it’s a great one to take outdoors.

IMG_20130513_161623 IMG_20130513_161654

Making prints

Printing is an extension of painting, it involves less whole-arm activity and greater concern for placement and overall design. I really saw this in Kaili this last time, she was very careful about finding an “open” spot for her next print. You can use anything for printing. Blocks, puzzle pieces, cups, vegetables,utensils, balls, toy animals, cars, shoes…anything.

IMG_20130510_093819 IMG_20130510_094354

Remember art need not be restricted indoors, it’s a great activity to have available to the children while they are playing outside. If you don’t like the mess, give them a paint brush and a bucket of water and let them paint their surrounding, [the ground, bricks, trees, or rocks} with water.